Starting from the beginning:
My brother and I were heading off to two separate colleges and we knew we would need another car. I searched craigslist about 8 months every other day.
My searches were as follows, first choice first:
Subaru Baja
Honda Element
VW Golf TDI
Mini Cooper
Nissan XTerra
Nissan Frontier (4 door)
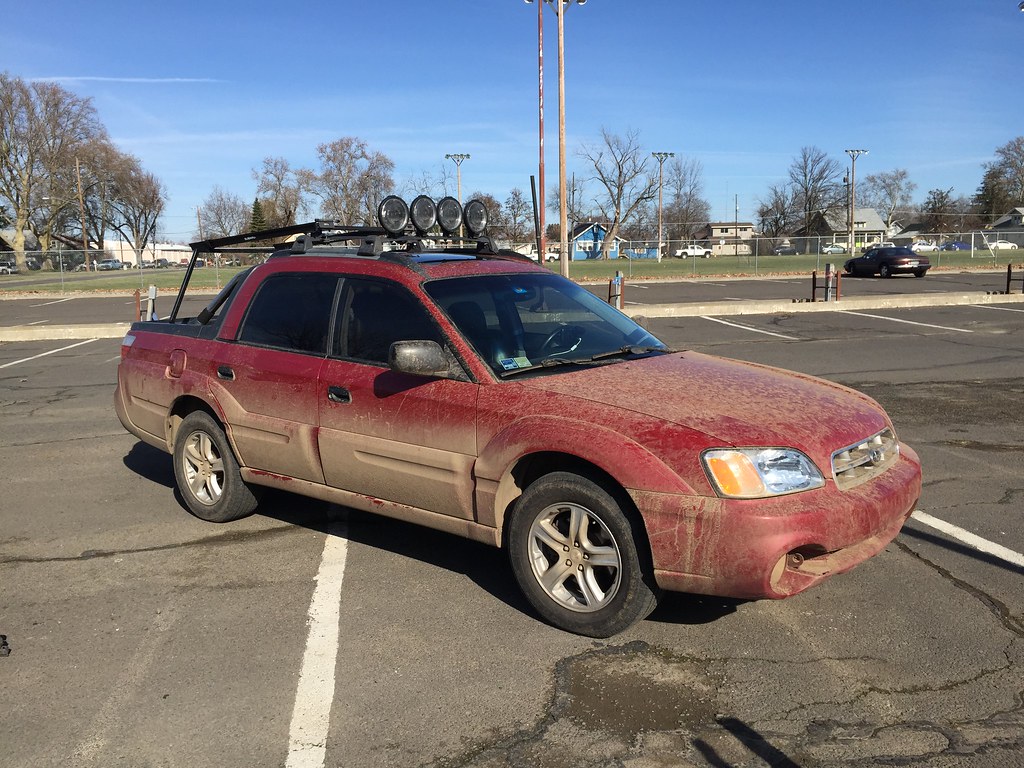
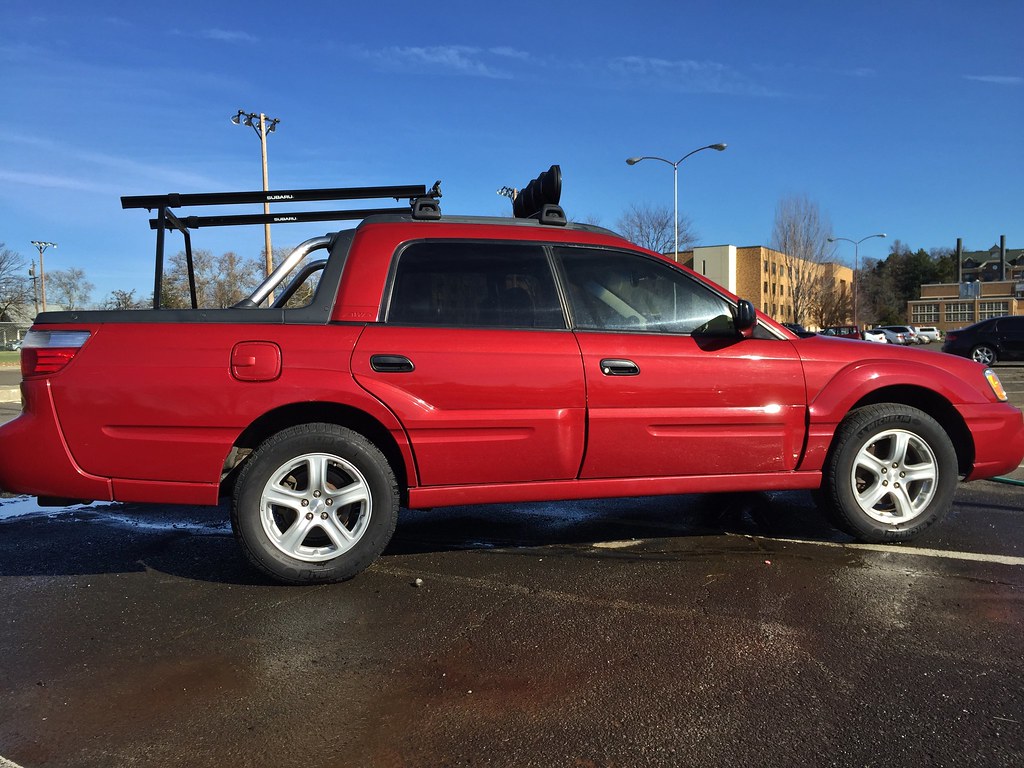
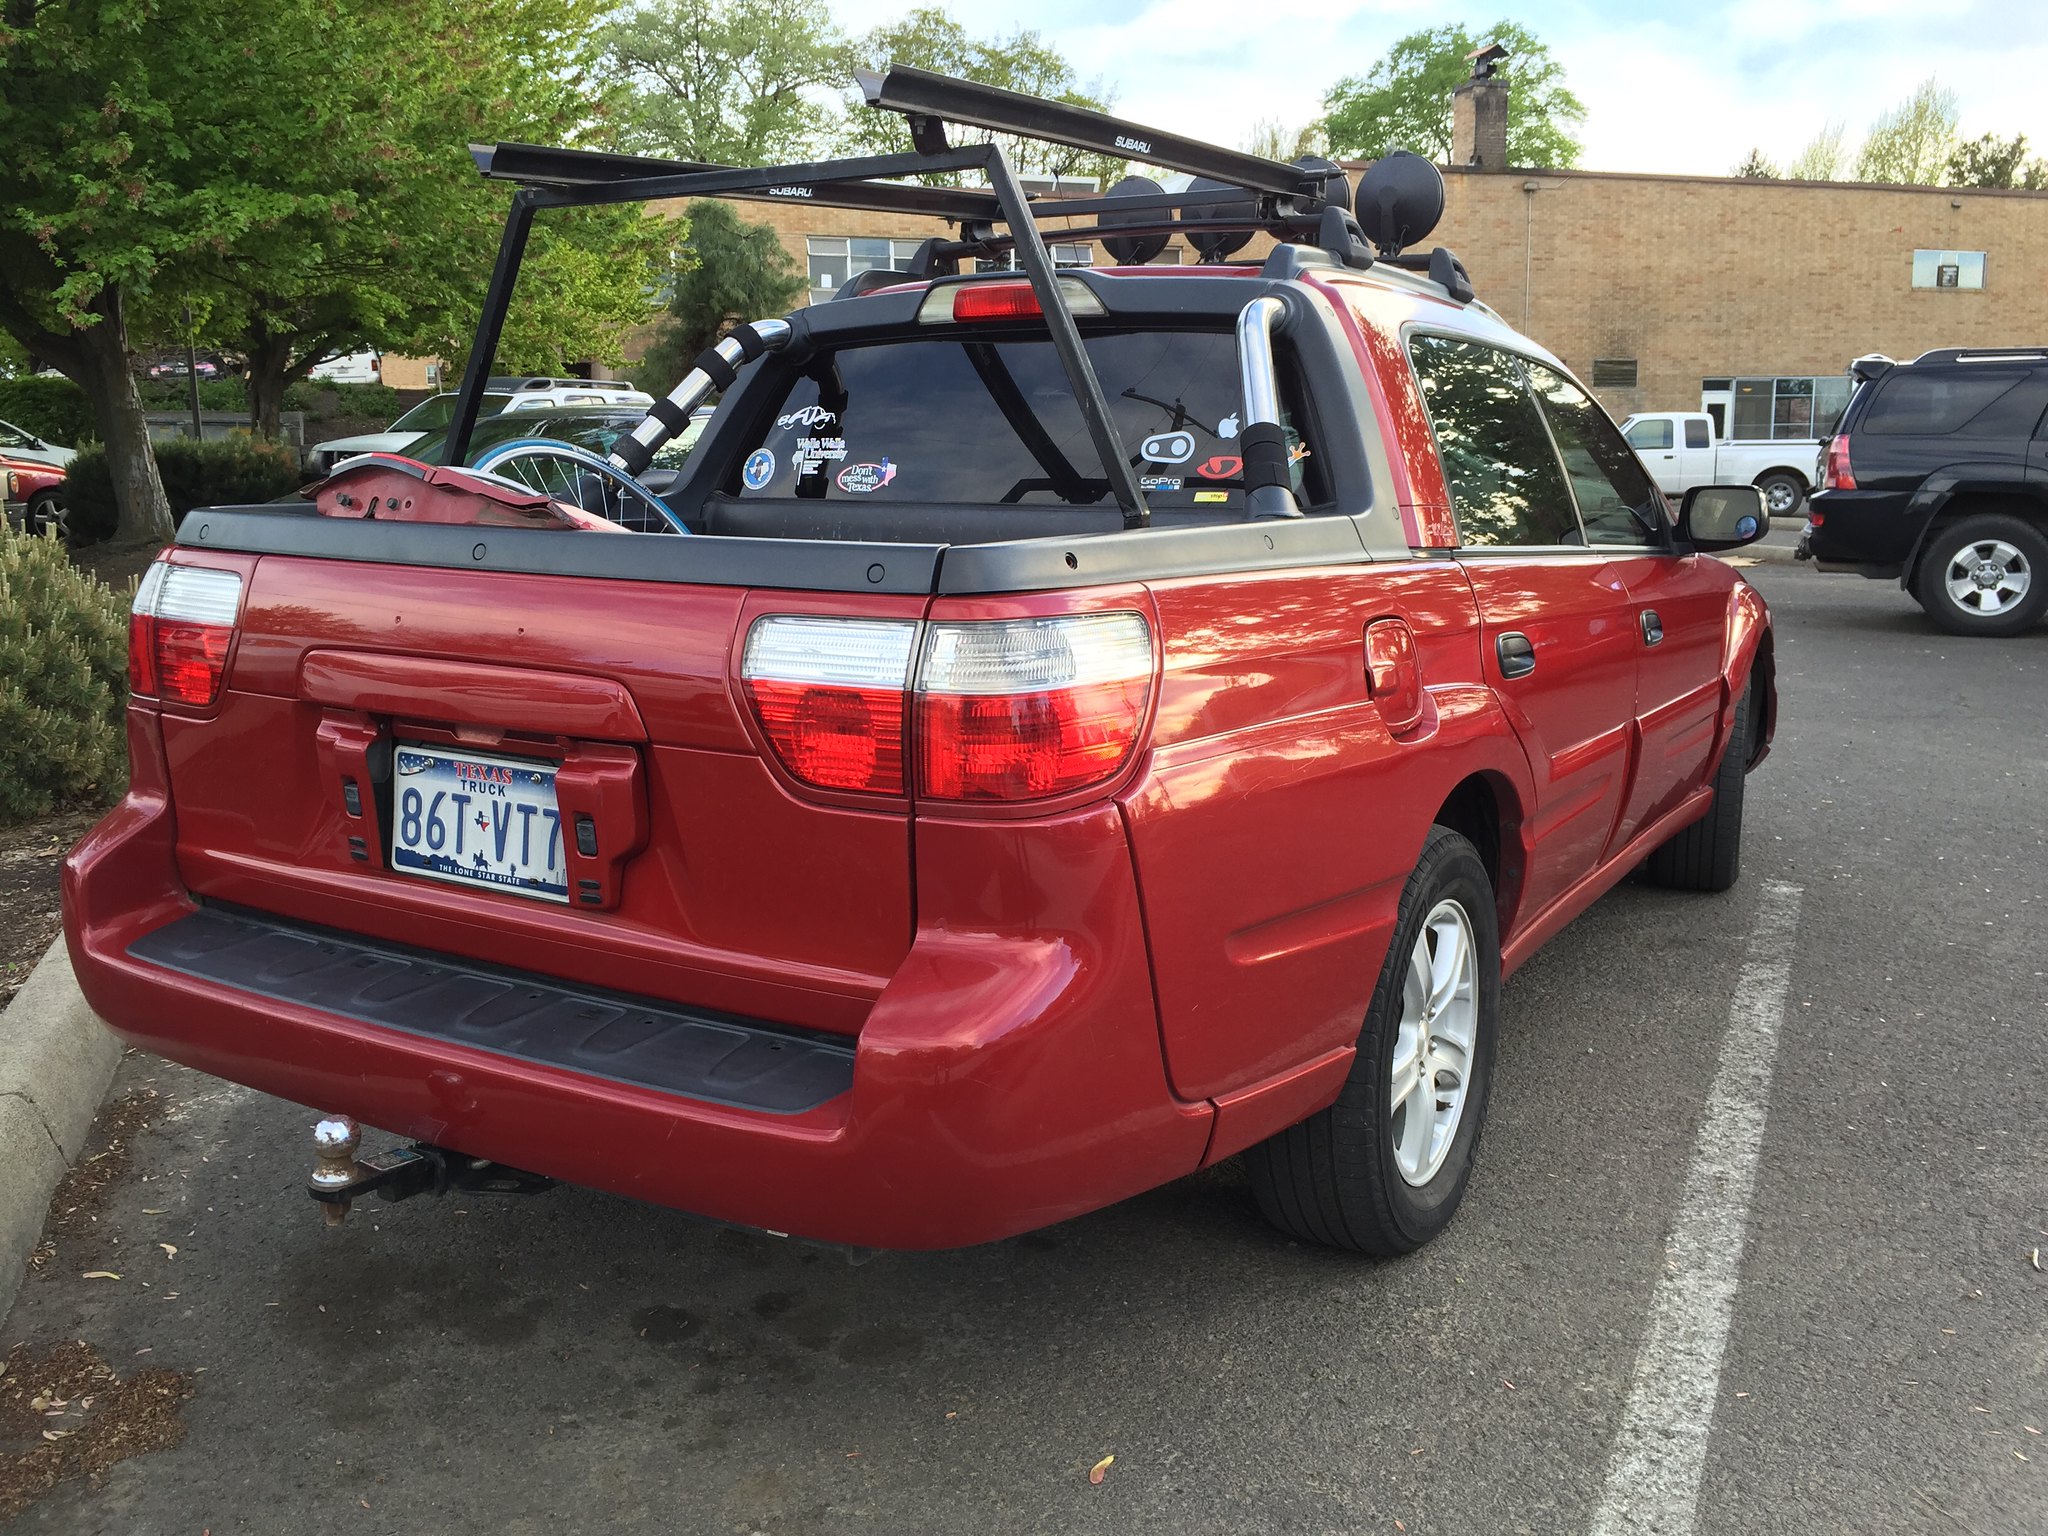
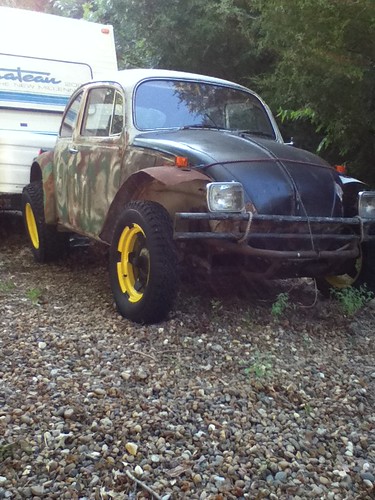
I had pretty much given up on the first two just because of price. It was my dream car, but I was only searching the keyword "Subaru." I was searching for an engine for my VW baja bug and inadvertently I searched baja instead of bug. The first 3 postings were for a "Suburu Baja." Each consecutive ad was $500 cheaper. It had 71k mi and was less than half the kbb value. True, it had many issues and was used as a work truck. I have fixed most but here are some pics from when we test drove it.
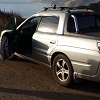
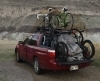
Here are the pics that were on CL:


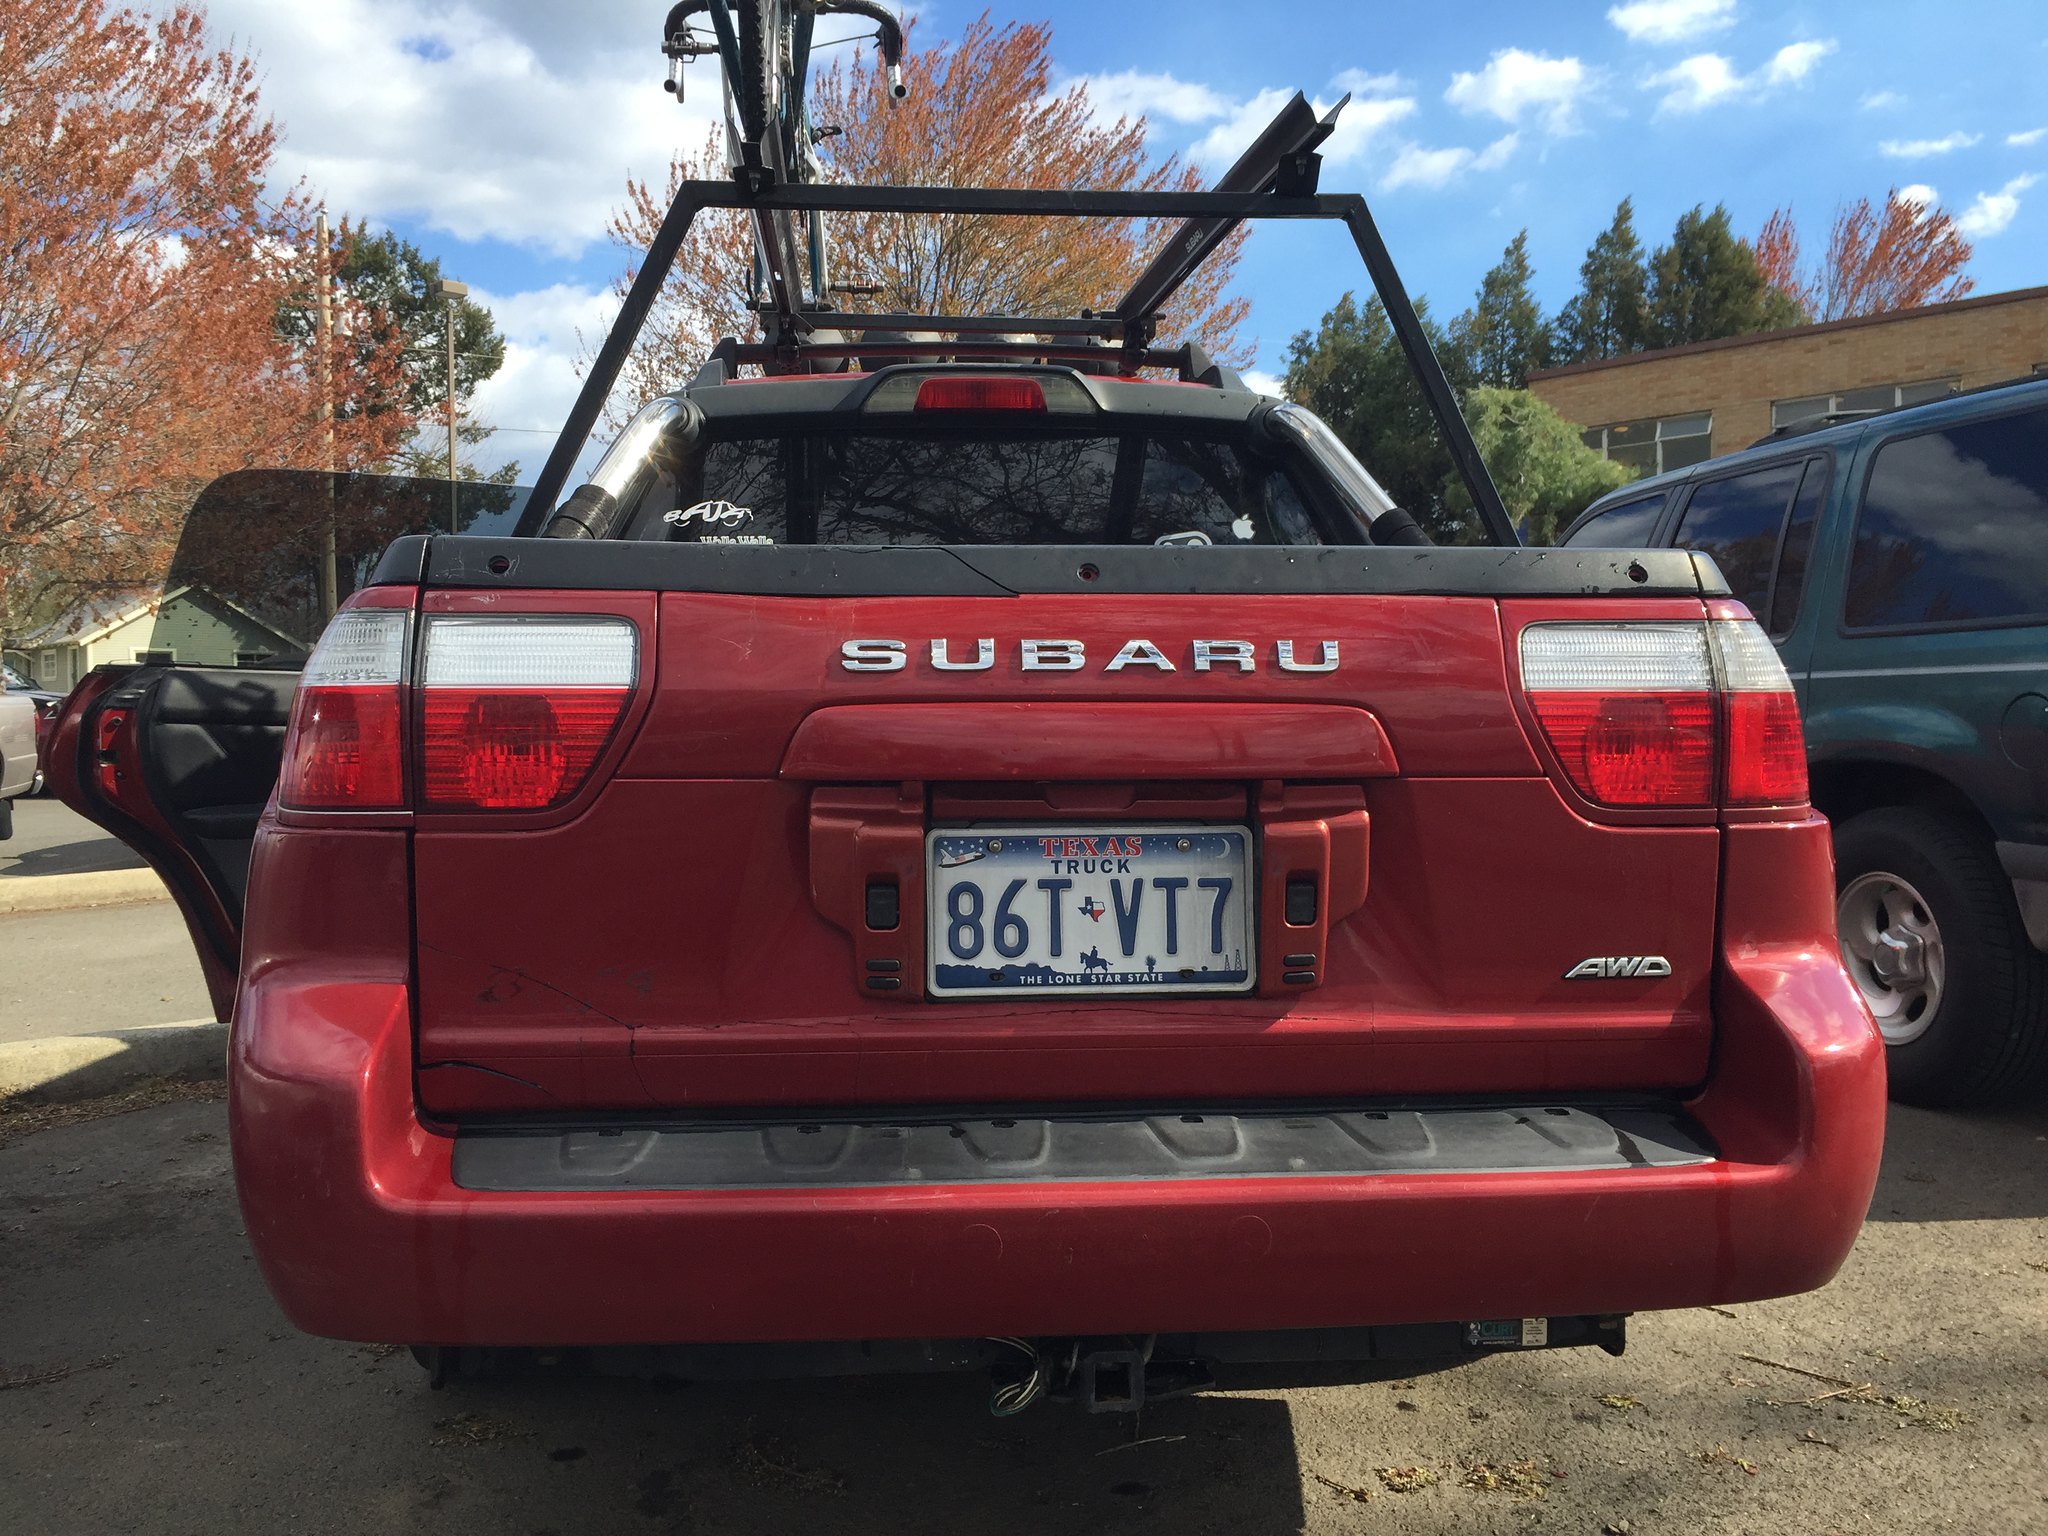
Here are some pics from the test drive:
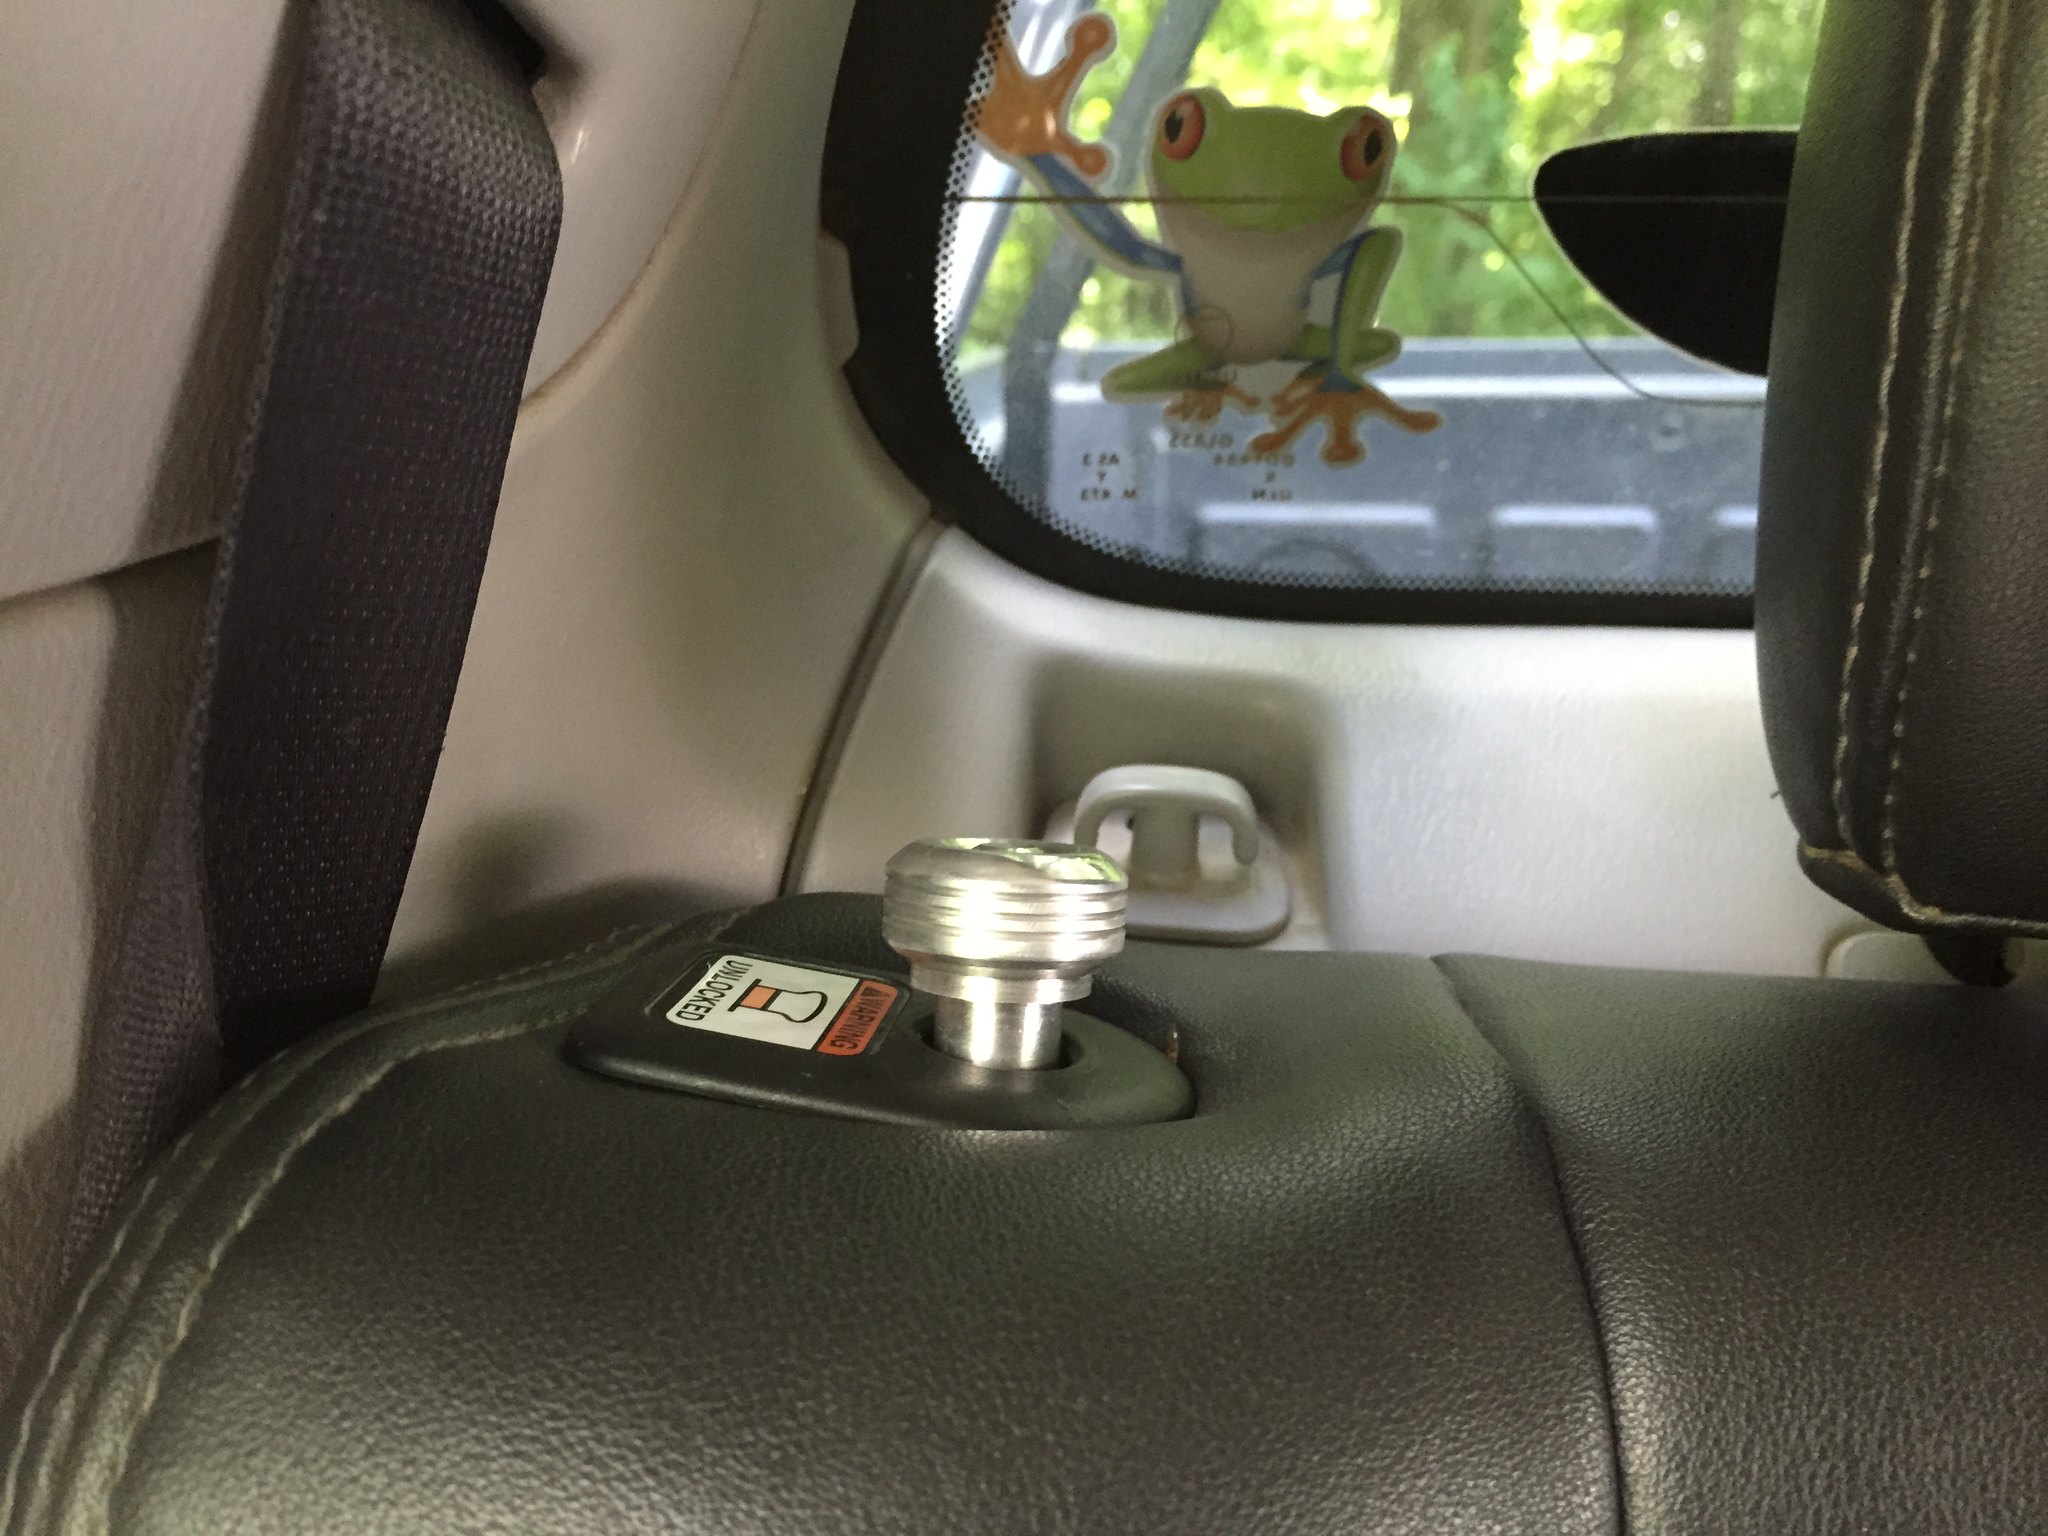
Only one speaker worked and the dash was popped out...both fixed
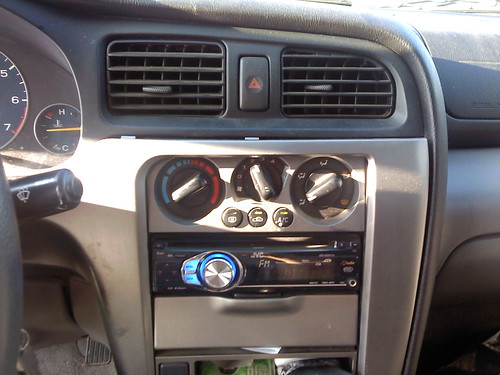
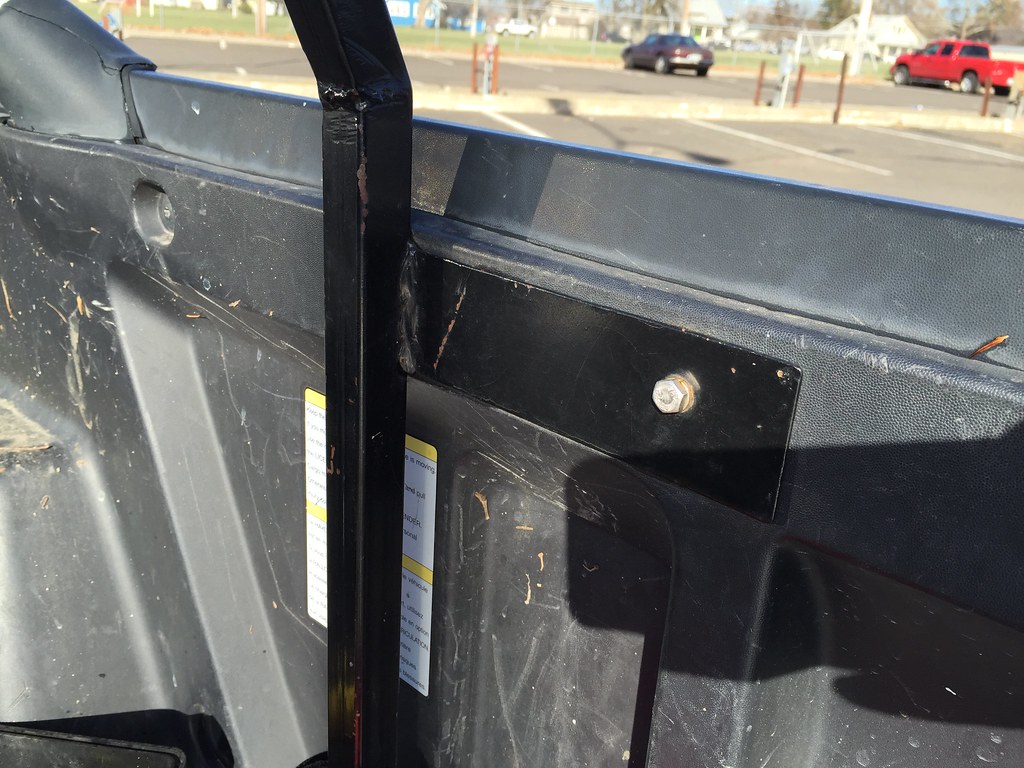
That piece was not staying in and that was the previous owner's fix. -______- It is now attached from behind.

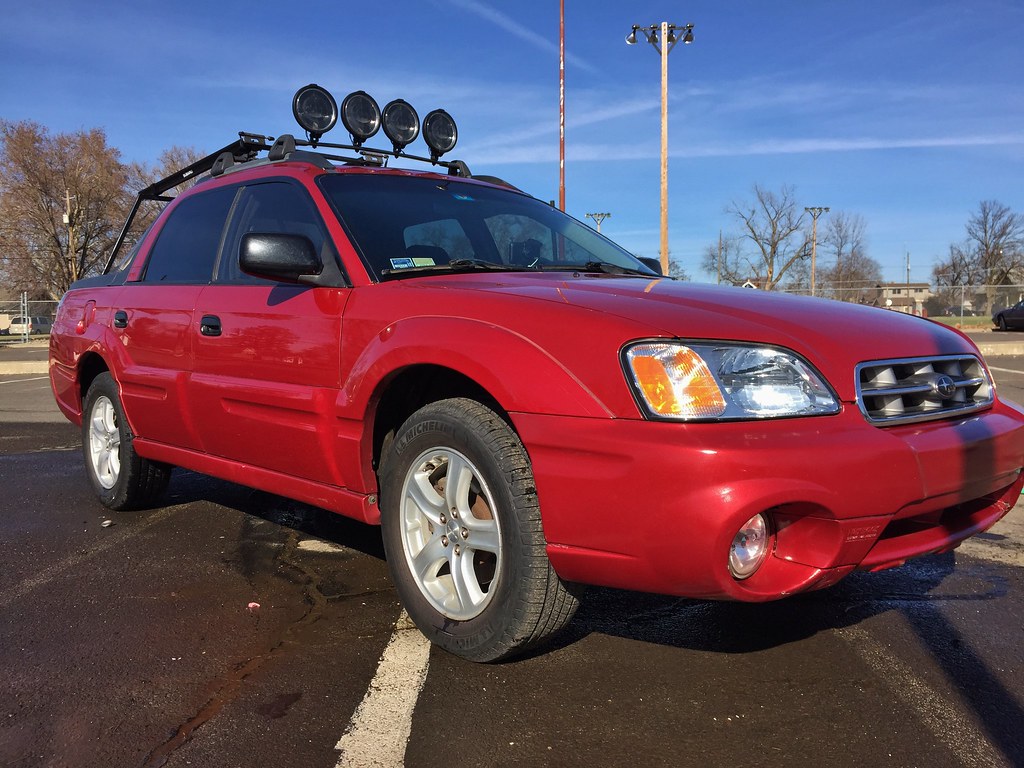
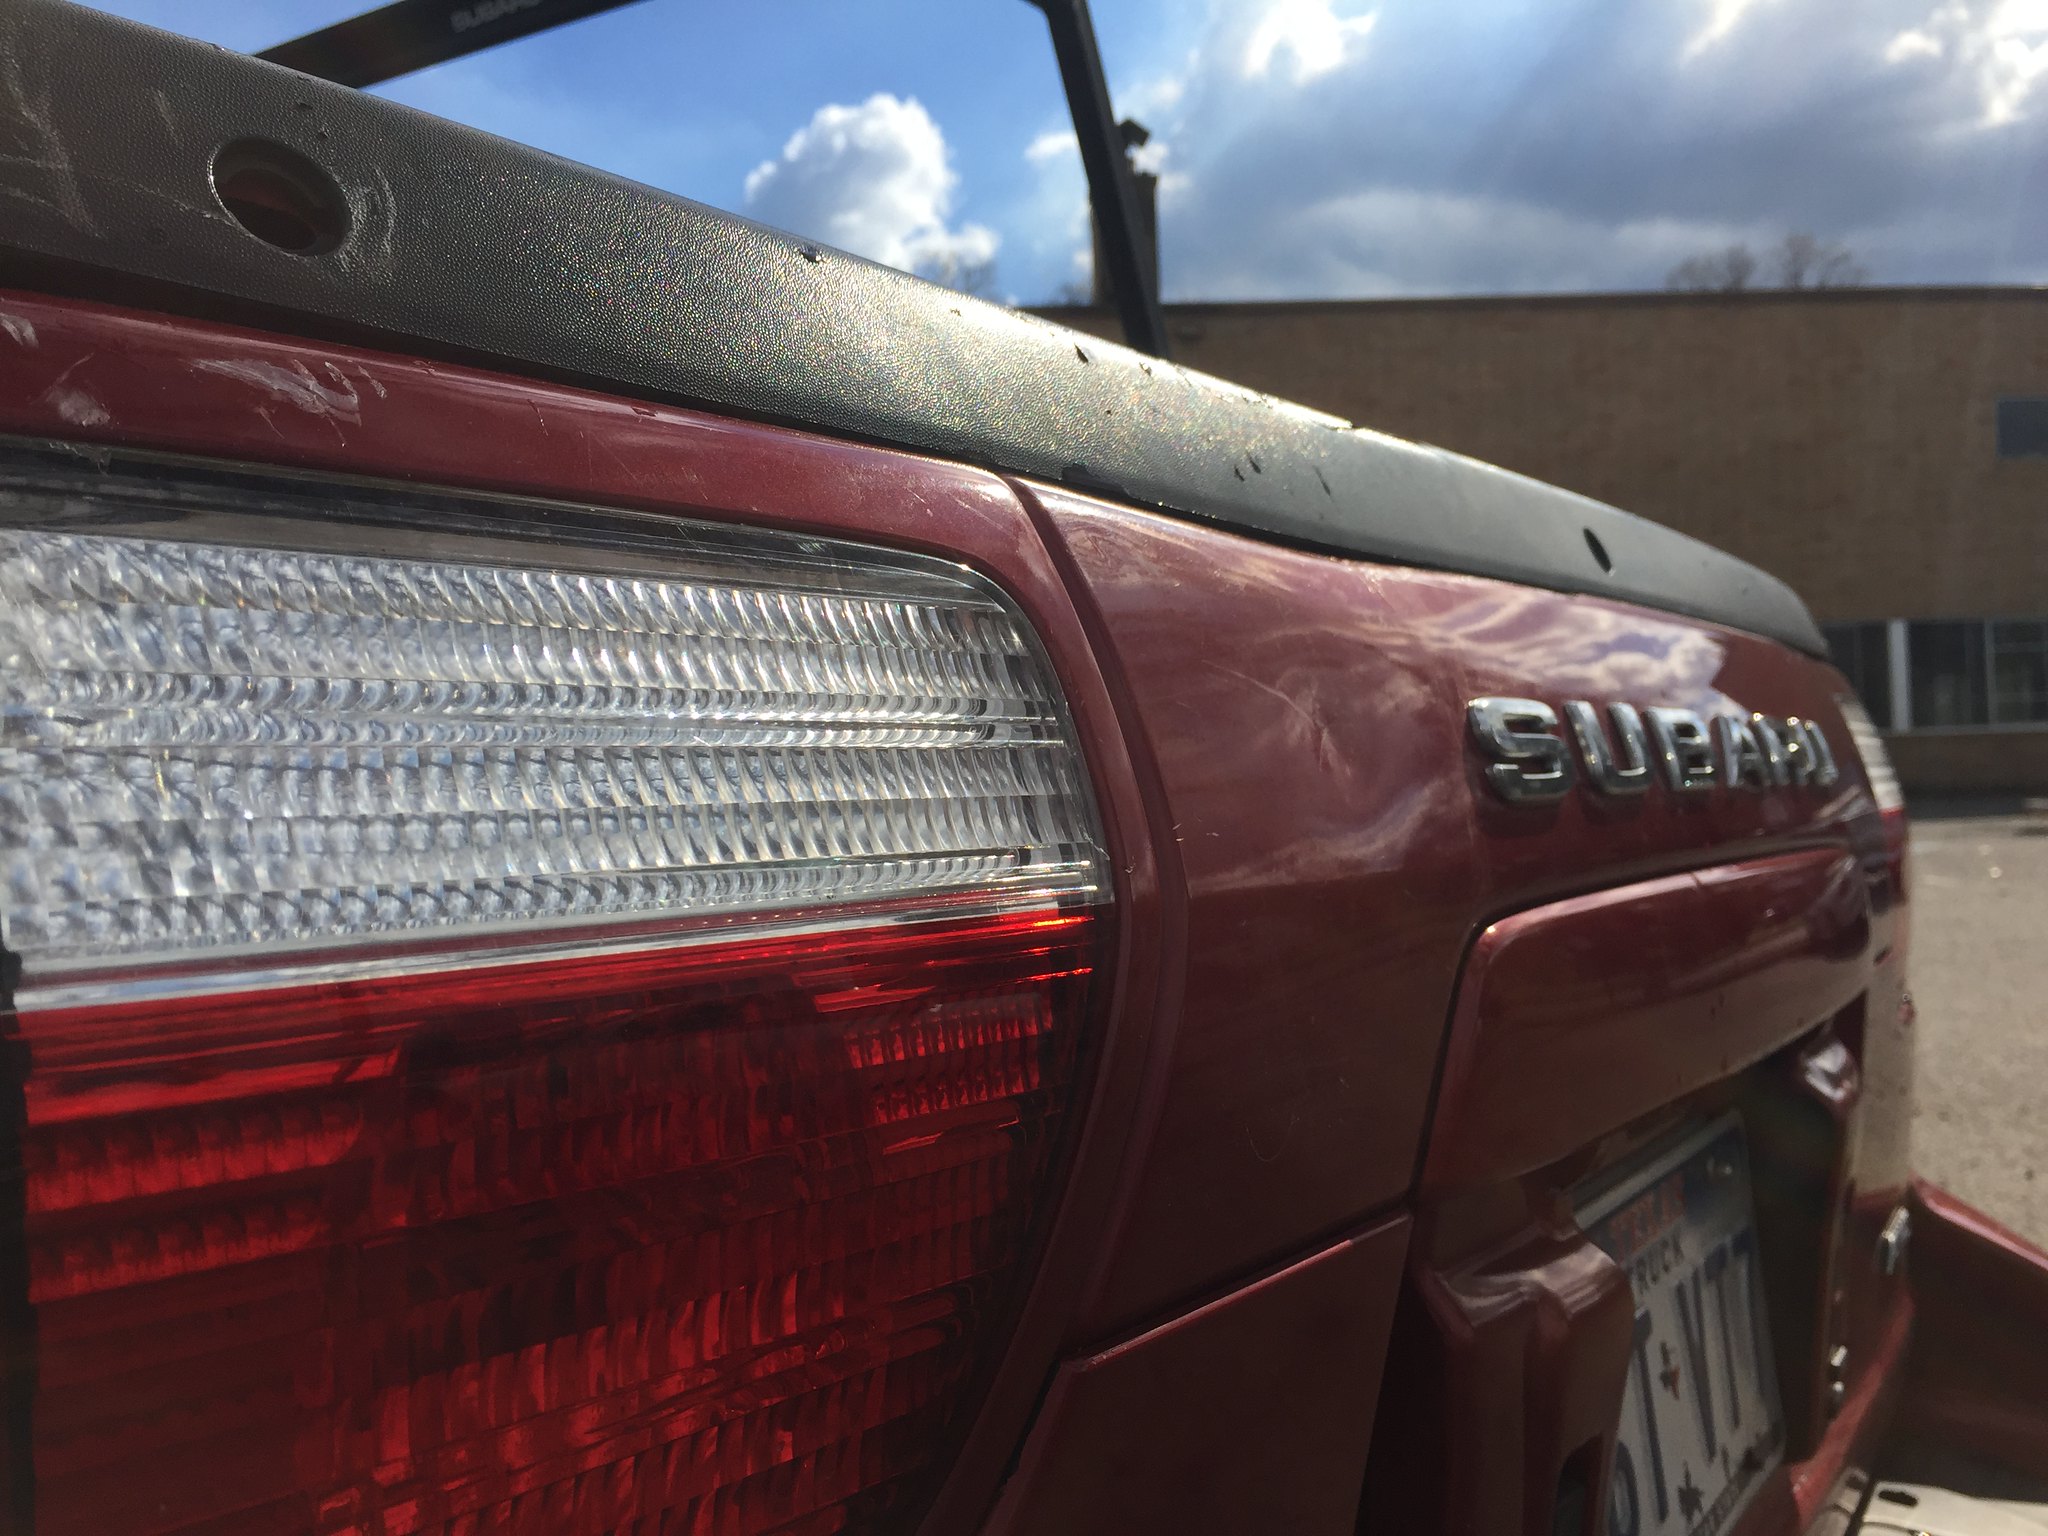
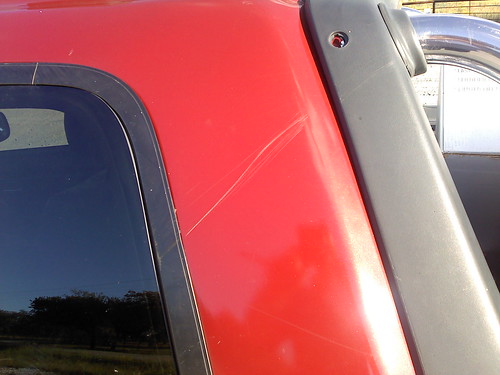
Scratches, practically all buffed out now.
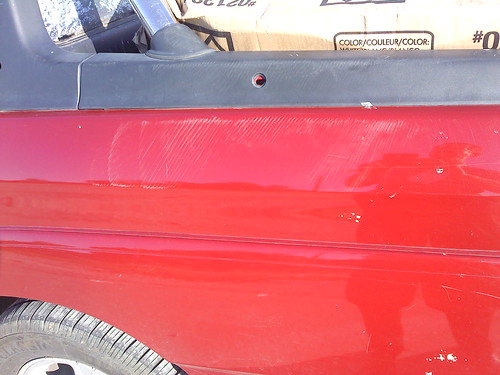
More scratches that buffed out.
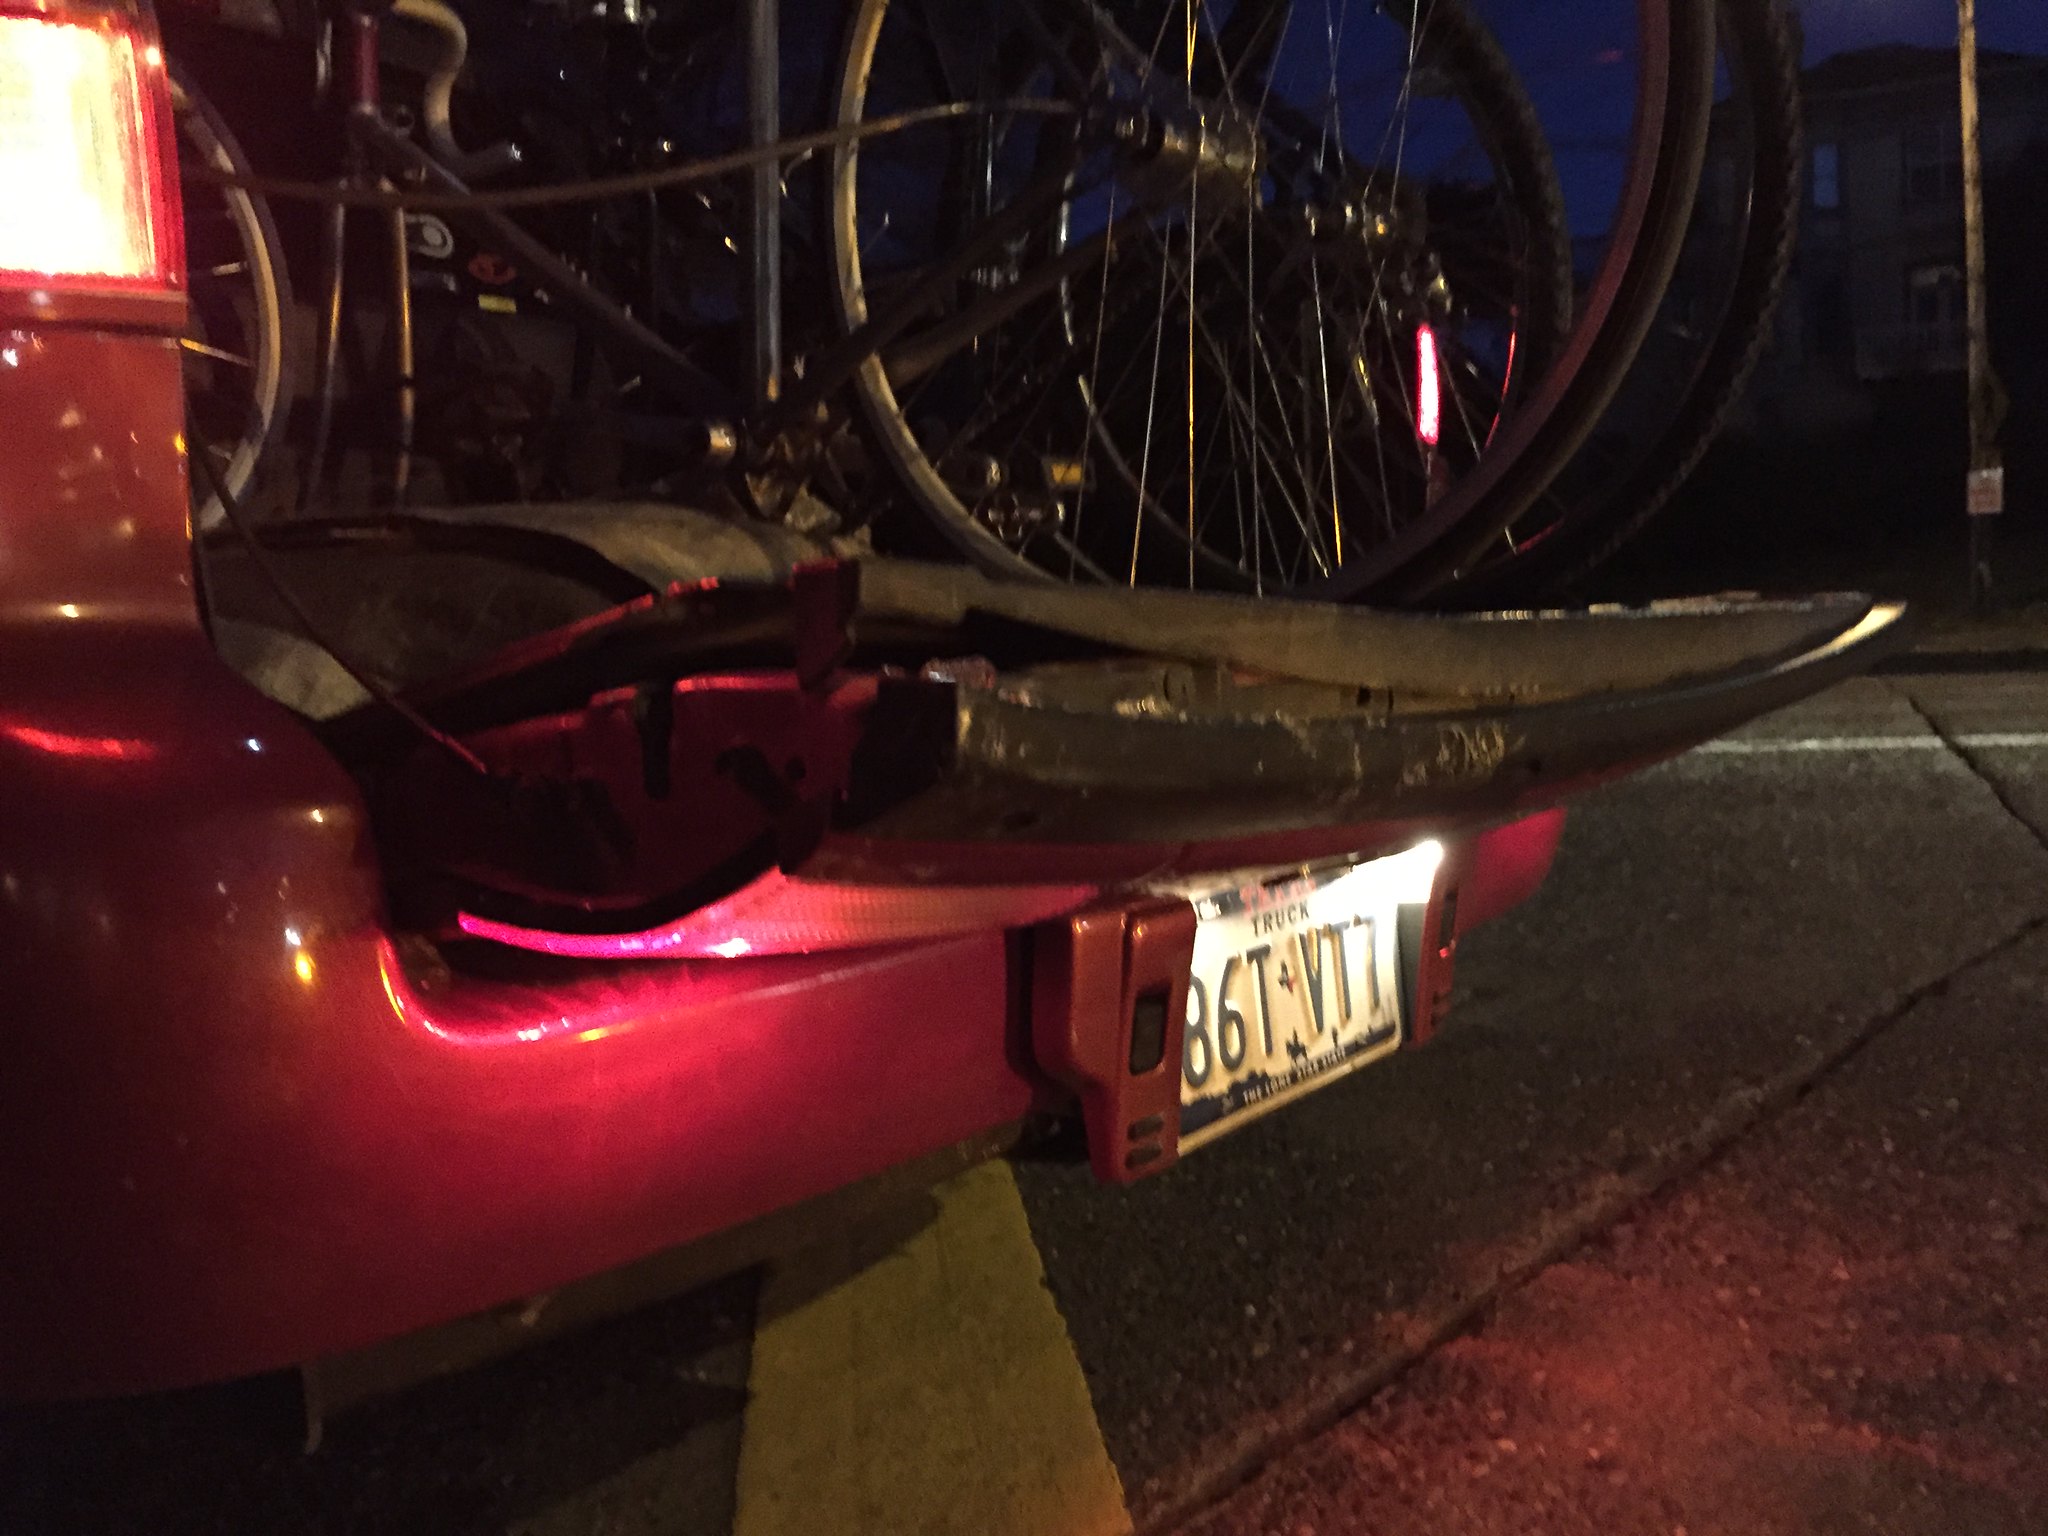
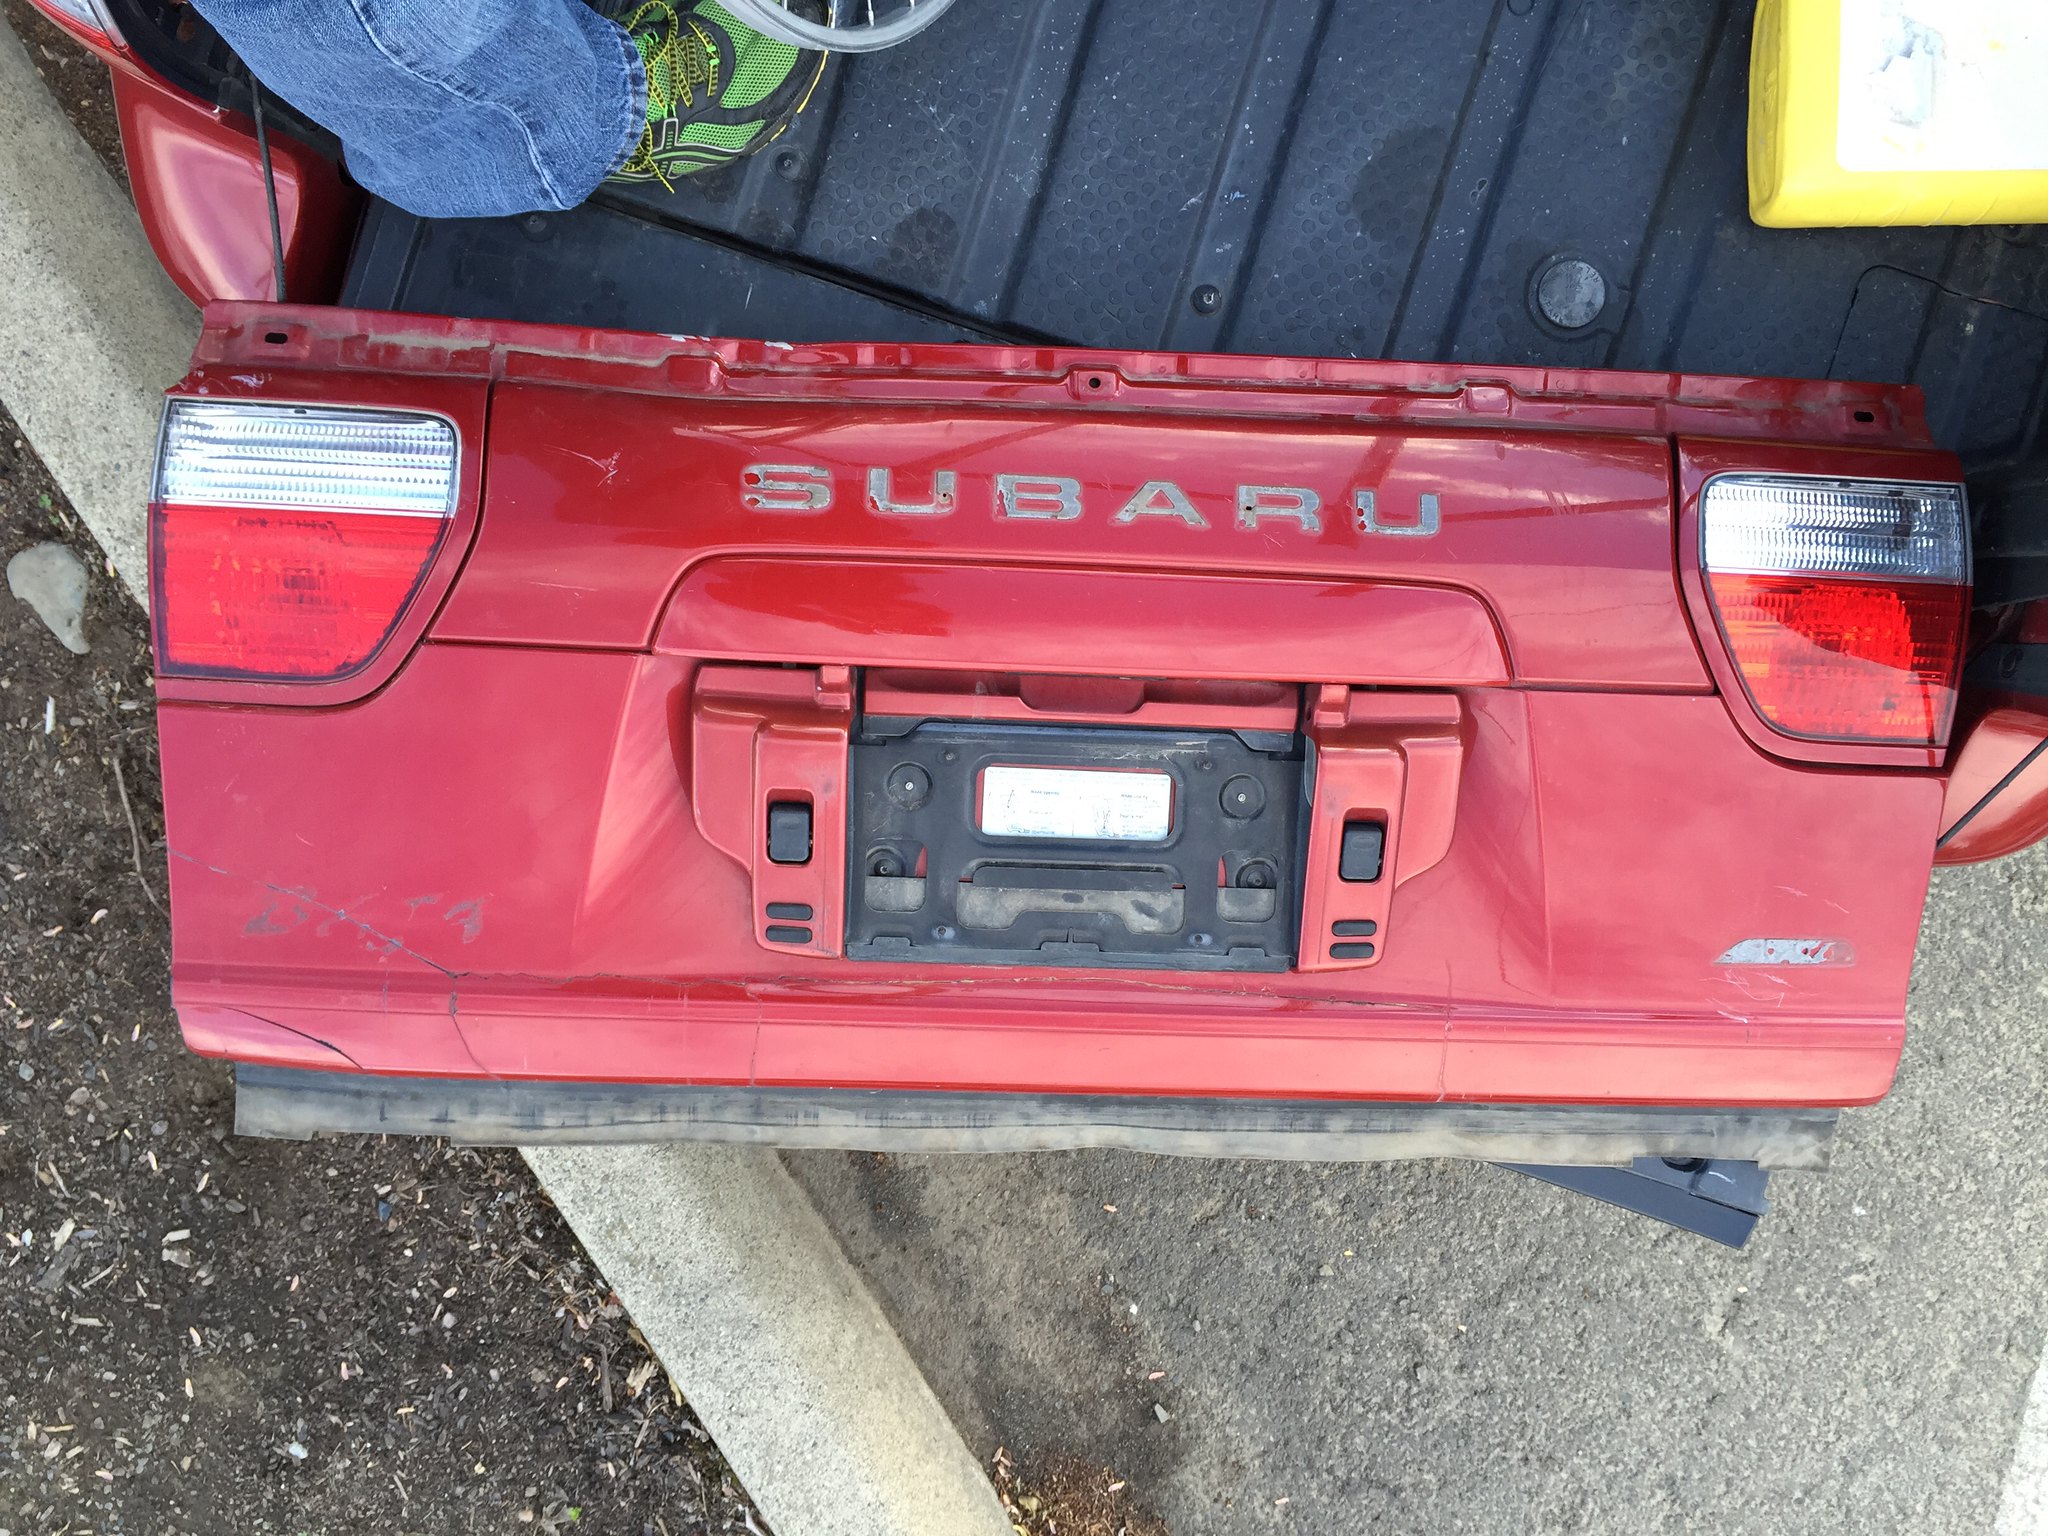
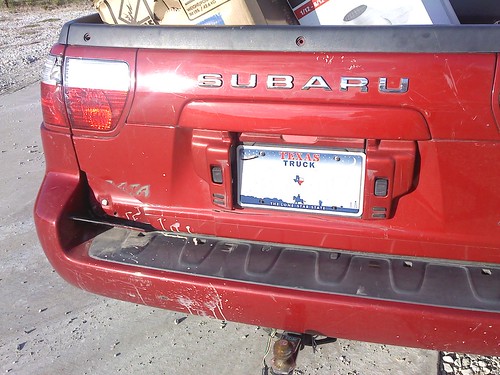
It appears he jacknifed a trailer... The plastic has been repaired with fiberglass, the putty splatters took hours to get off, and the tail light was replaced.
Again, it was used as a work truck...he still had stuff in it when we bought it. The mossy oak screen was removed within an hour of purchase.

Other issues included:
Sunroof not working (fixed by plugging it back in)
Wiper control switch malfunctioning (replaced)
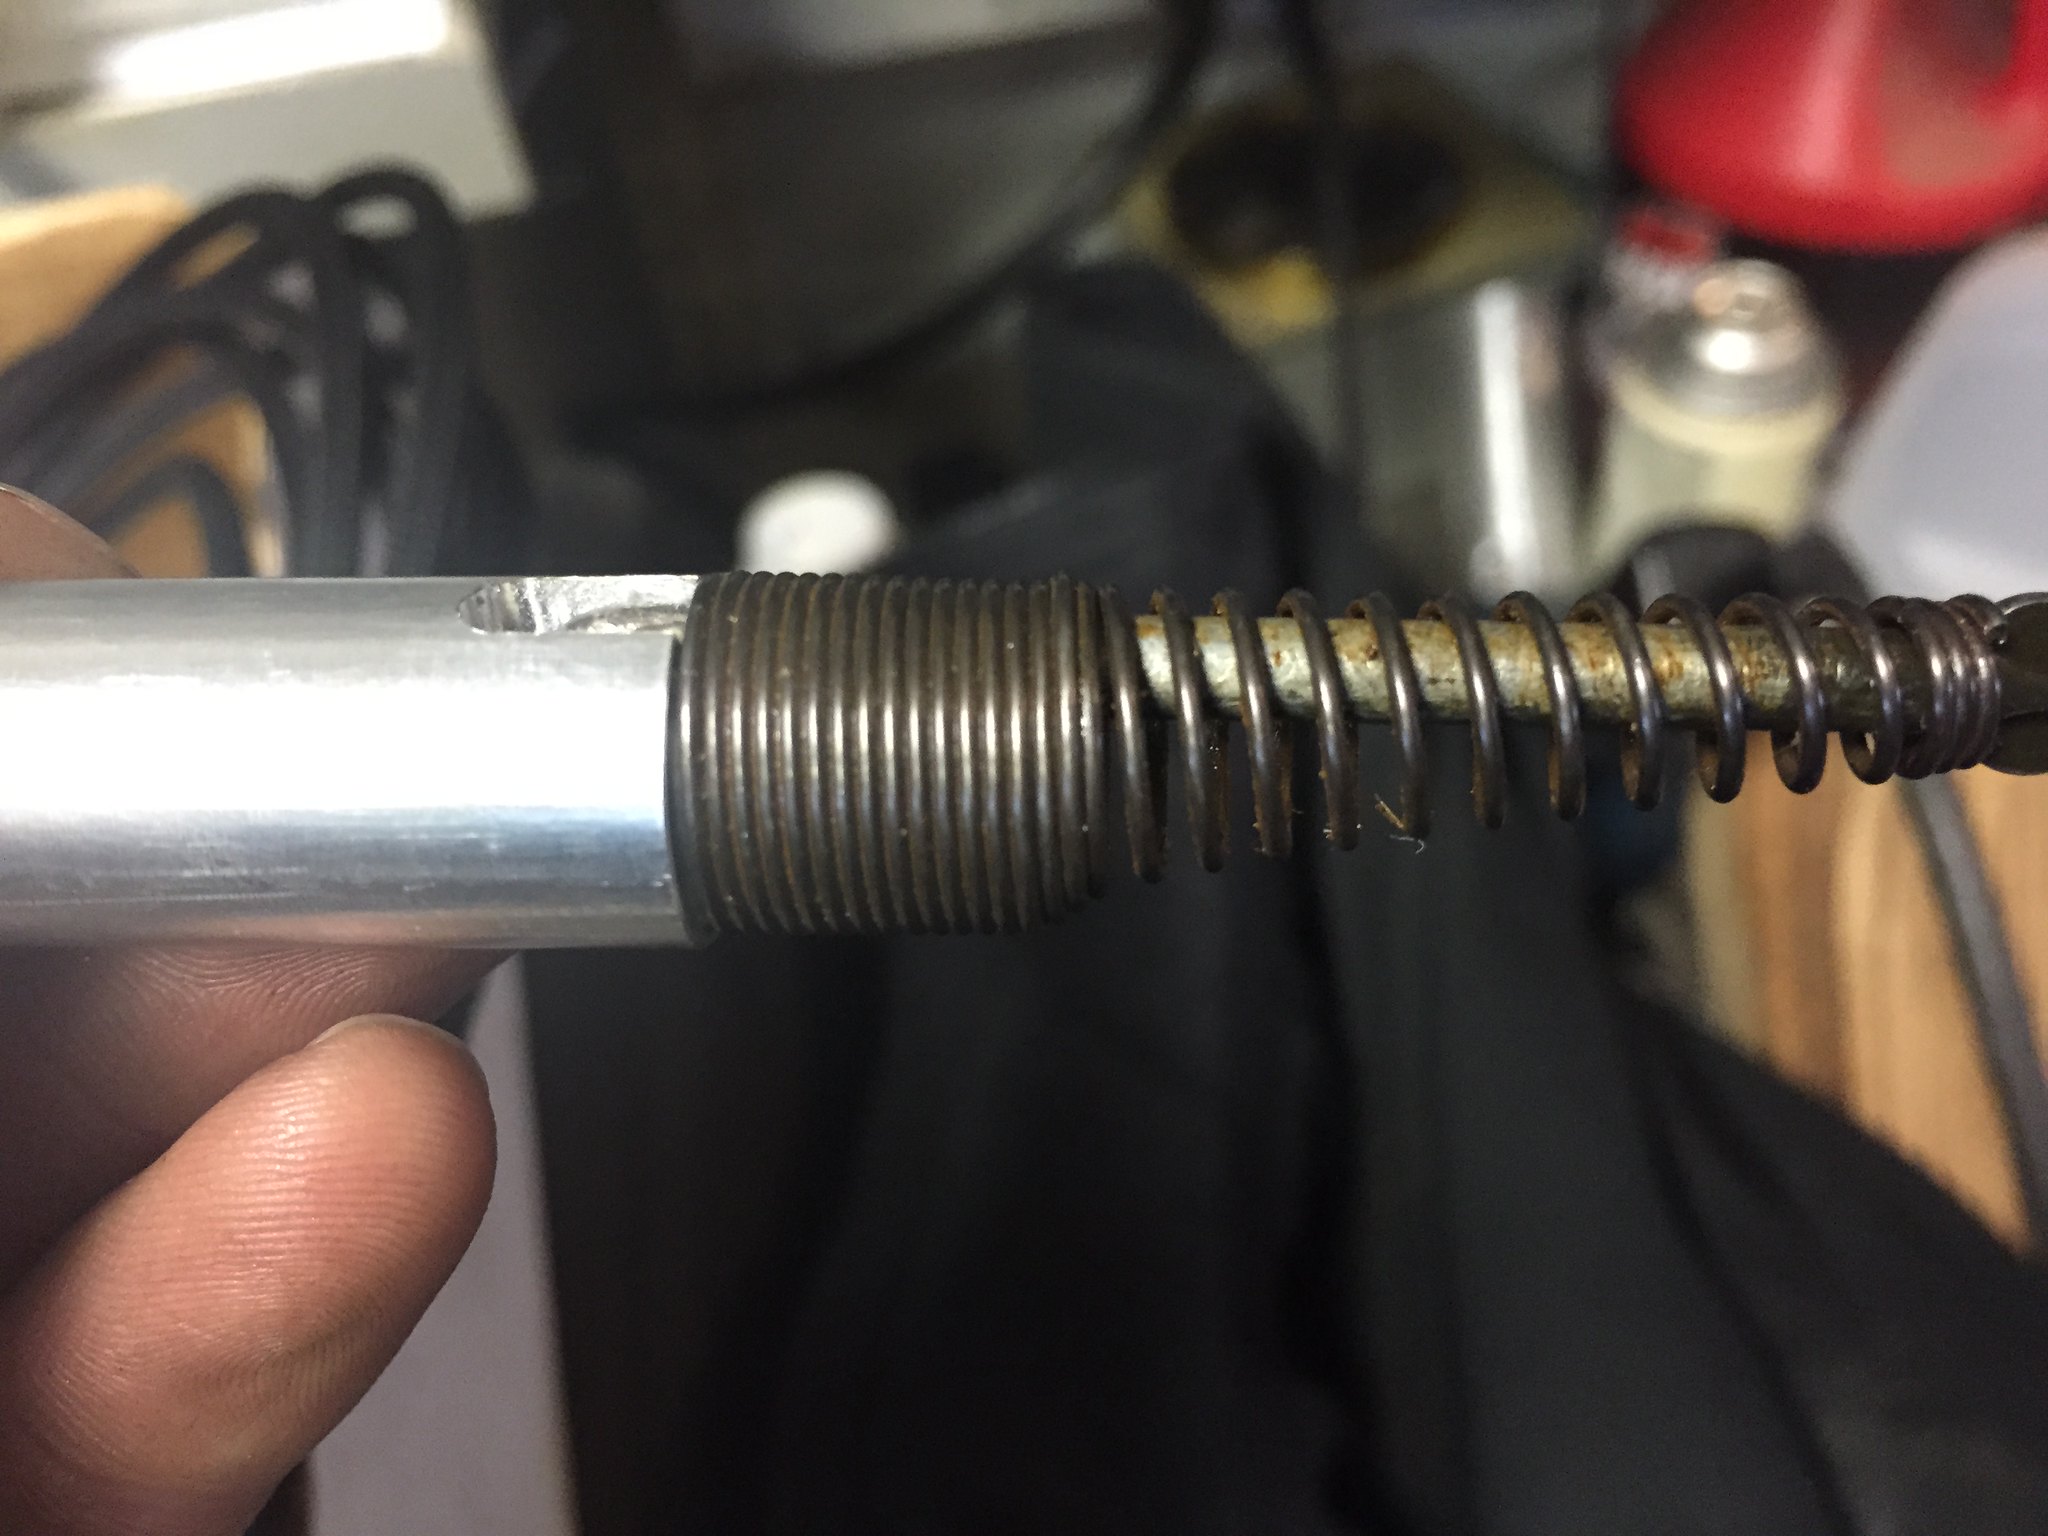
Driver's seat belt locking up irrationally (replaced)
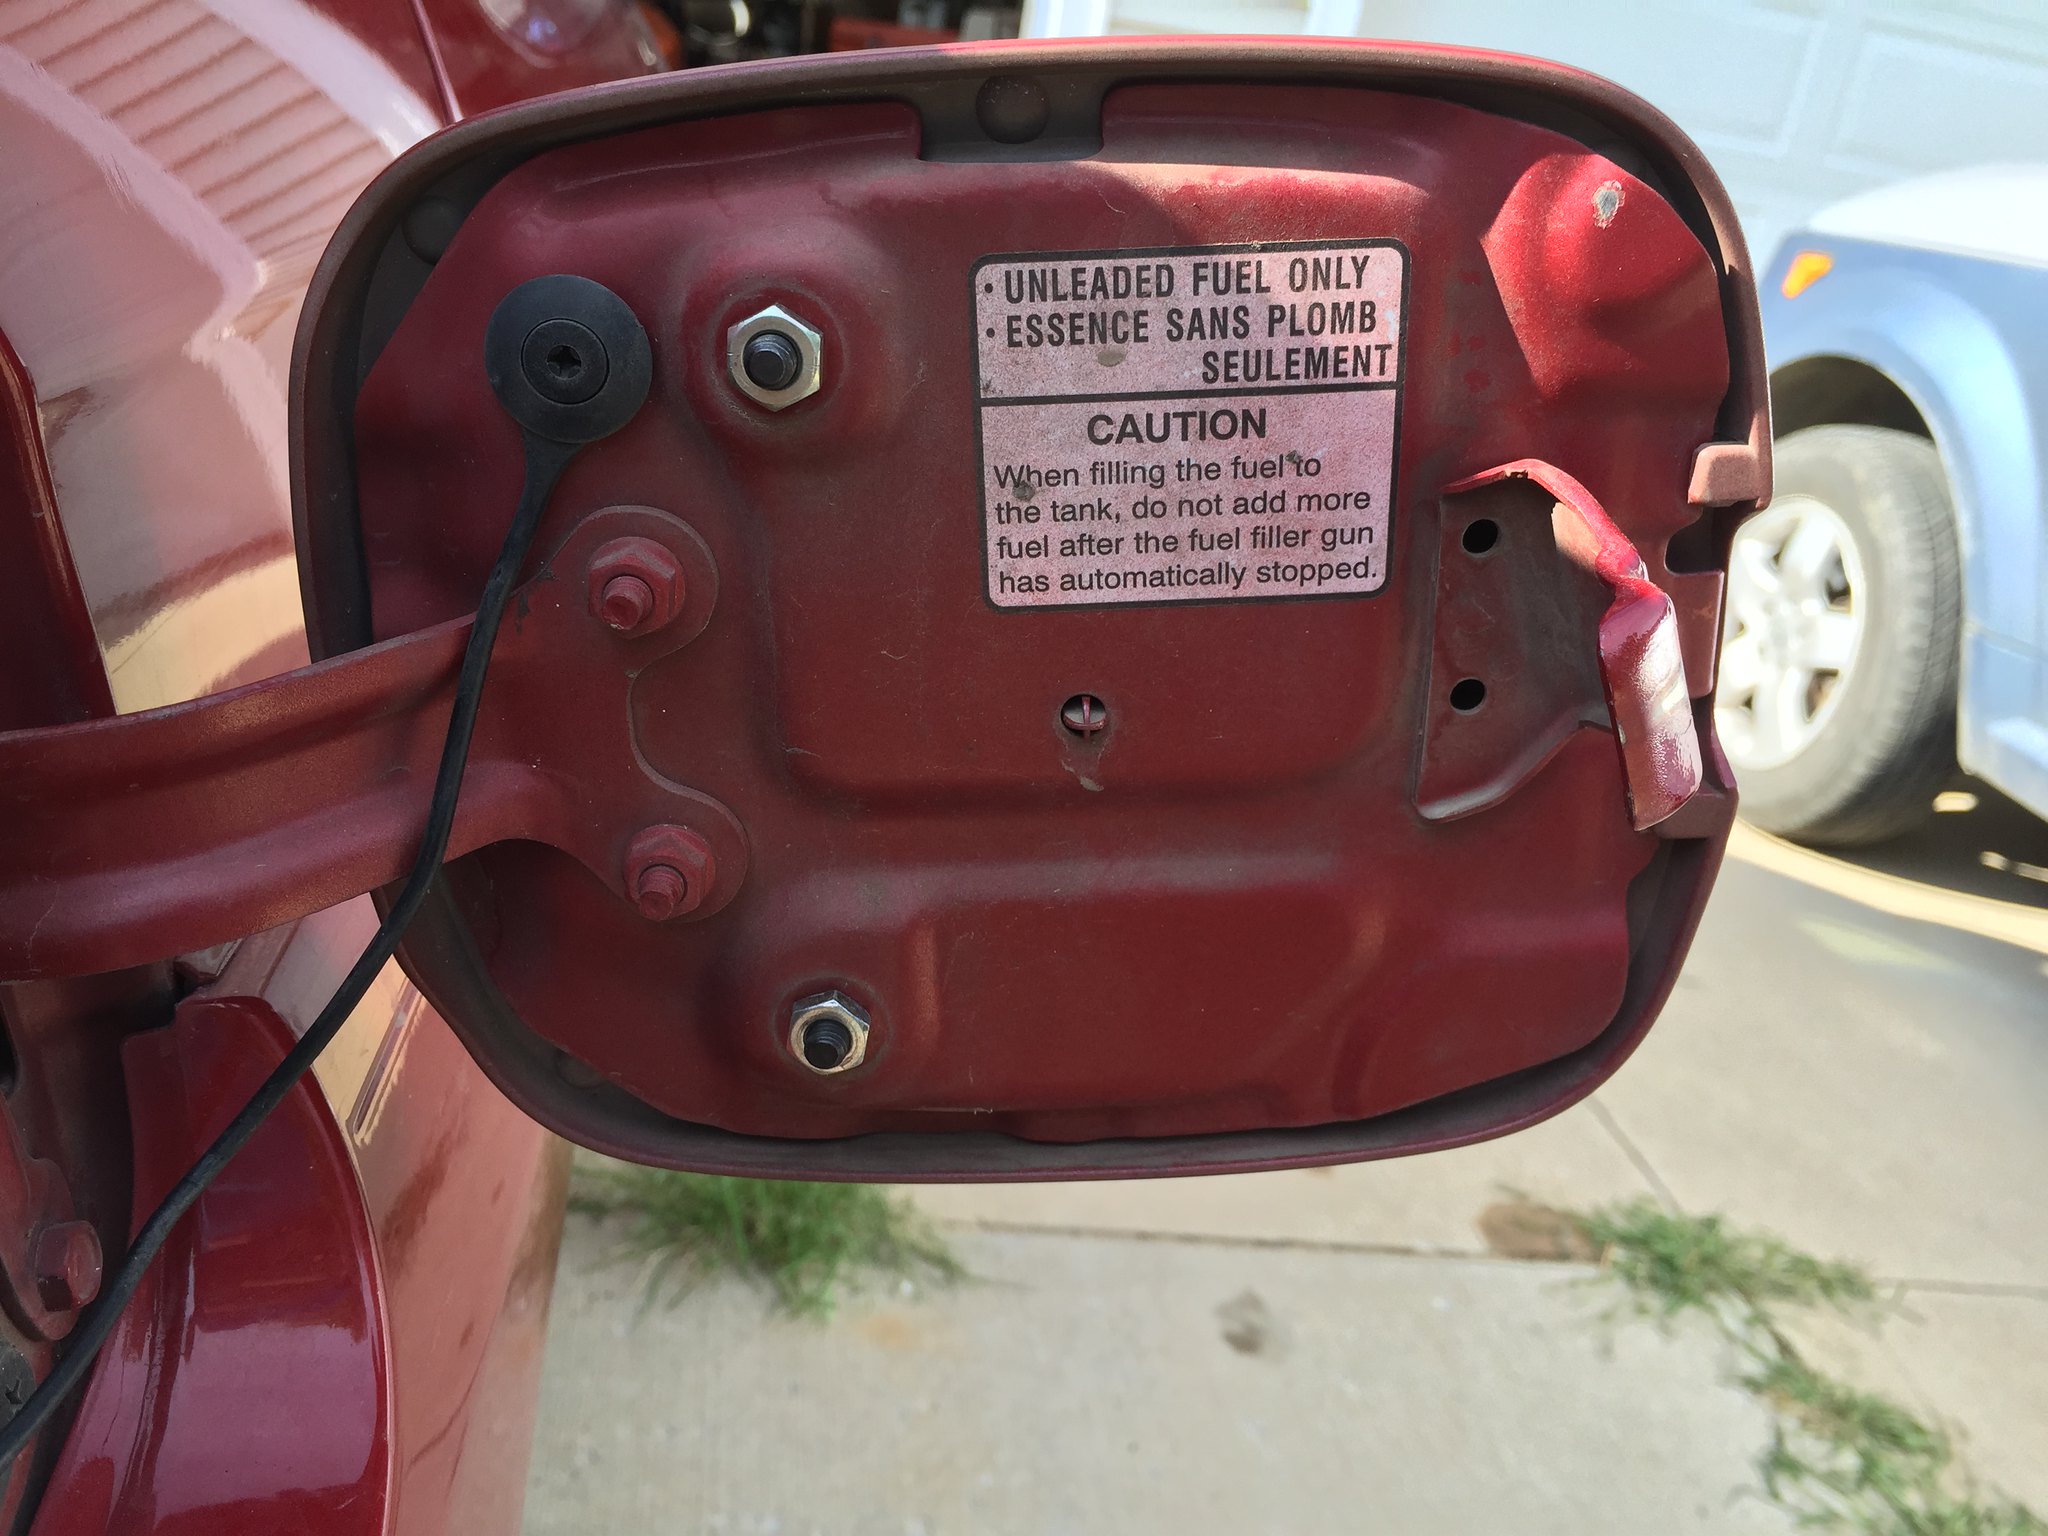
Driver's mirror held on by 1 screw (base replaced)
O2 sensor bad (replaced)
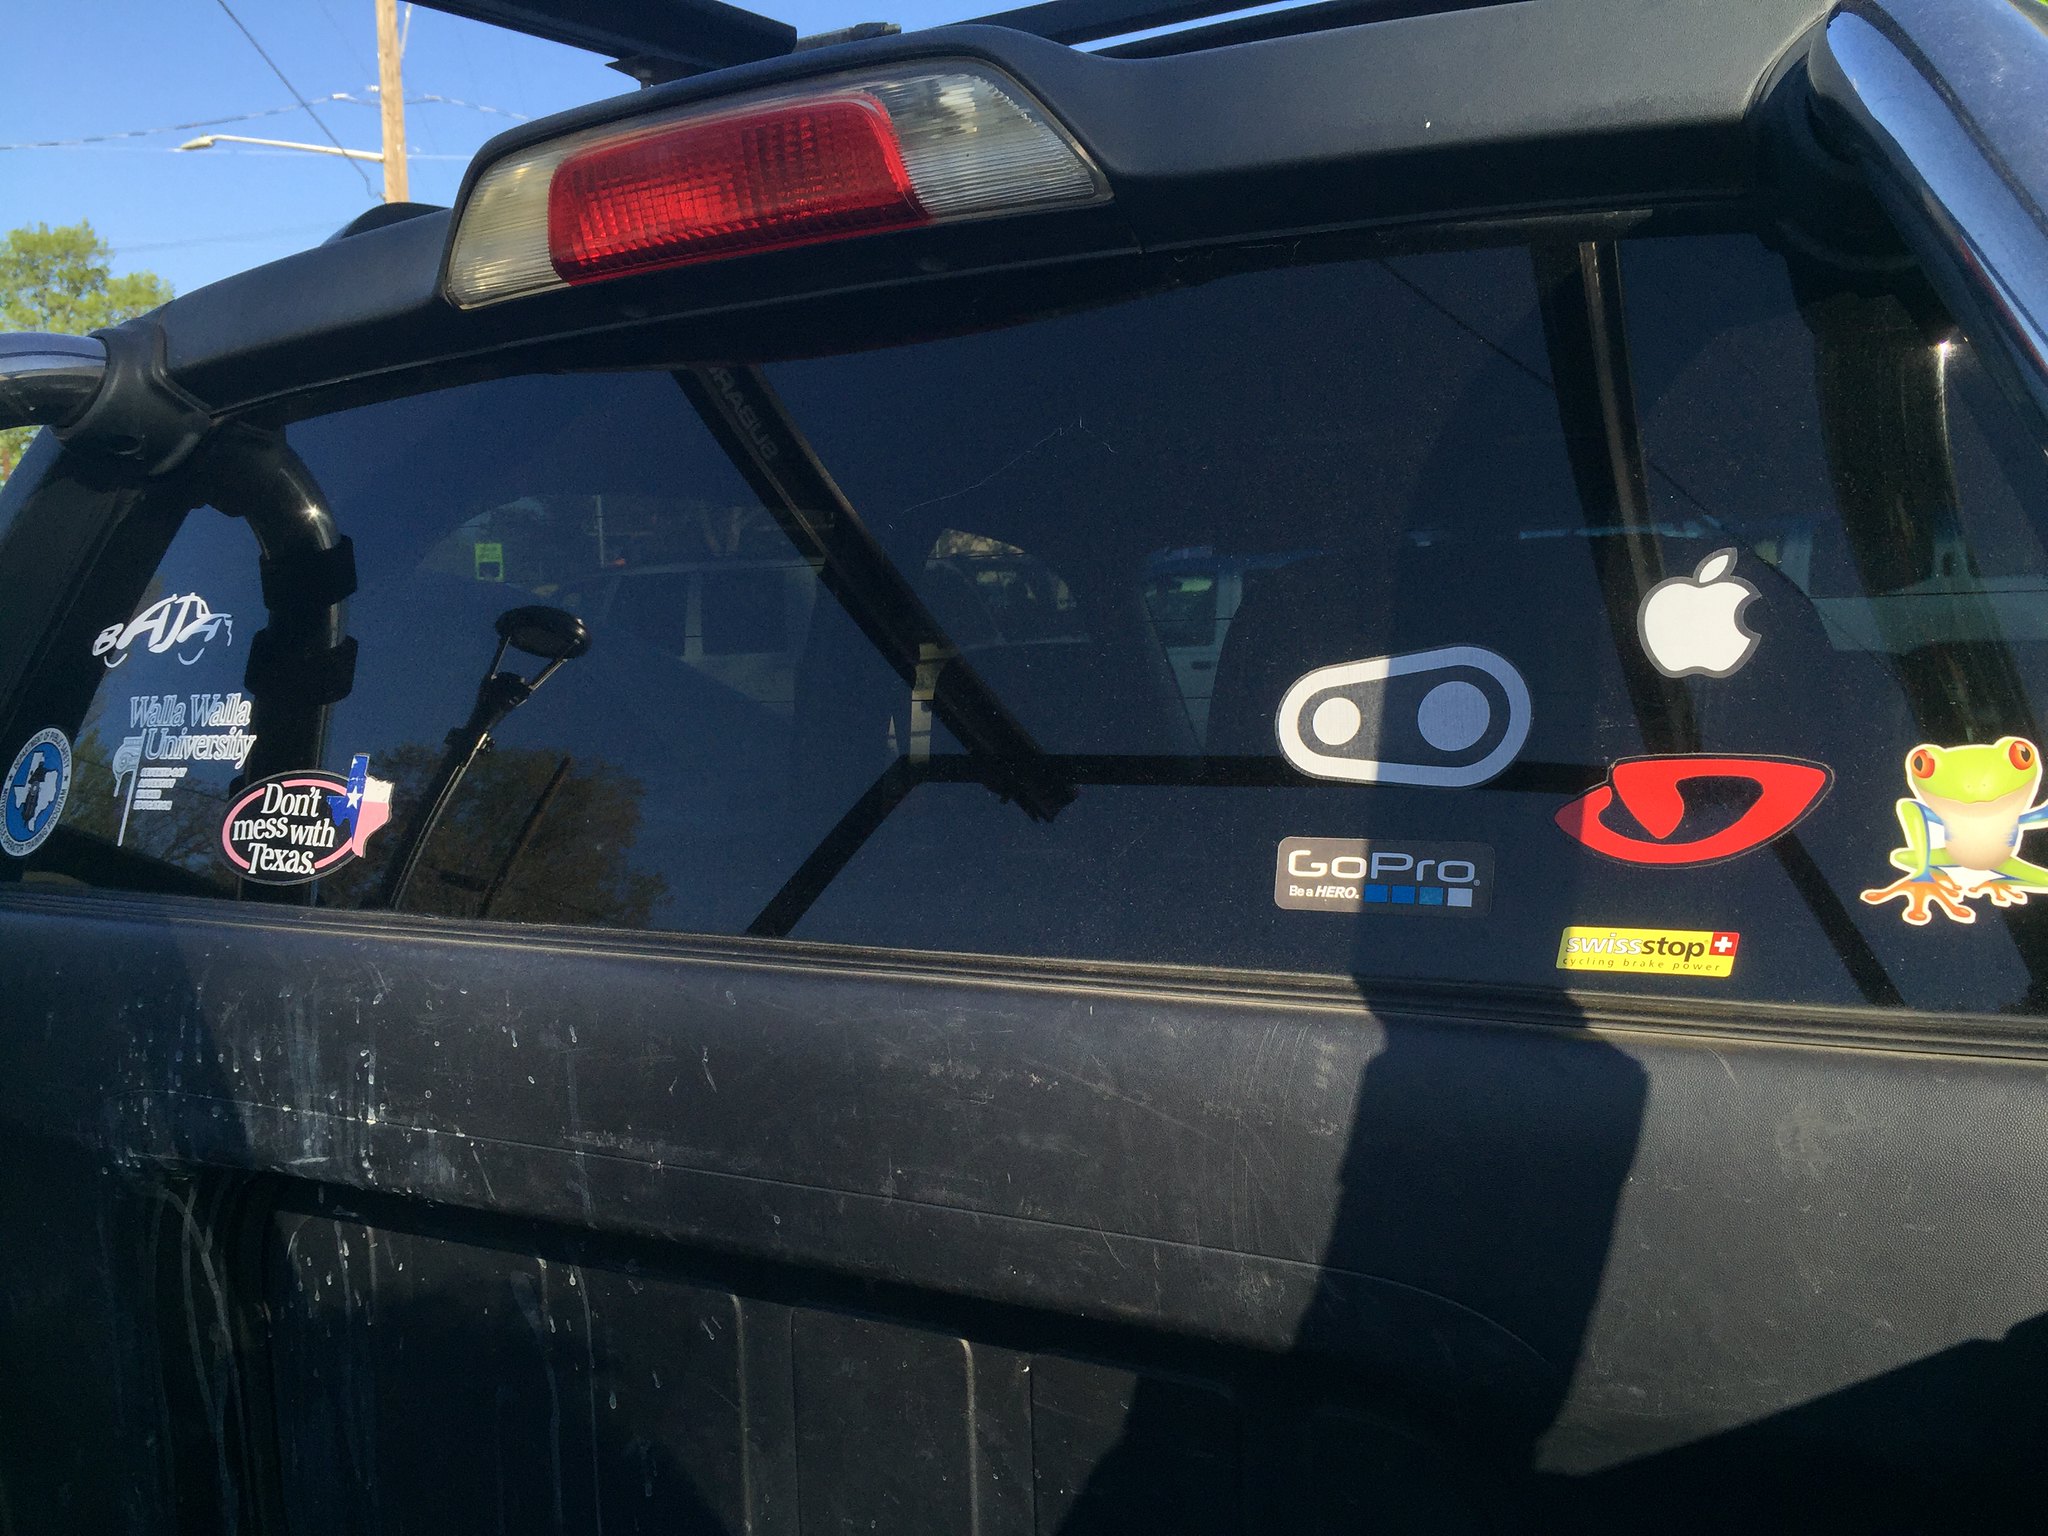
Really dirty (hours of cleaning, seats and center console removed to clean, gum scraped off the back window, etc.)
Interesting story from the trip home; The Baja was located 1.5 hours away from home. We were lucky enough to stop for gas before making the trip back home because we got out, closed the doors, and when we came back, the alarm went off. After trying to figure it out, we called the previous owner. He said, "yeah, it's the small button on the remote...wait...OH! I forgot to give that to you!" It could have been way worse.
I have never seen a Baja go as cheap as mine since then. I continue to look and I continue to praise God for blessing me with such an awesome, safe, reliable, and fun vehicle.
Oh, and here is a pic of the baja bug. I do miss it...
The mods begin:
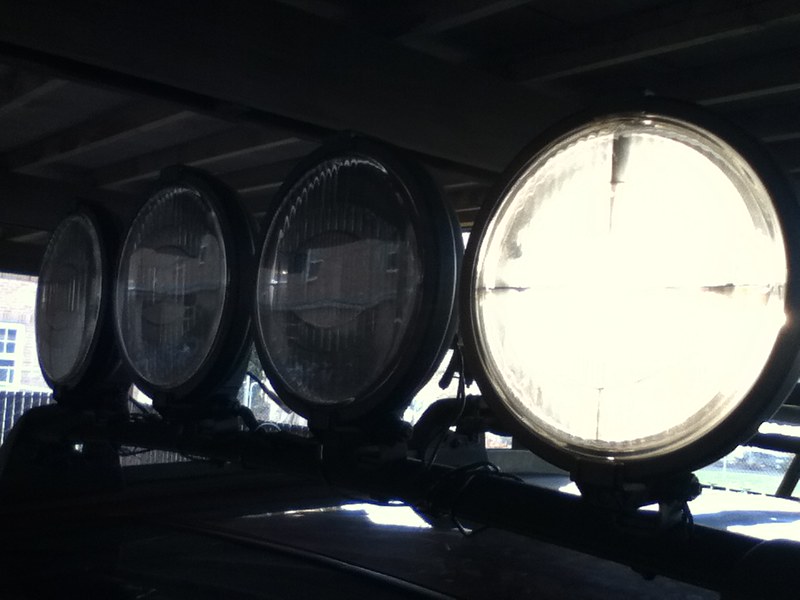
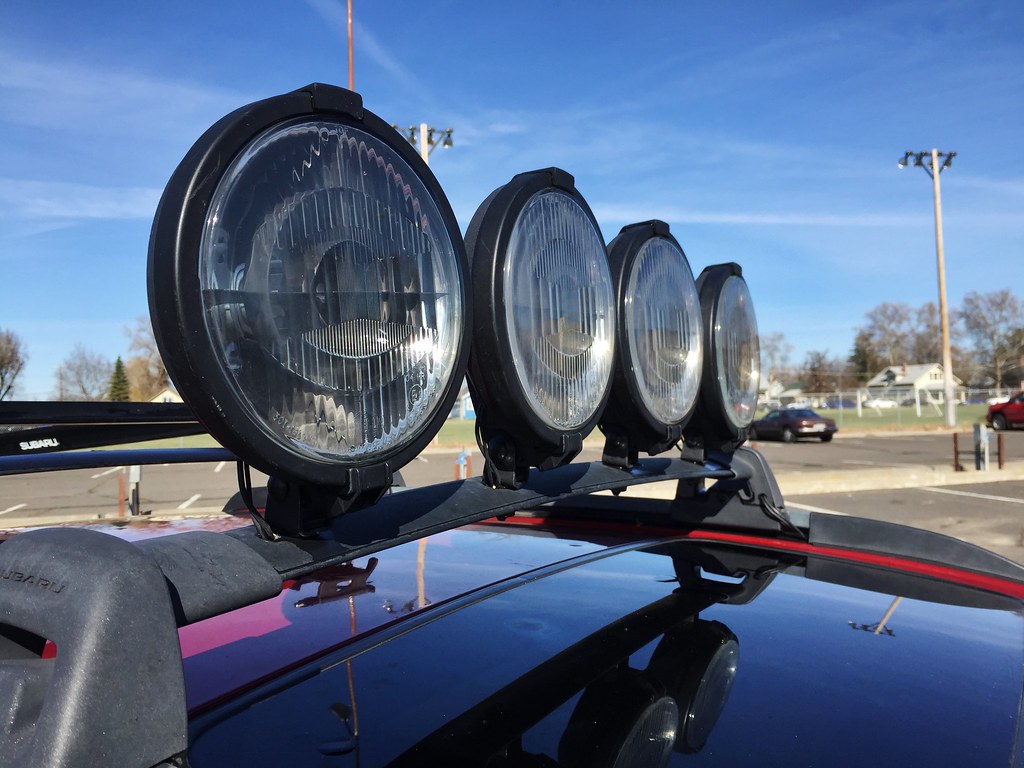
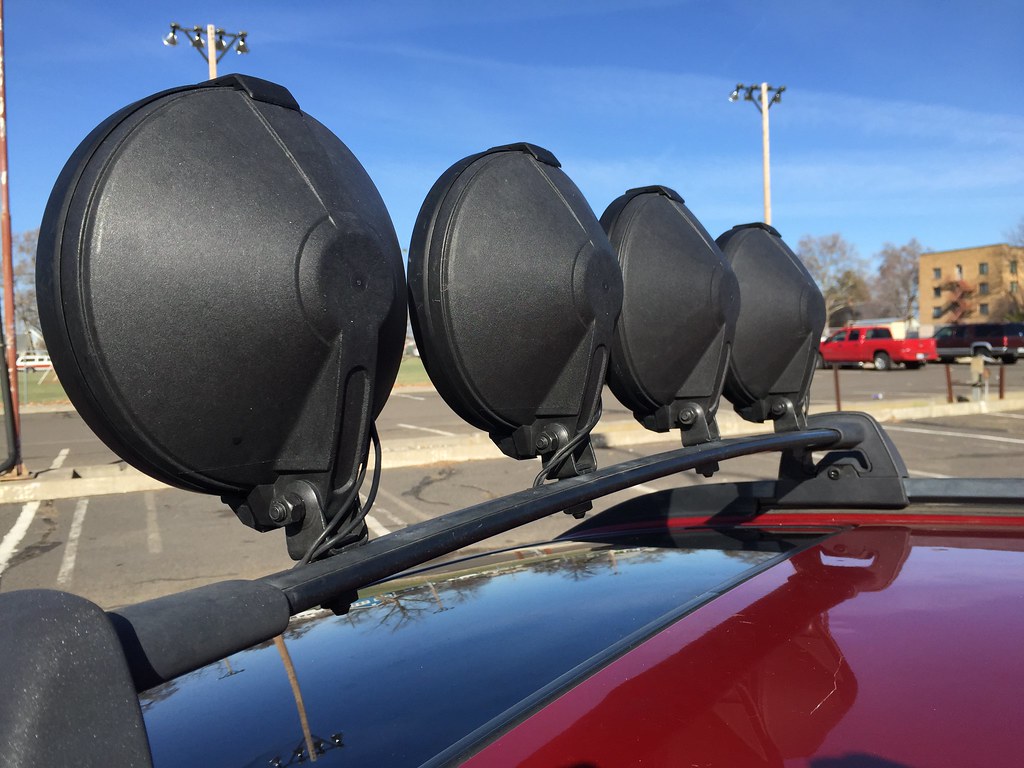
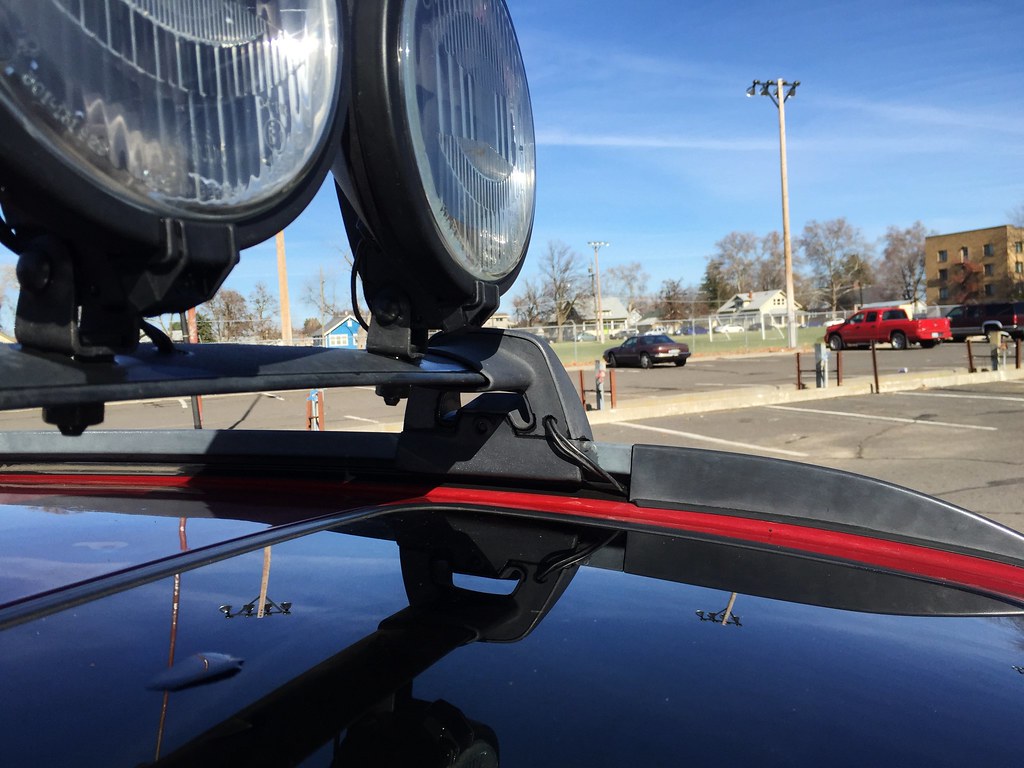
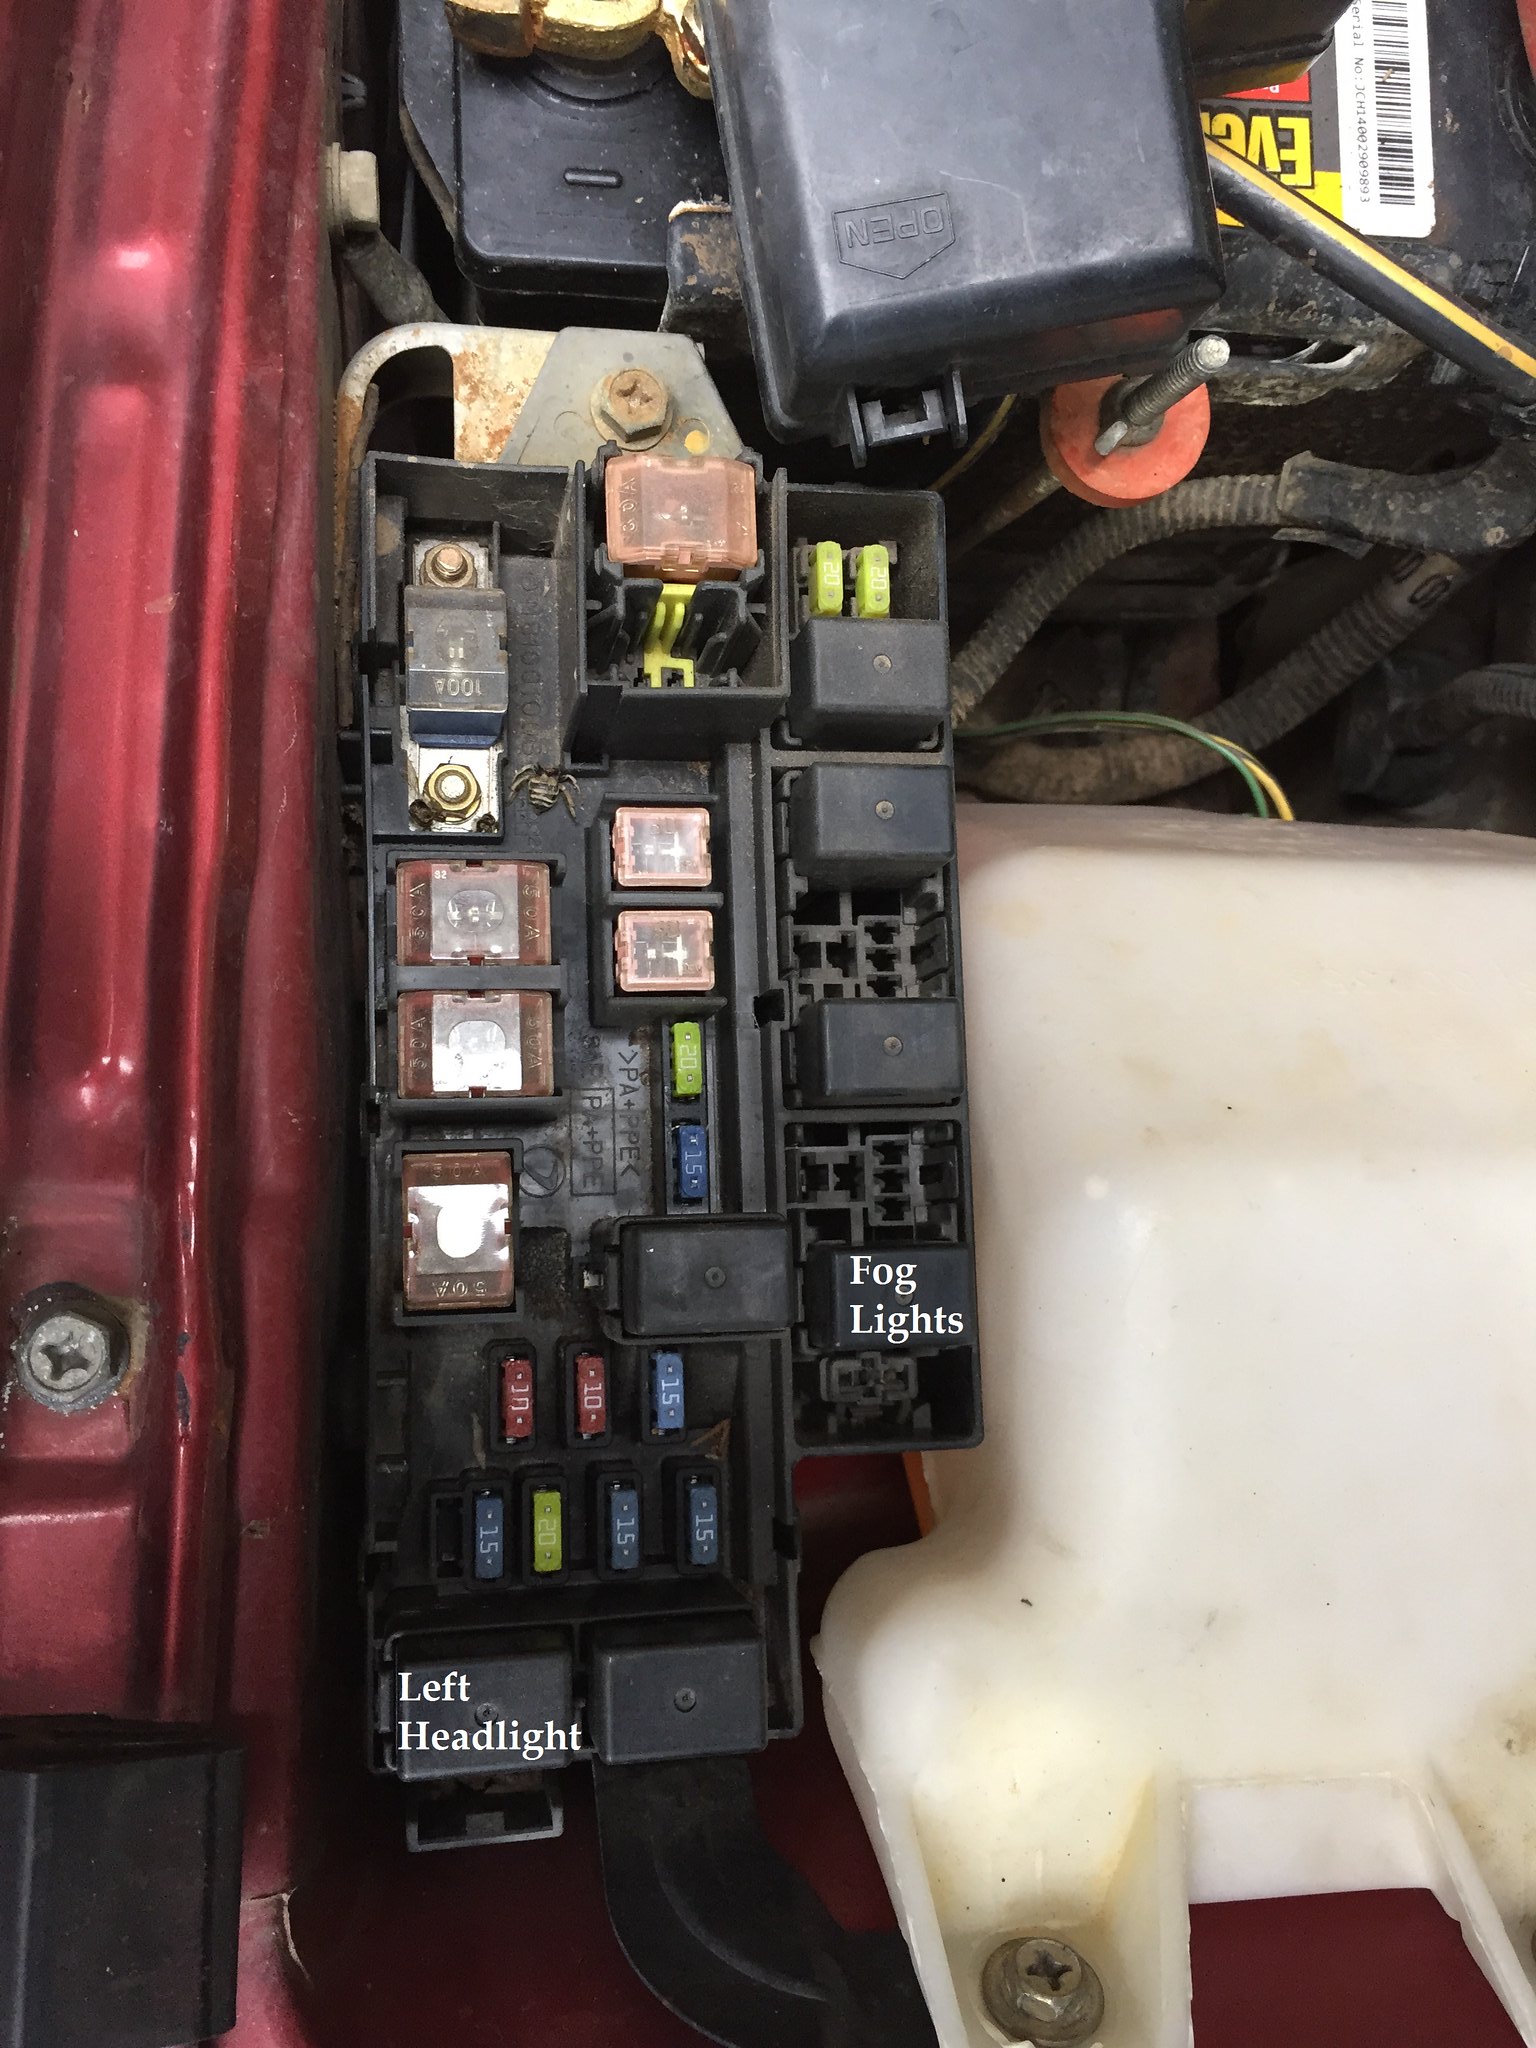
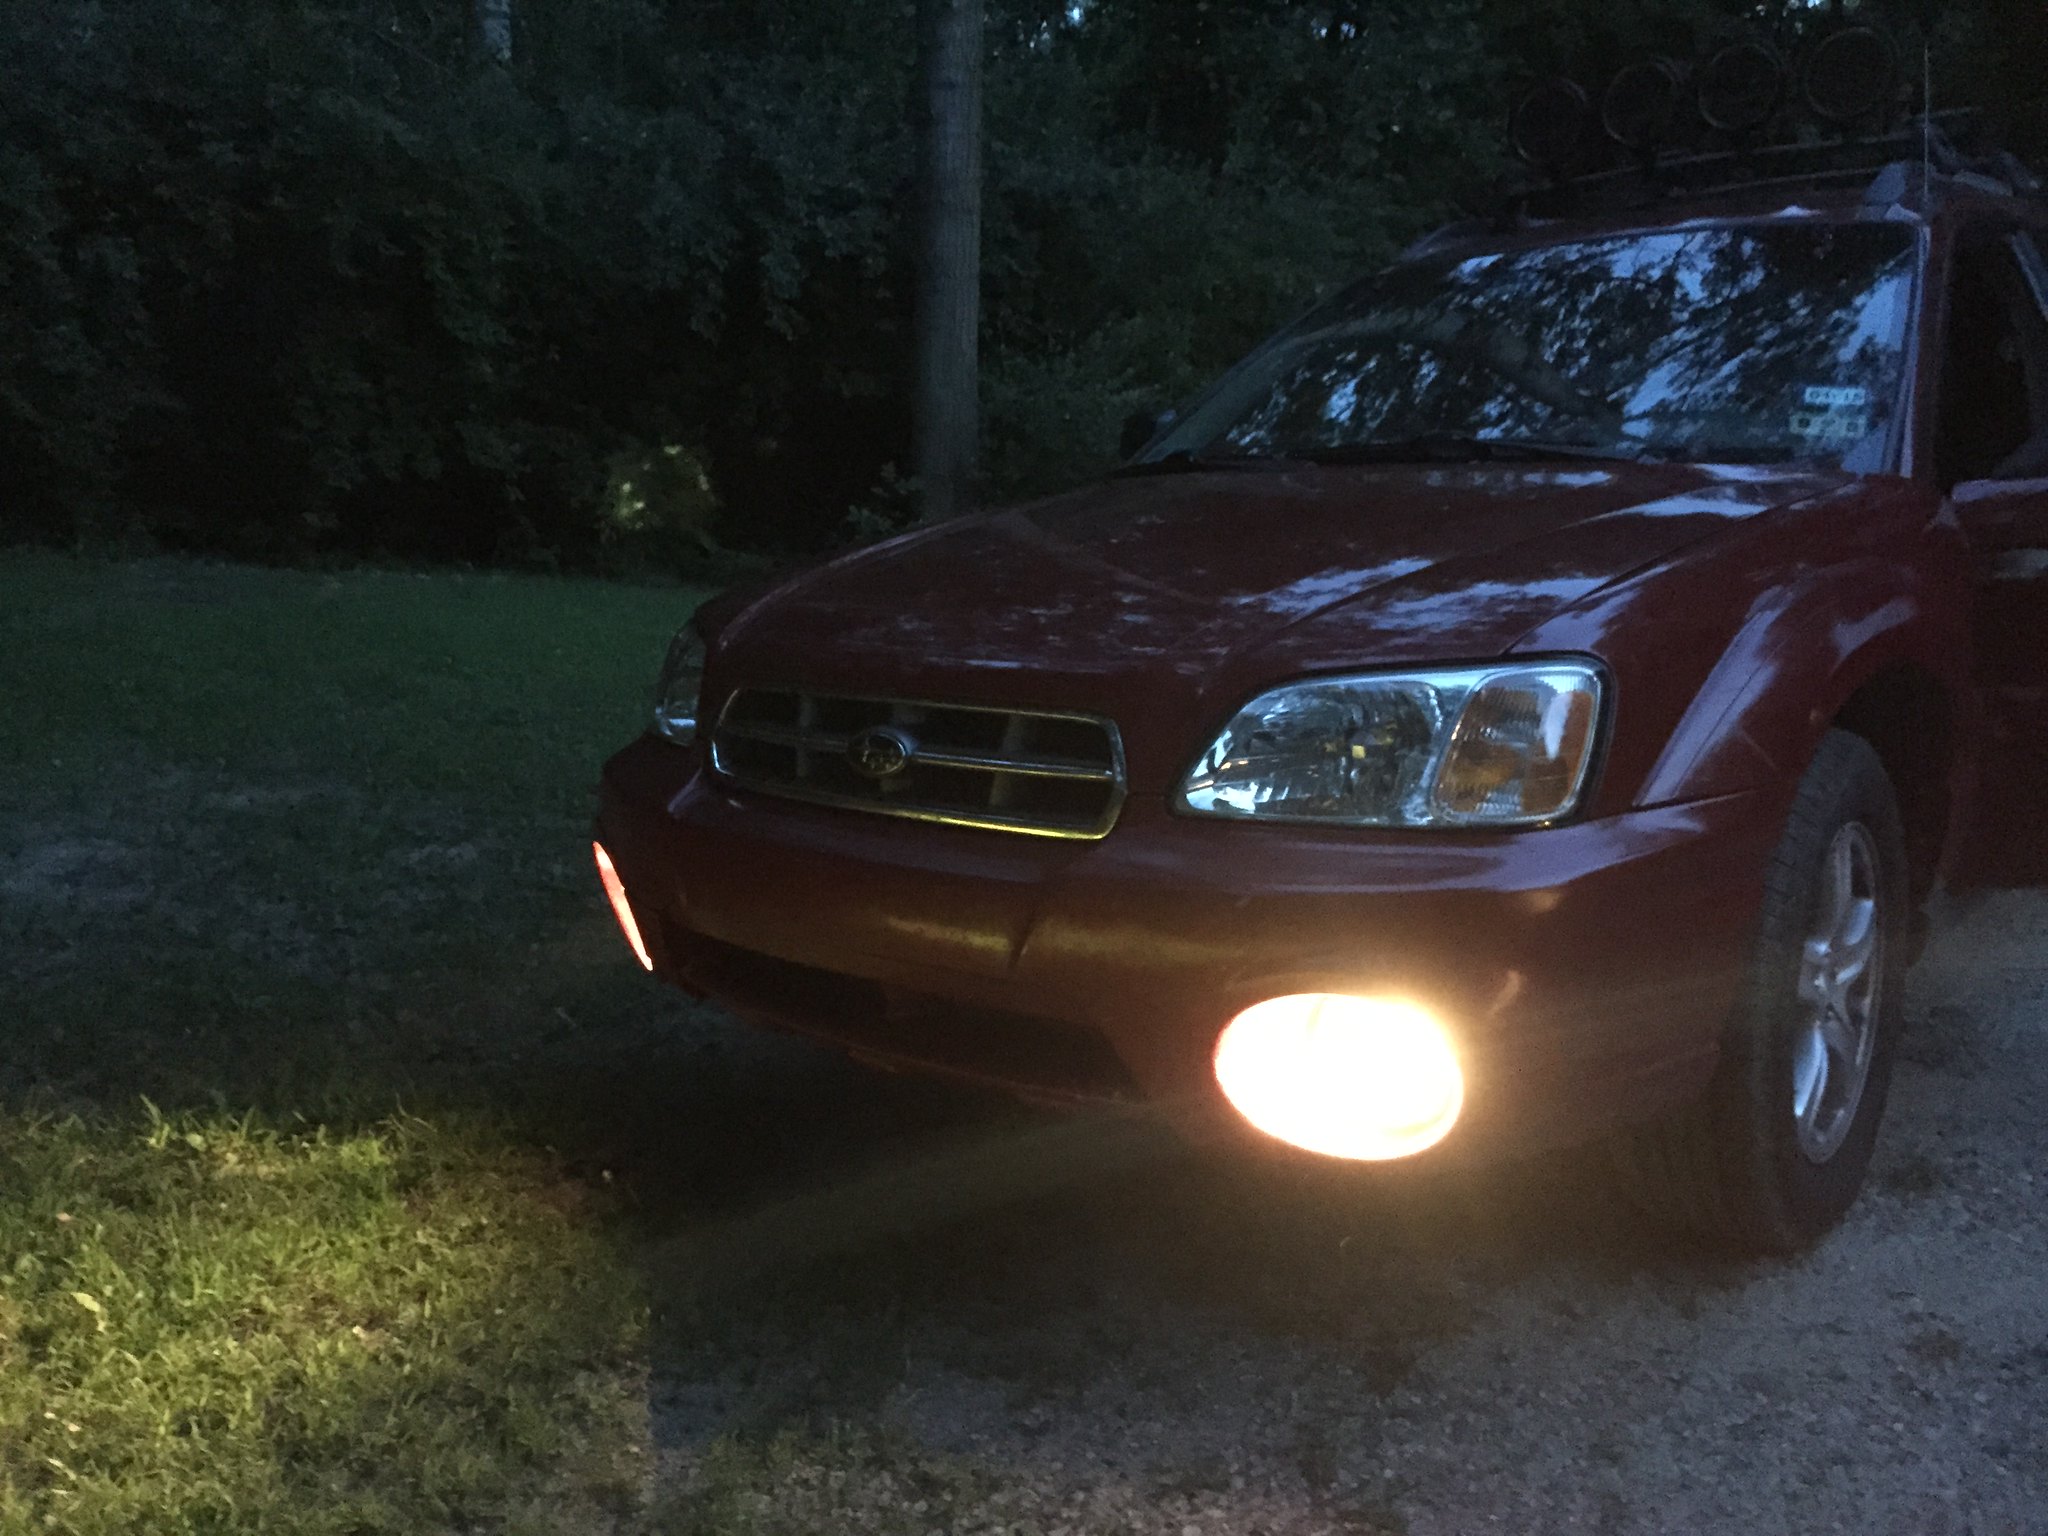
The first mod I did after repairing the stuff that needed fixing was to hook up the lights that were there "just for show." I unfortunately do not have a write-up, but here are pics of the finished product.

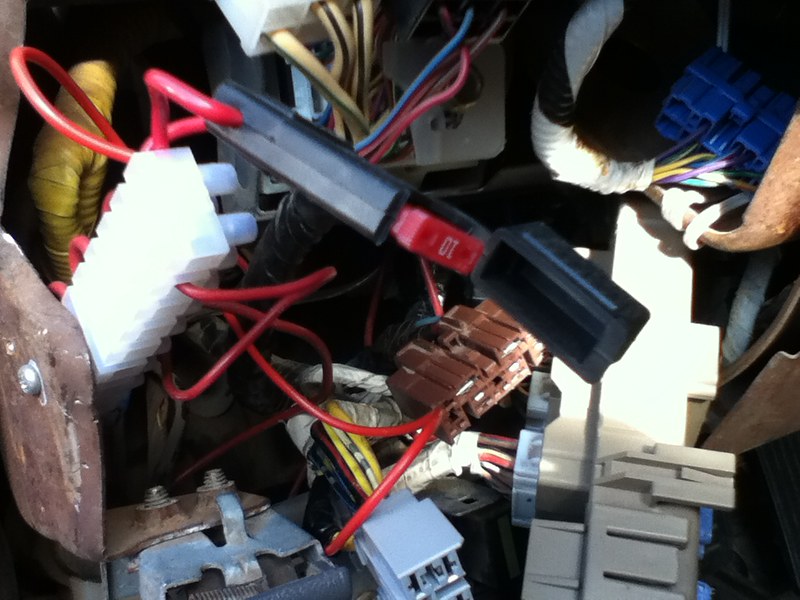
the switch. wired to the cruise control (moved to a more permanent home later)
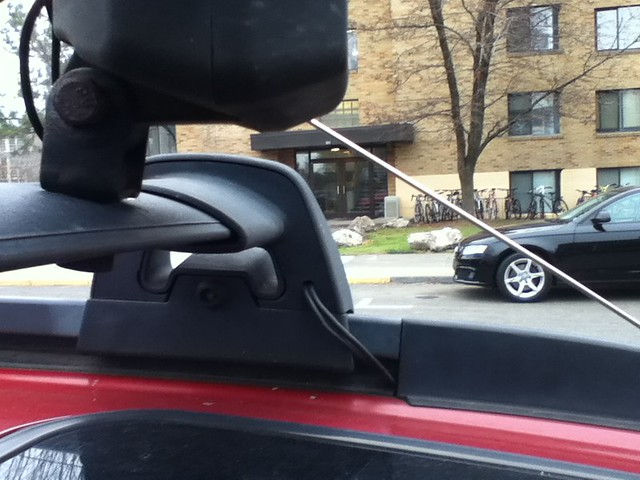
the wire goes down the A-pillar

It was really tough getting 5 wires through there...I recommend a small gauge wire.
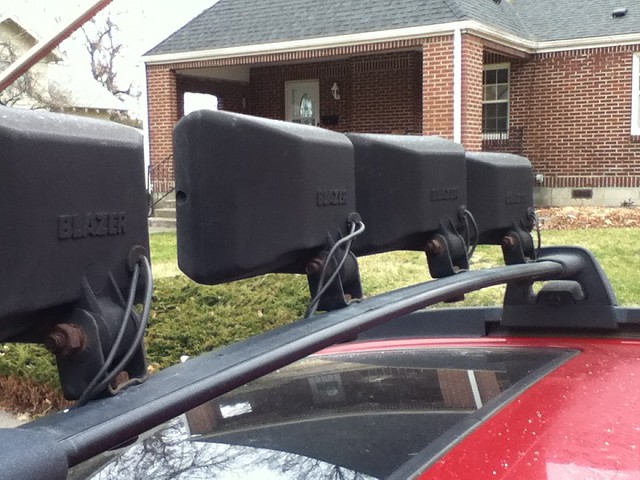
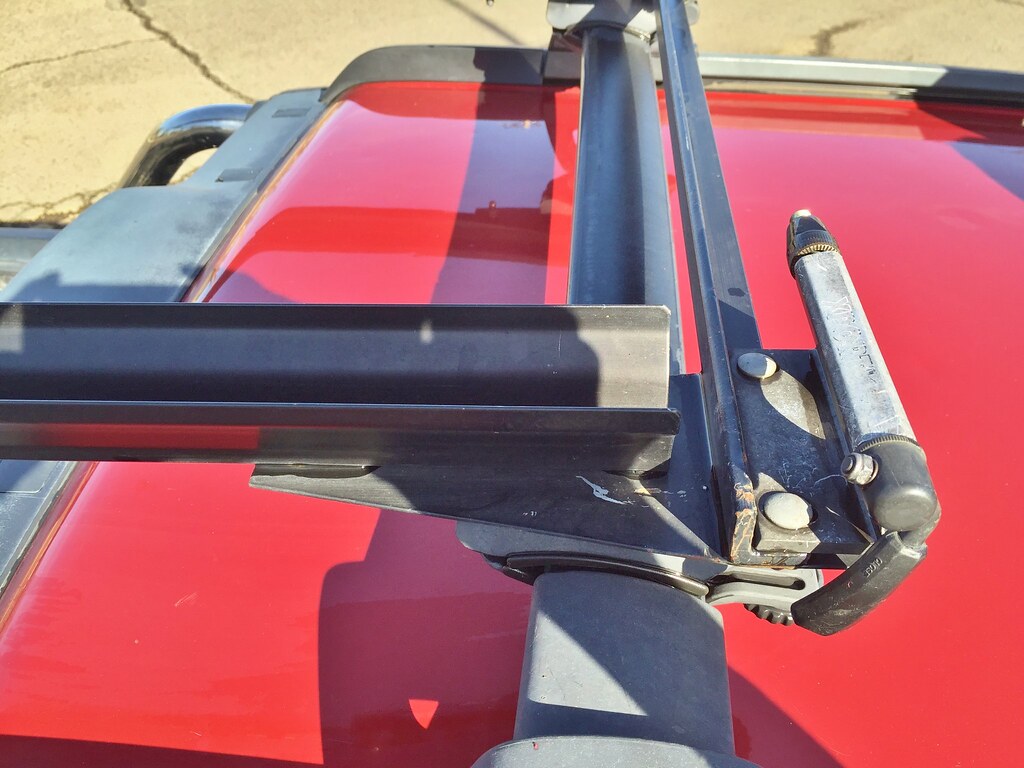
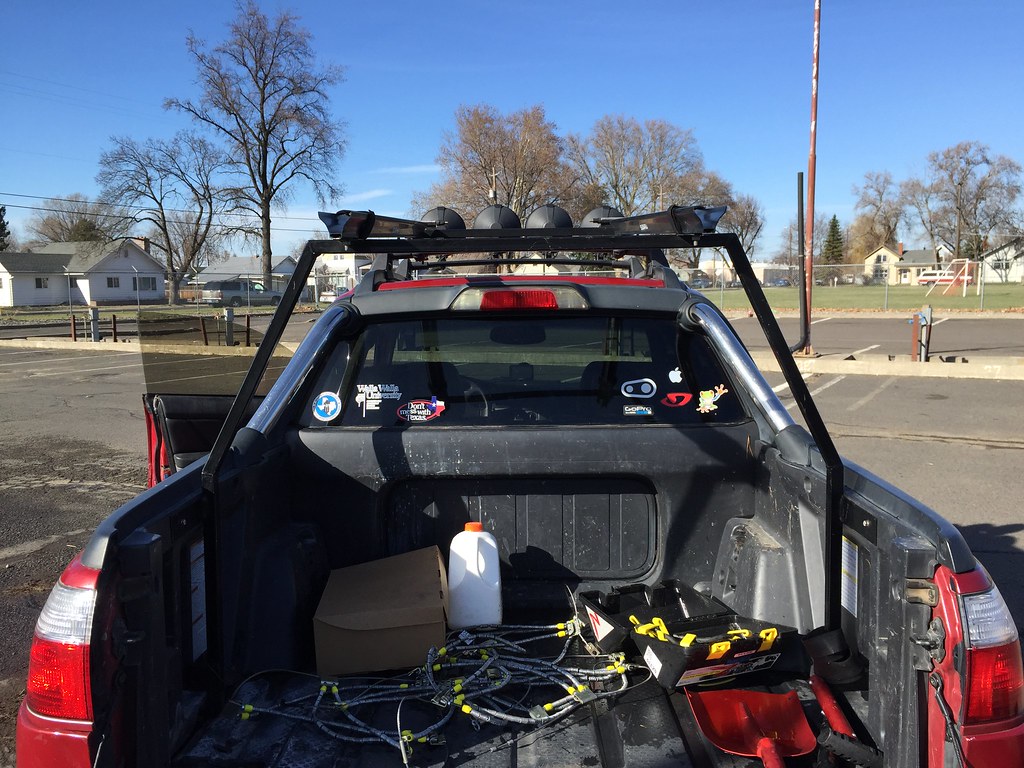
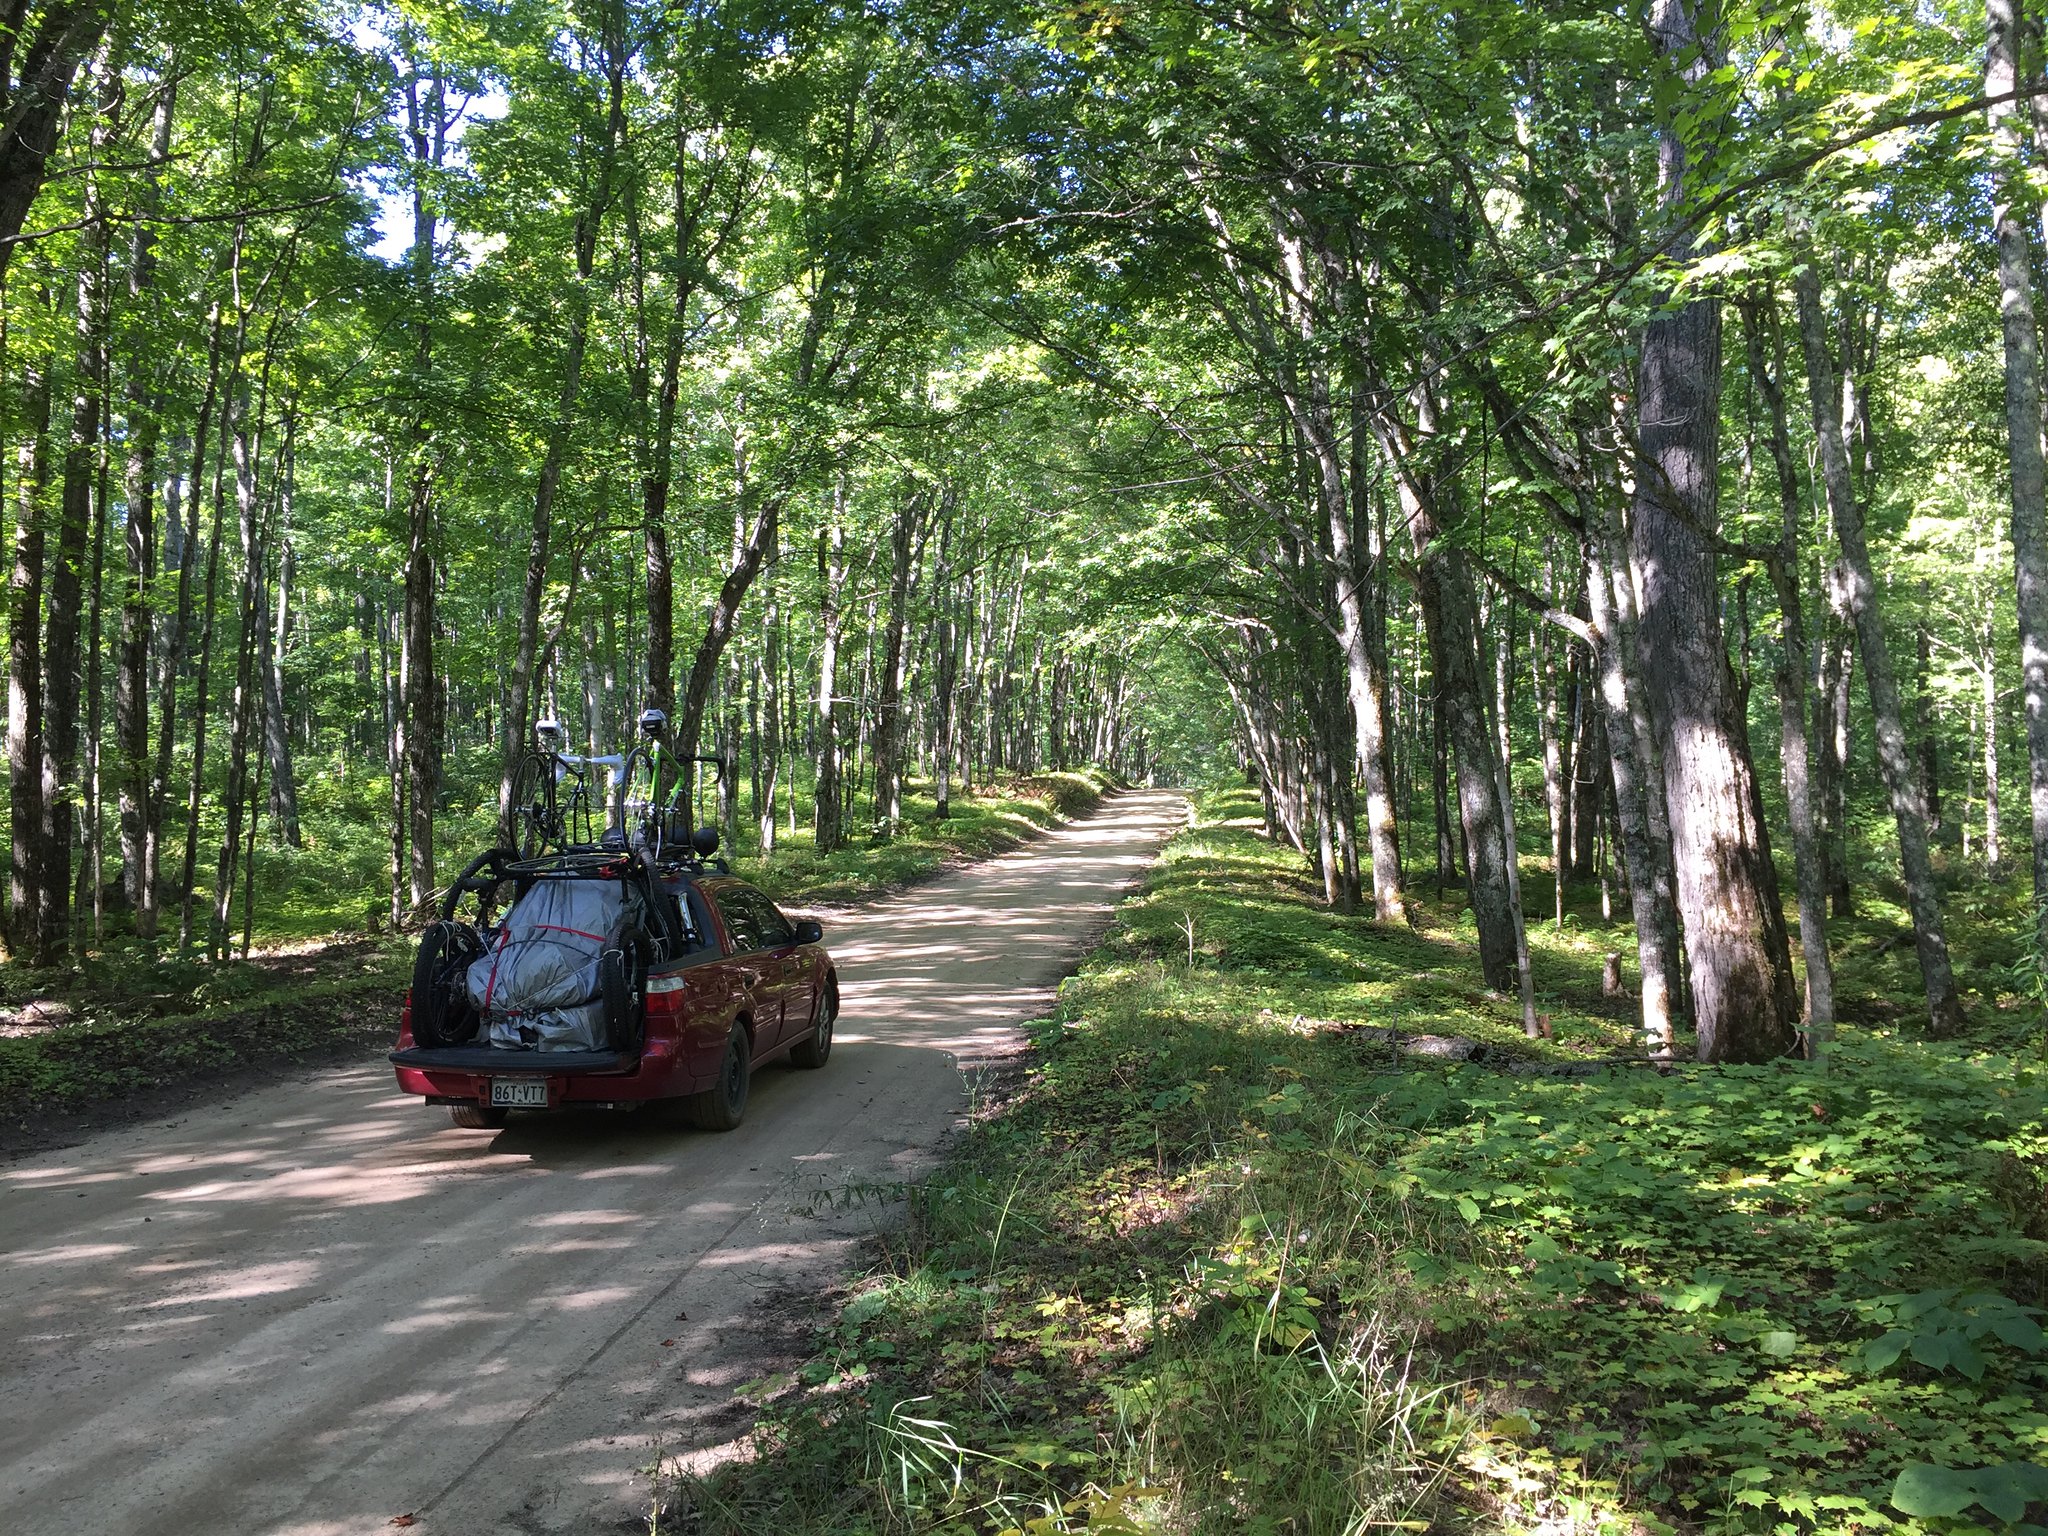
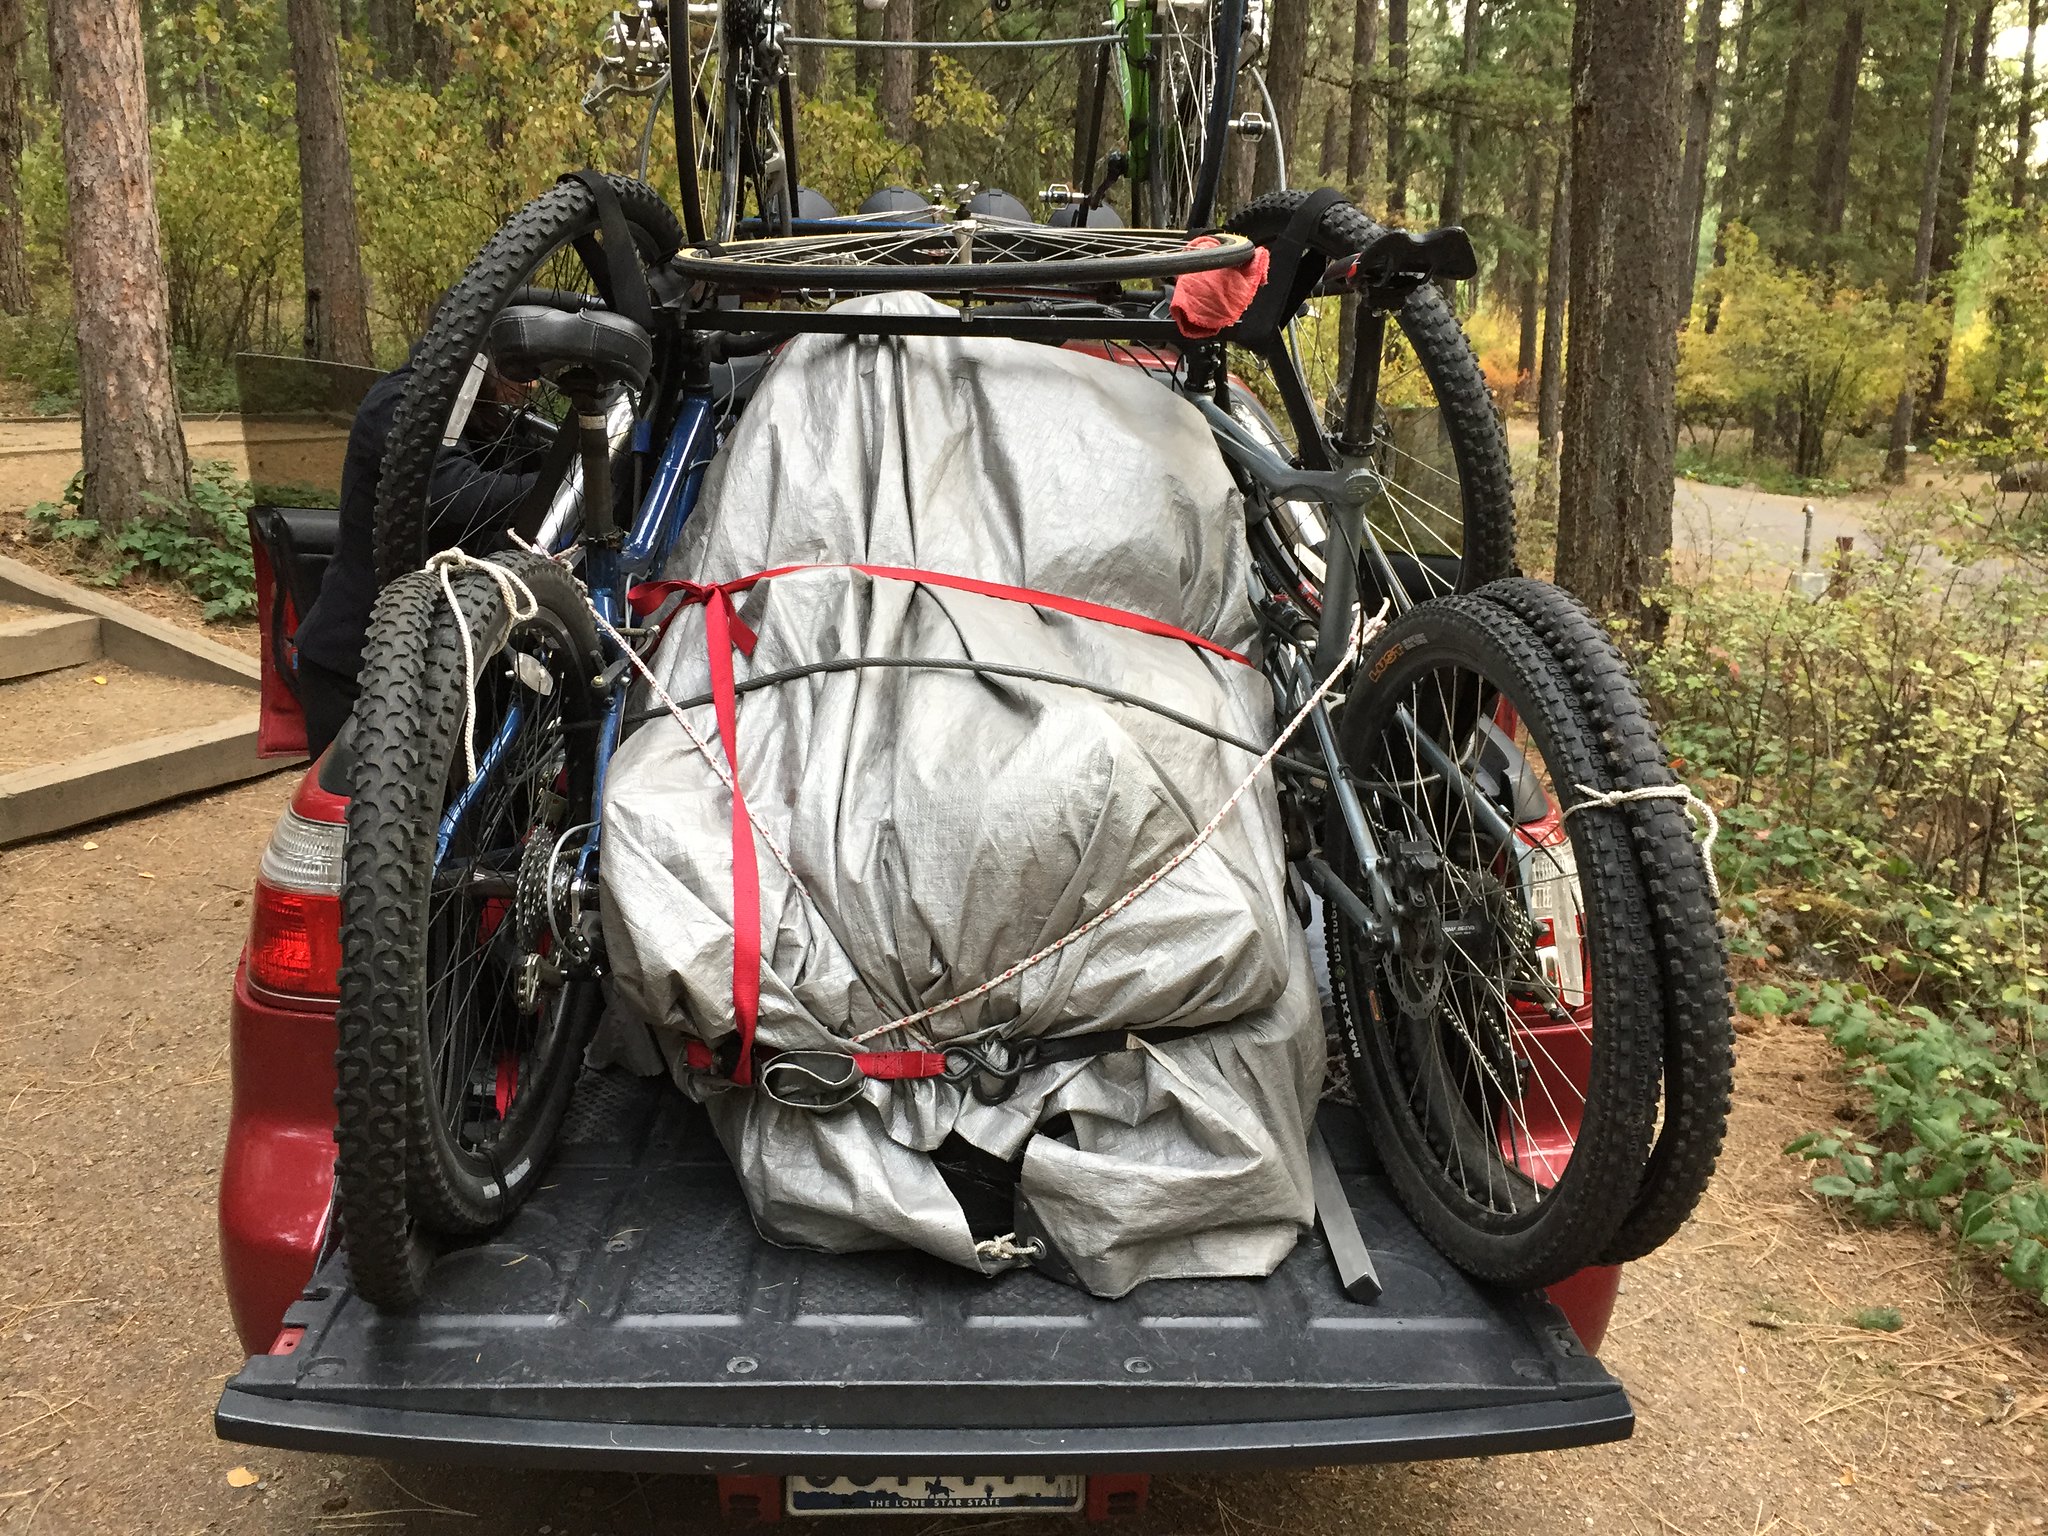
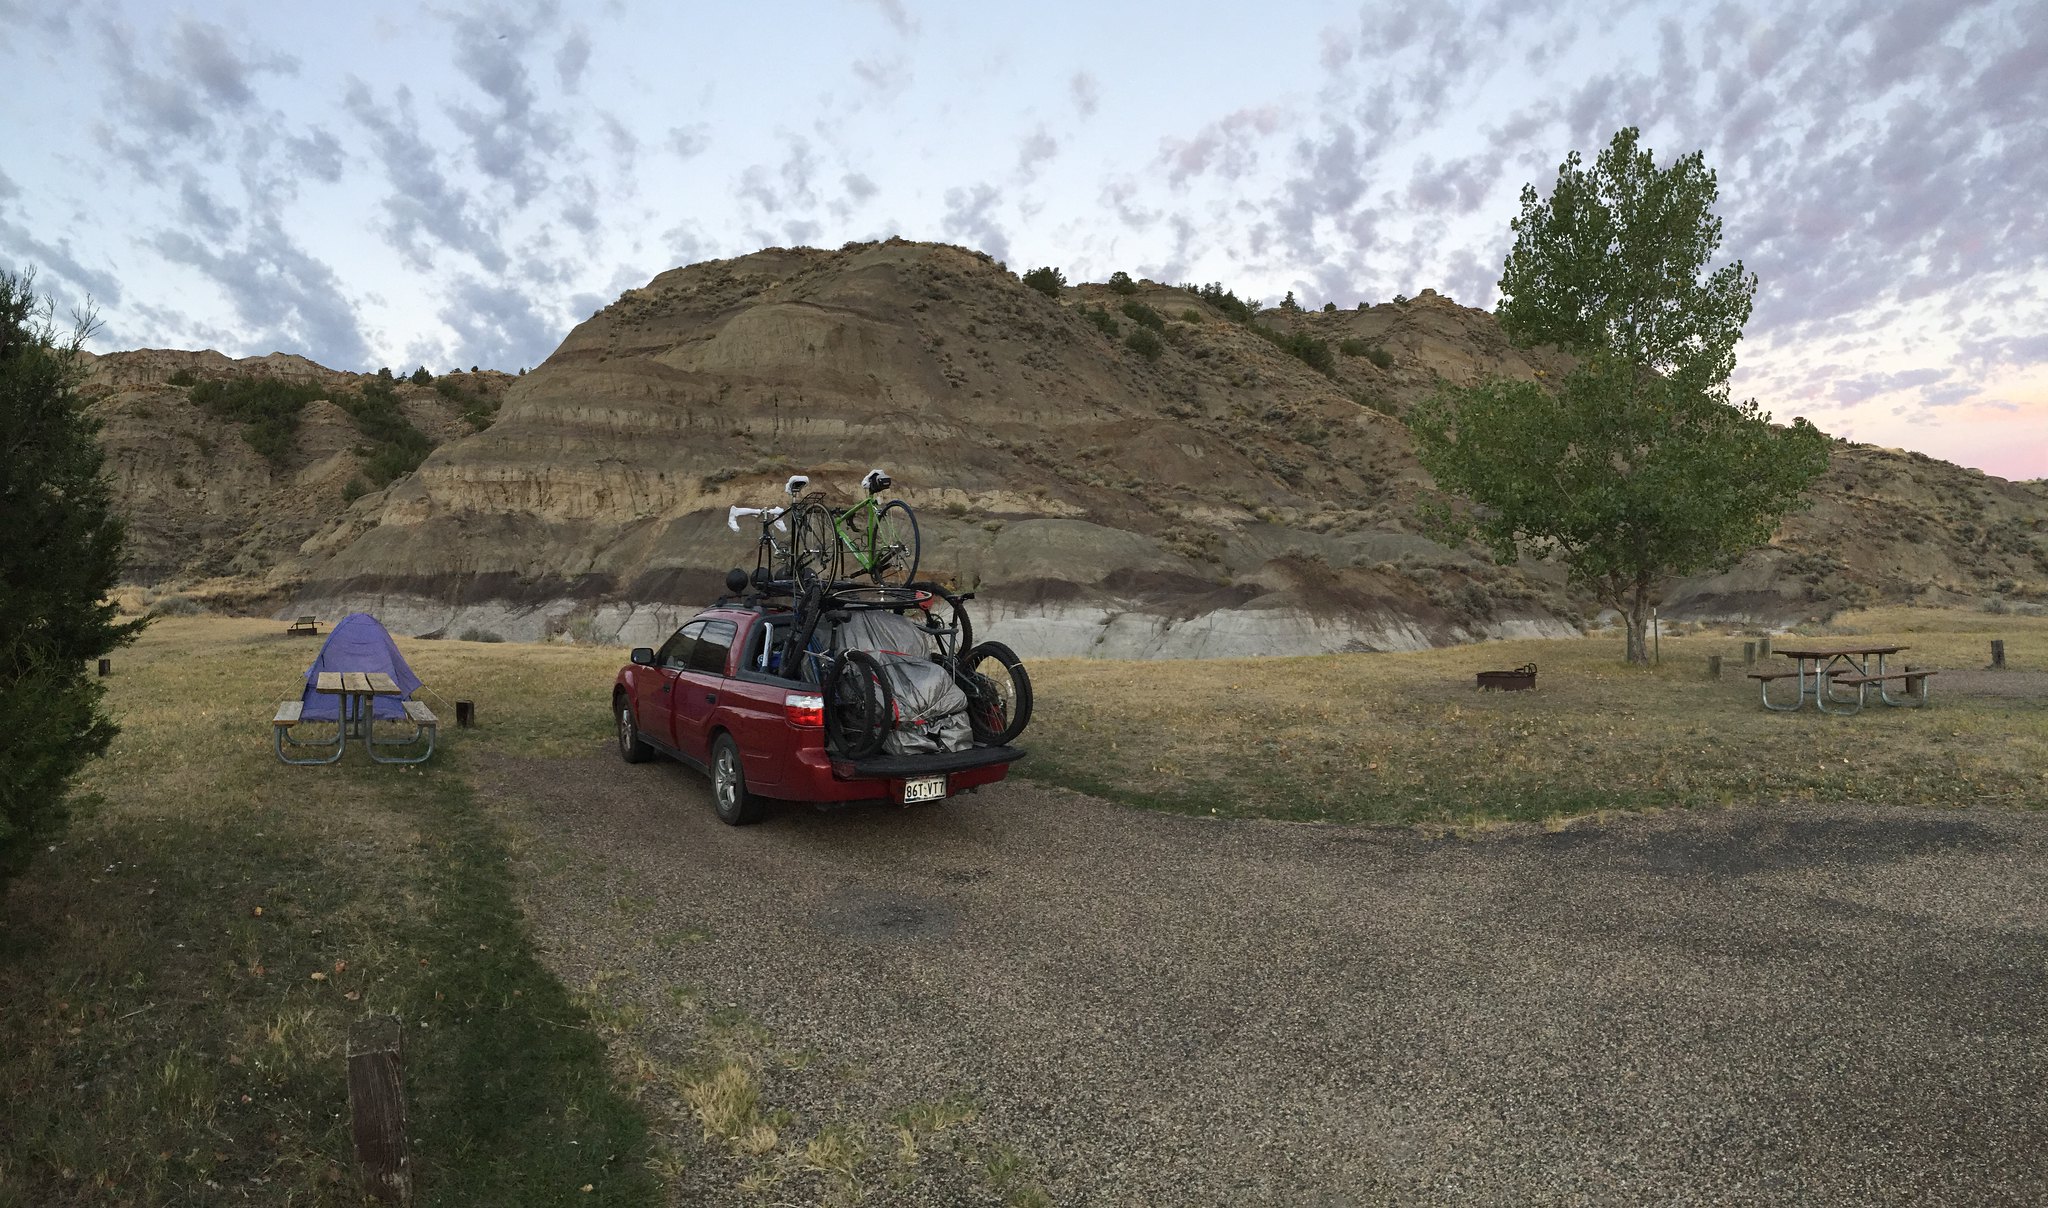
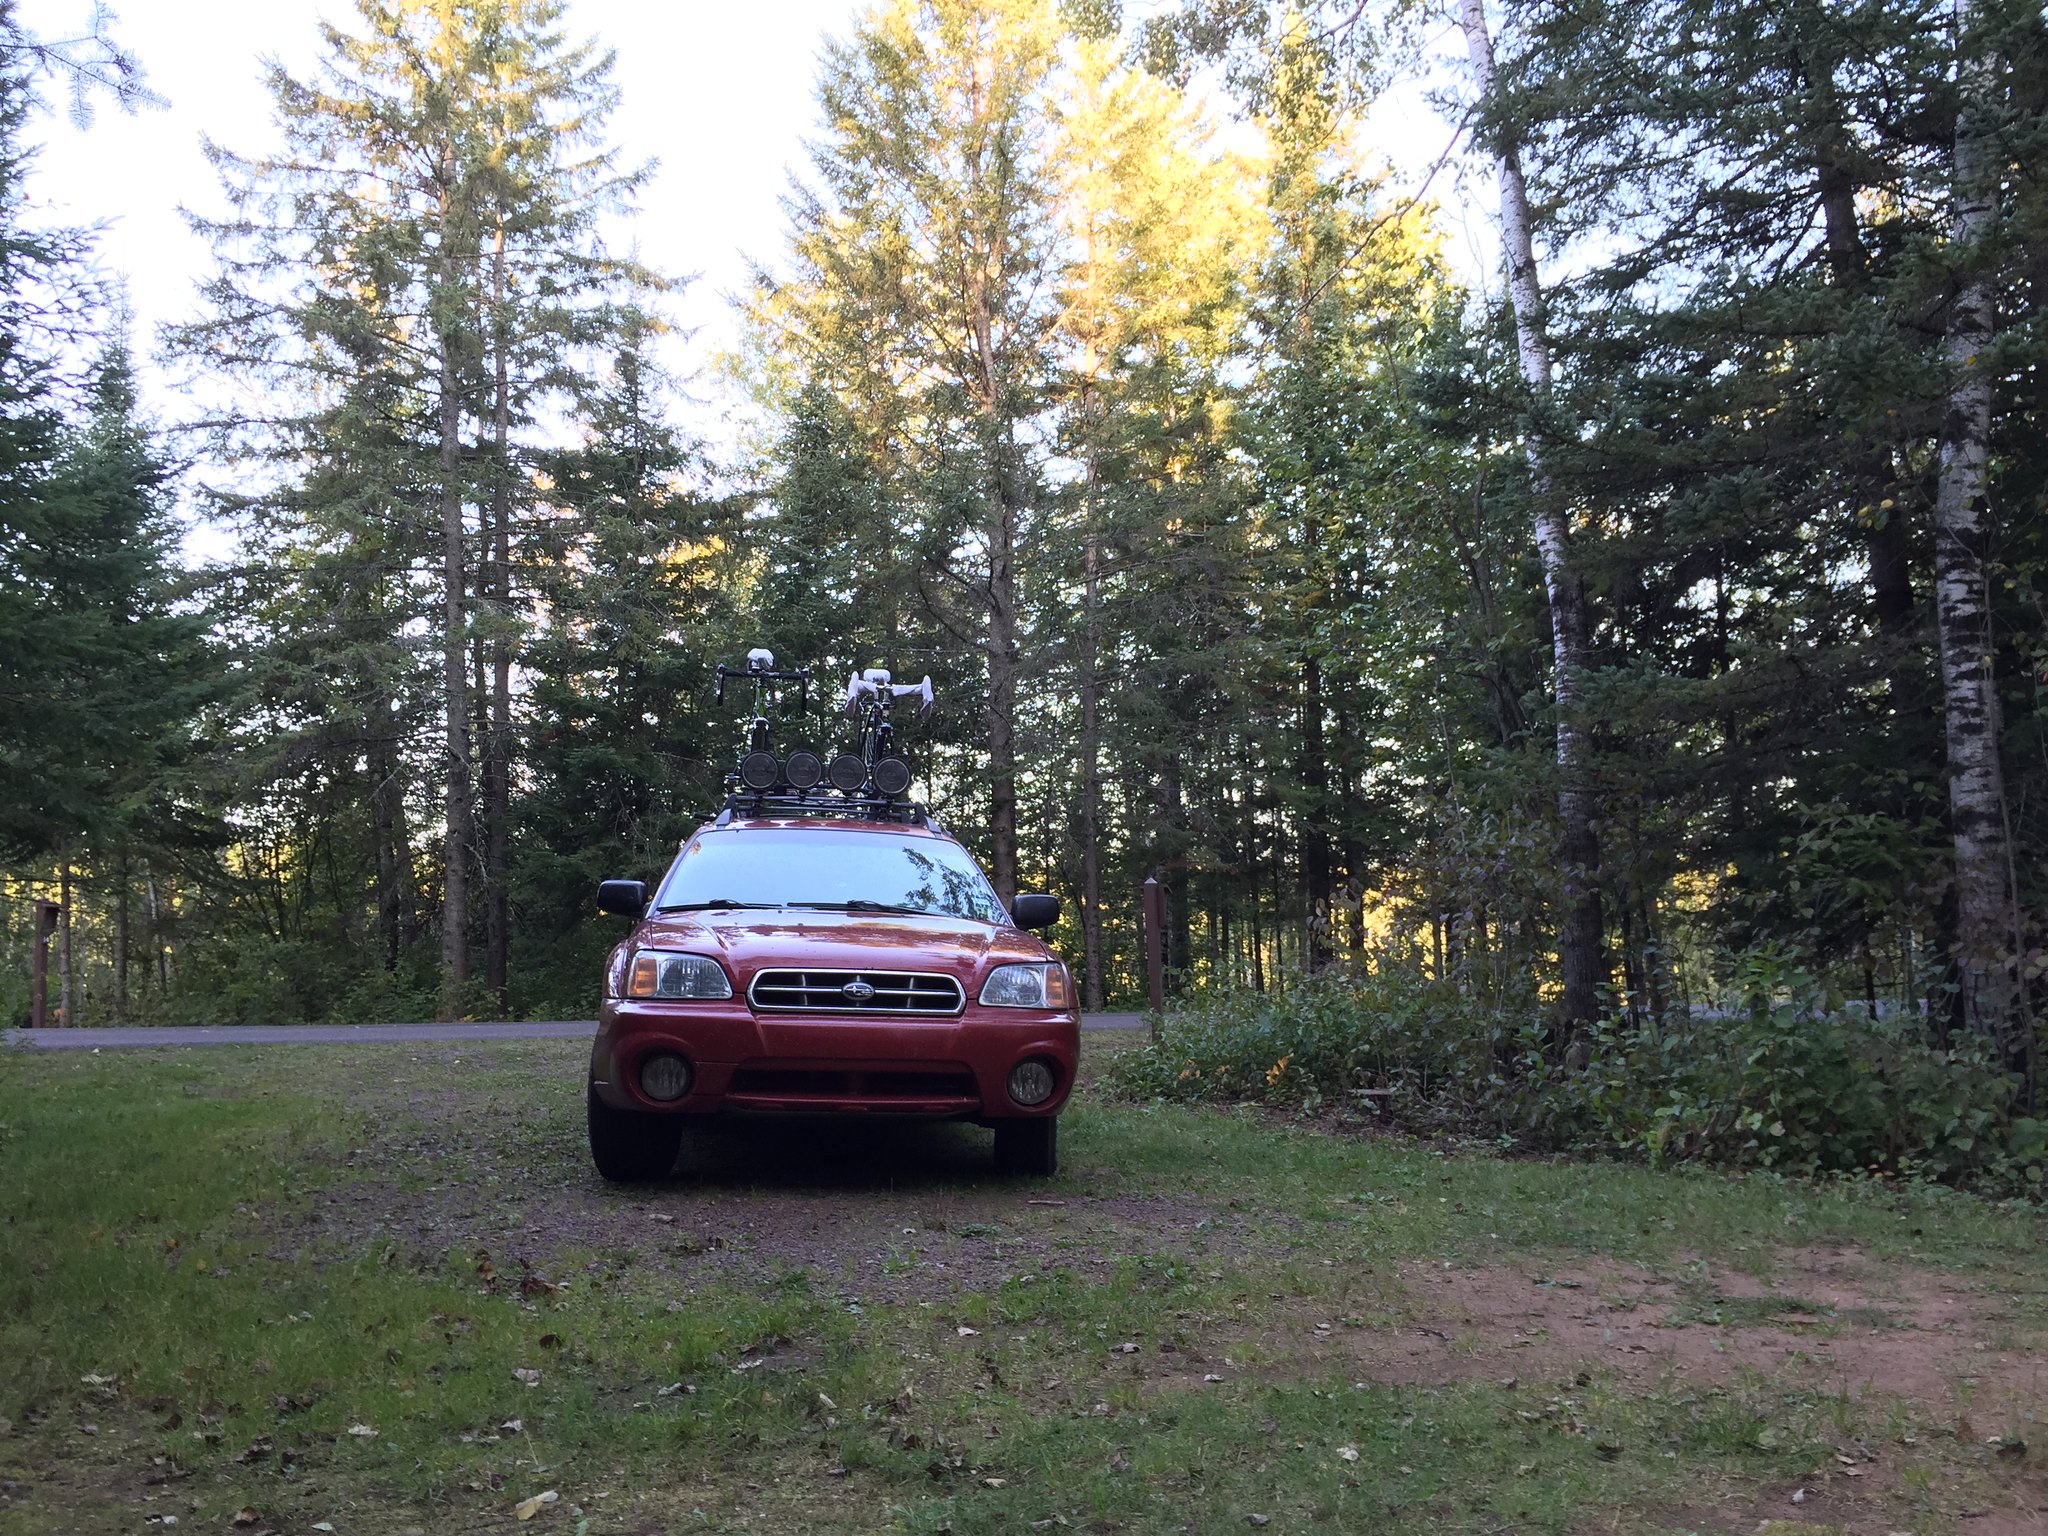
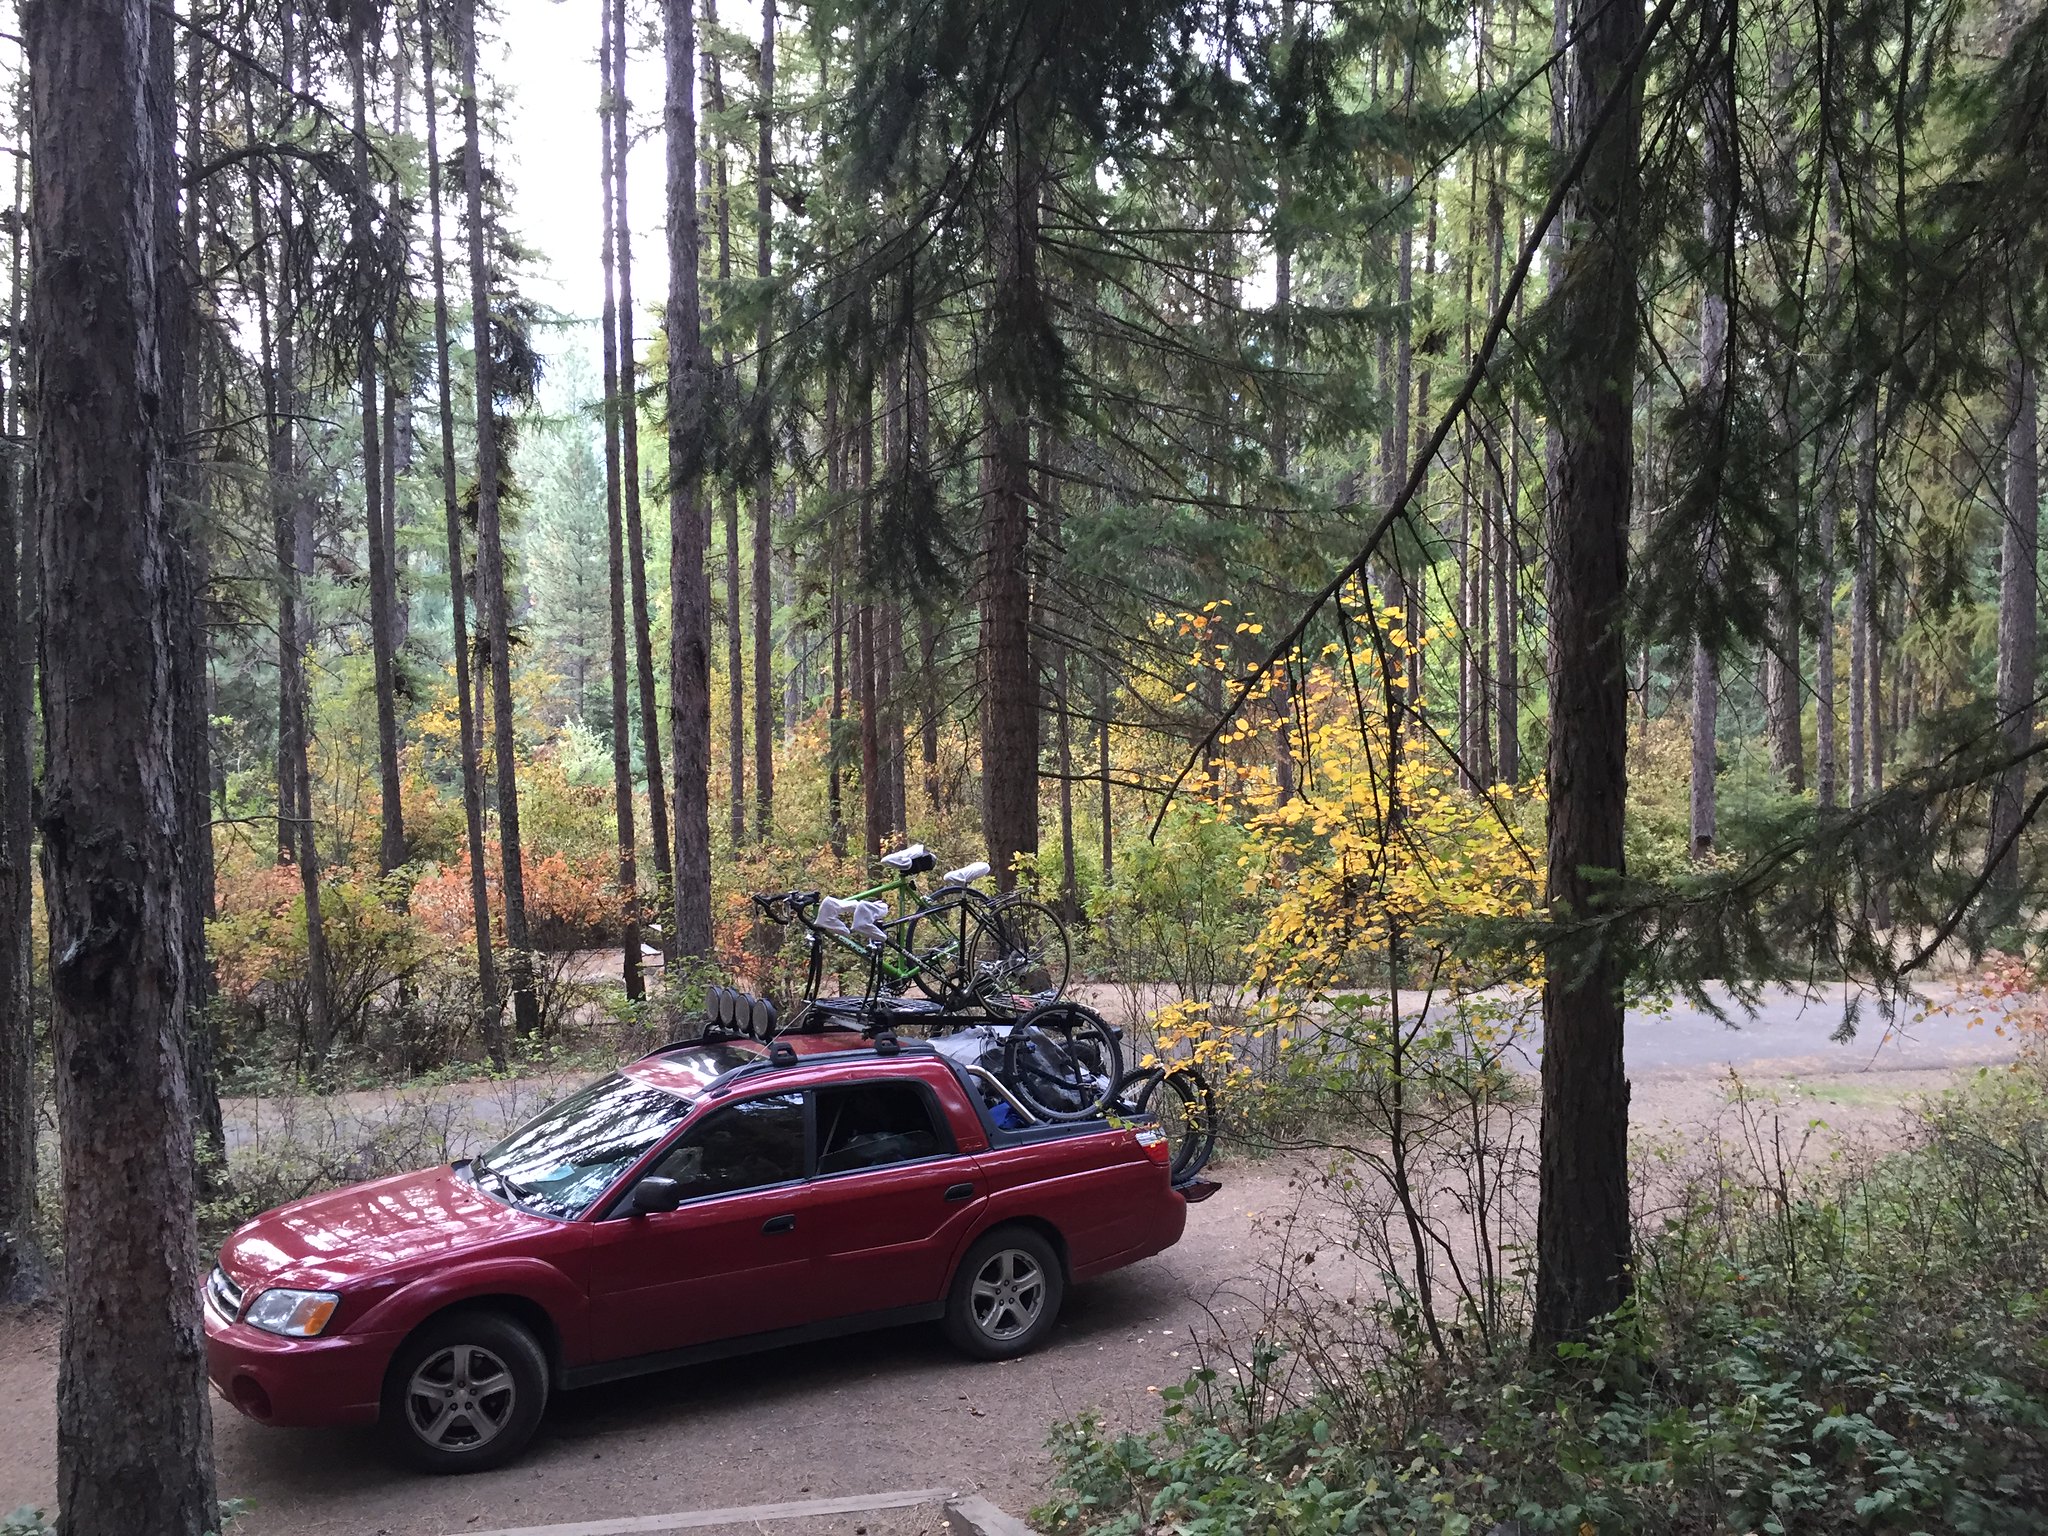
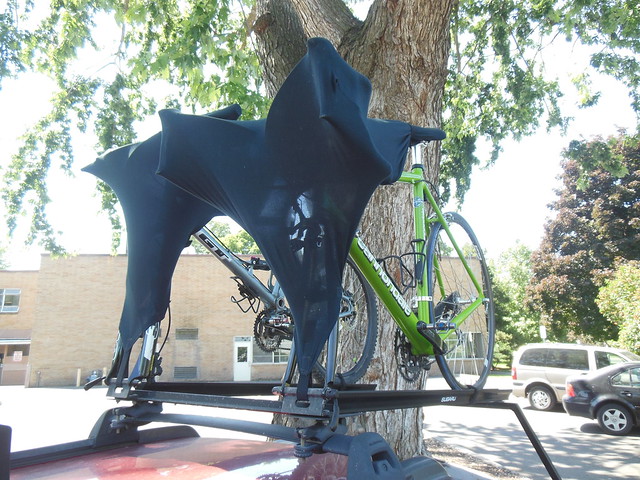
The next project was to build a bike rack. I wanted to be able to still haul other stuff and several bikes so we went with a roof design. To avoid having to remove the lights or buy a third rail I decided it would be awesome to have them hang over the bed. It also looks cooler and is easier to do stuff to the bikes when they are on the rack. since the 2x4 bed rack is easy to make I went ahead and did that too.

with the bikes mounted. I've decided velcro straps are the way to go to tie stuff down easily.

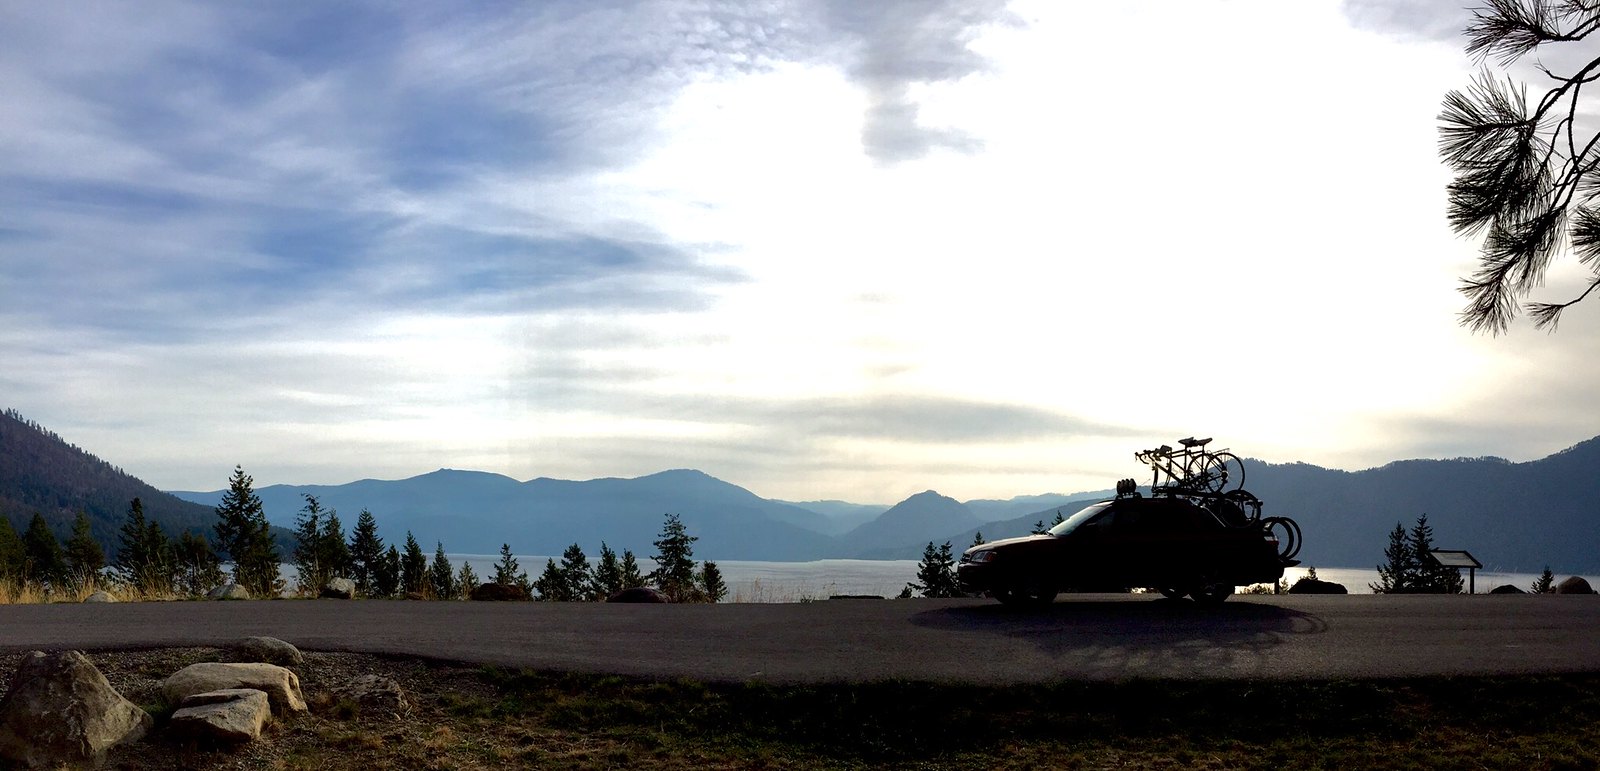
silhouette
Yakima universal mounts mount to metal brackets that join the yakima trays to the fork mounts. a steel bar was needed to keep the bikes from rocking. With the bar, there is literally no play side-to-side.
(Keep scrolling to see better pictures)
The skid plate:
This summer I was able to front some time to do a few things that have been bugging me for a while. My dad thought it was a good idea to start with the skid plate since mine has been missing the plastic one from purchase. The whole skid plate was built for around $100. We ordered 1/4" aluminum 2'x3' and got a steel square tube pipe to create the frame. To bend the sheet we drove the Baja on the larger portion and drove our full-sized conversion van on the small part hanging over a ledge/curb. It then took some mighty hammer swings to get it to budge. I should have taken pictures...it was pretty great!
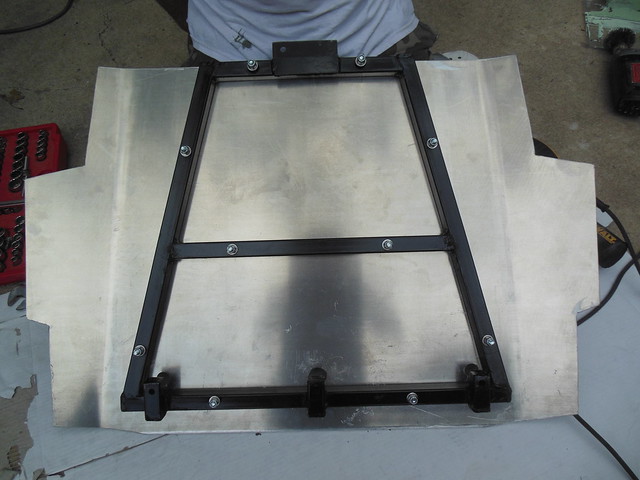
frame mounted with carriage bolts
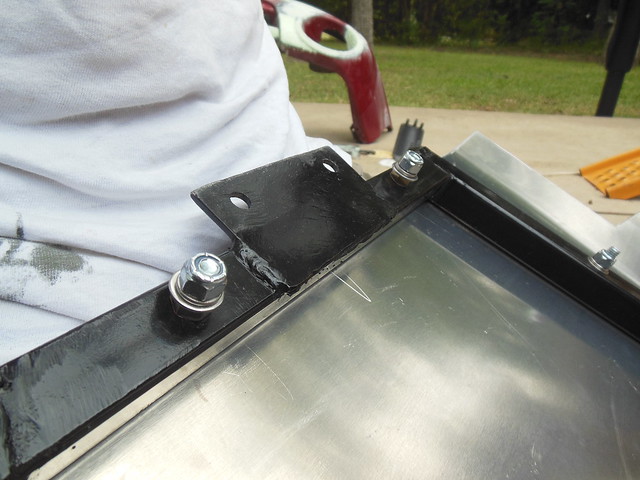
the bracket to mount in the rear
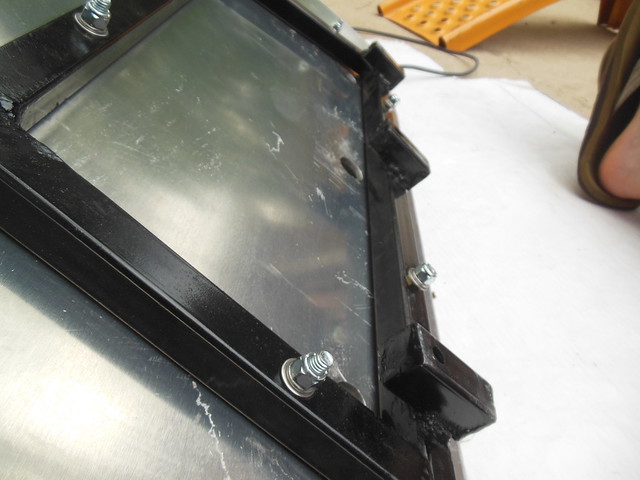
the three risers in the front
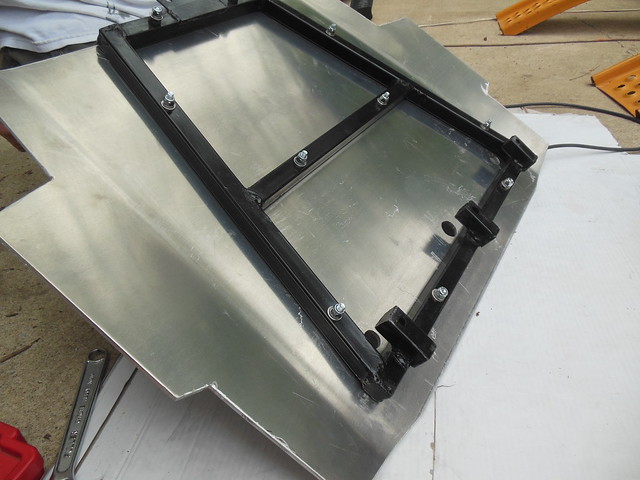
good view
My dad's a pro at the jigsaw! for the carriage bolts.

the part that shows. I used a sander to make scratches harder to see by buffing the aluminum sheet.
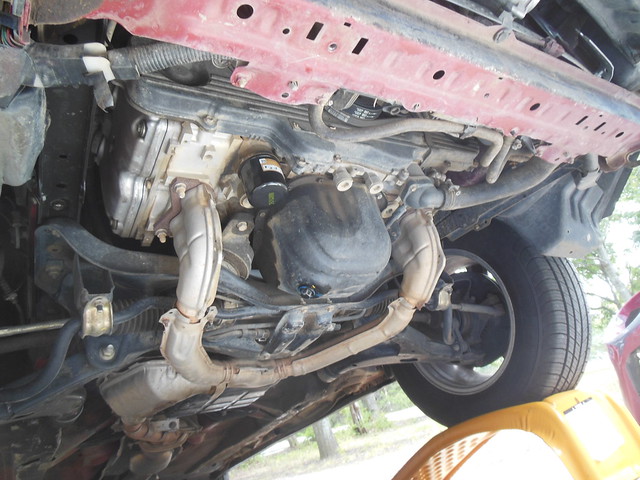
naked underside O___O
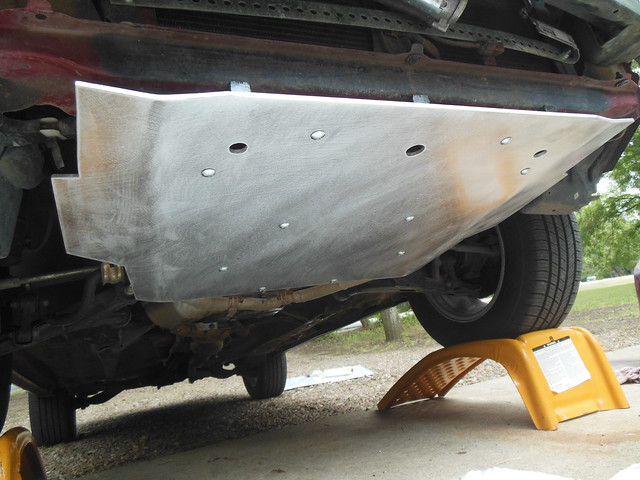
mounted. The 5 bolts that hold it up are accessed through the holes in the plate.
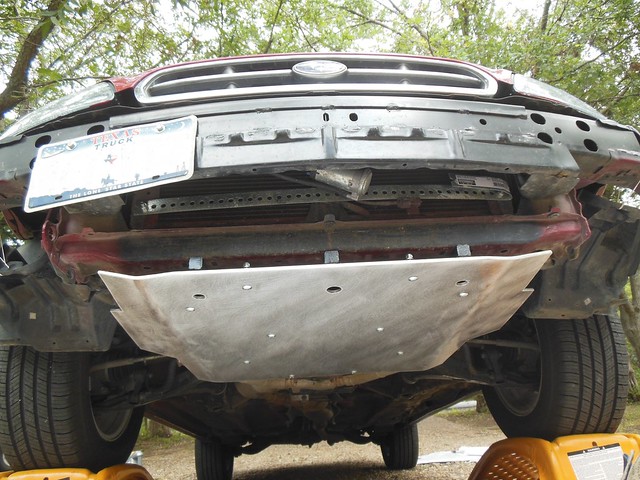
covers well

I now have protection!
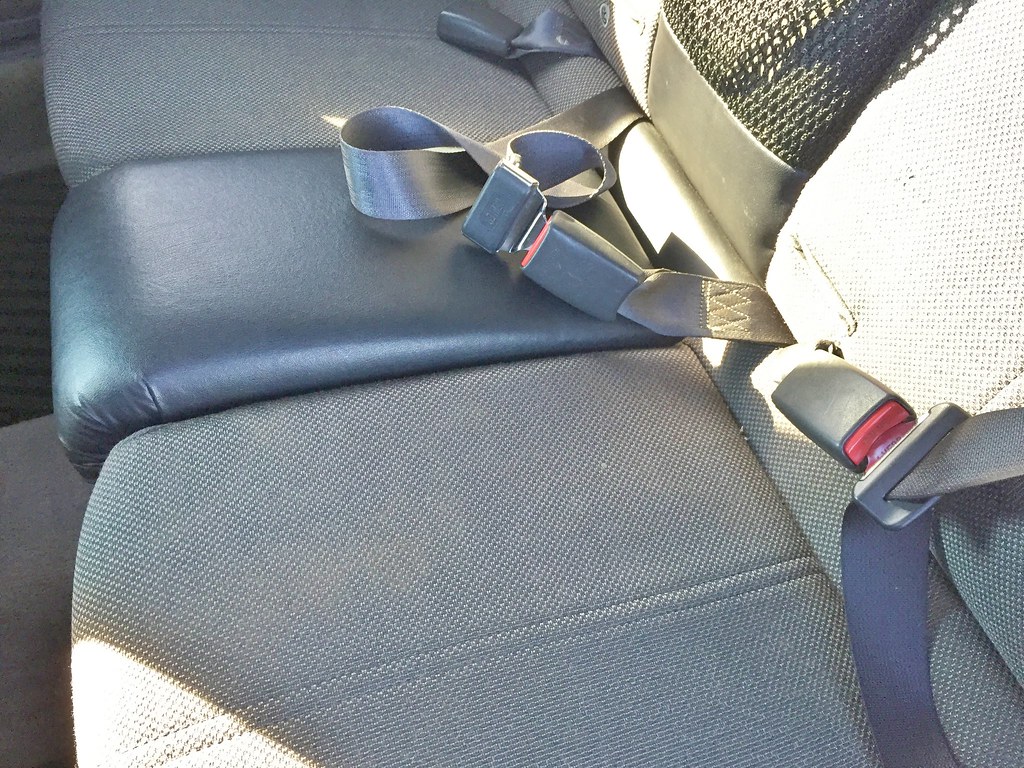
Rear seat conversion:
(if you've read the thread, this is identical)
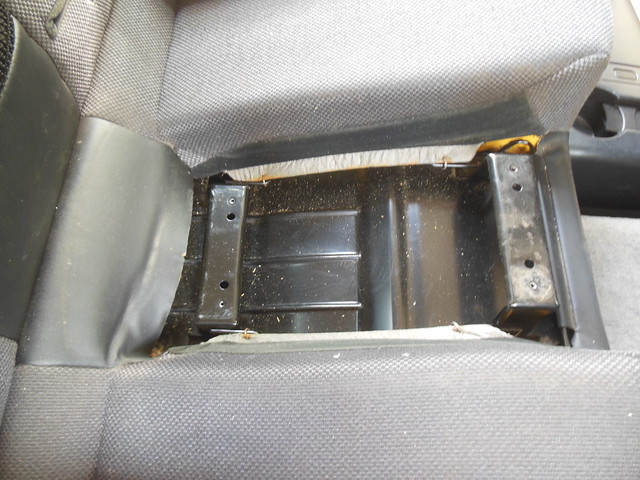
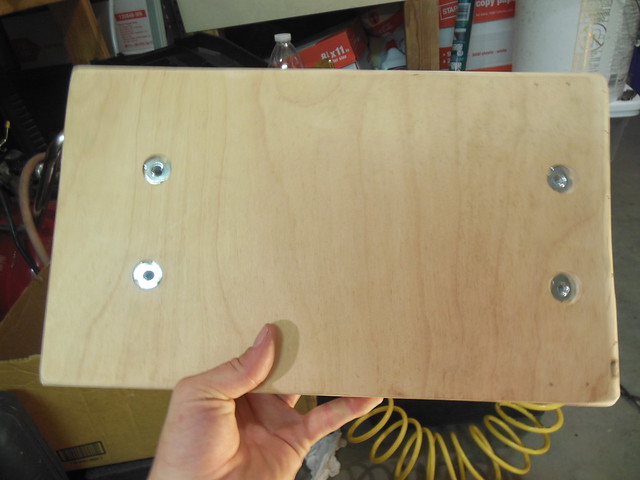
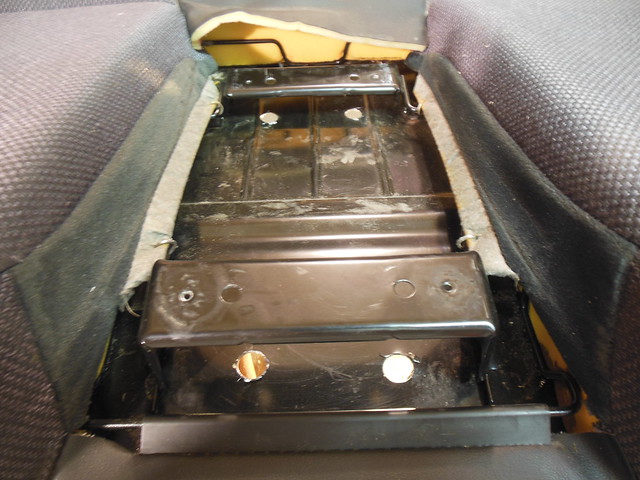
Naked... 4 screws hold the cubby in.
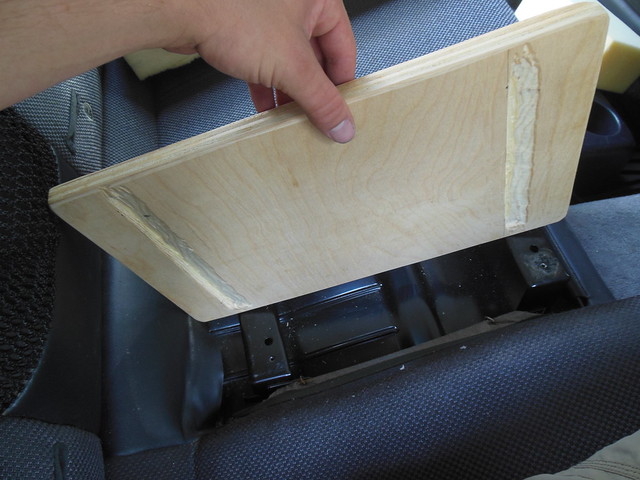
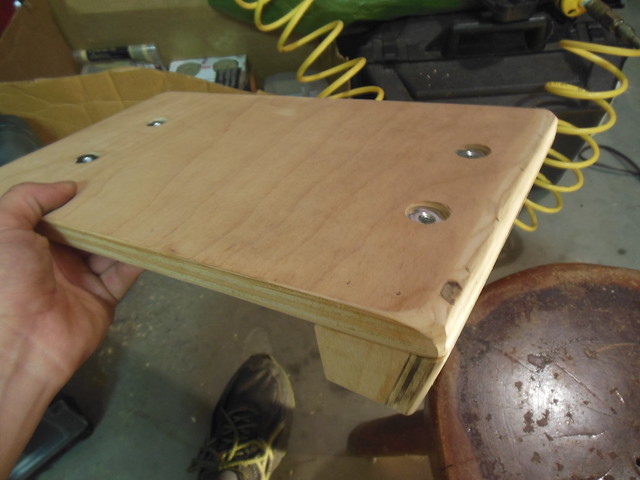
Used a Dremel to angle the places where the wood meets the supports. Did a lot of measuring for this.
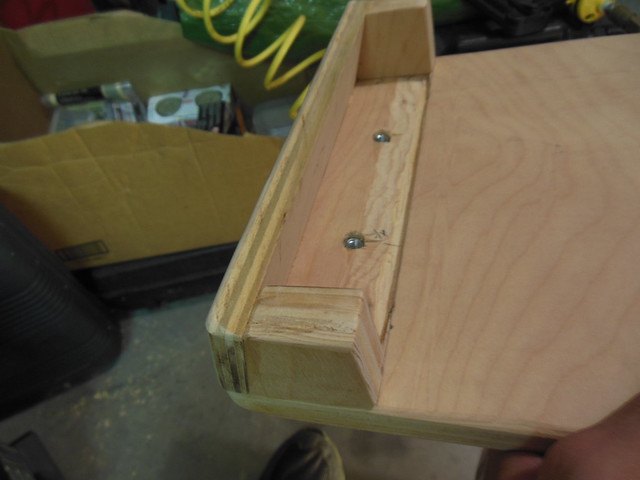
Perfect fit! Well... if I were to do it again I would make the board stick out in the front more to make it fill the area between the seats.
With a longer board the front part could also be taller.
Top view
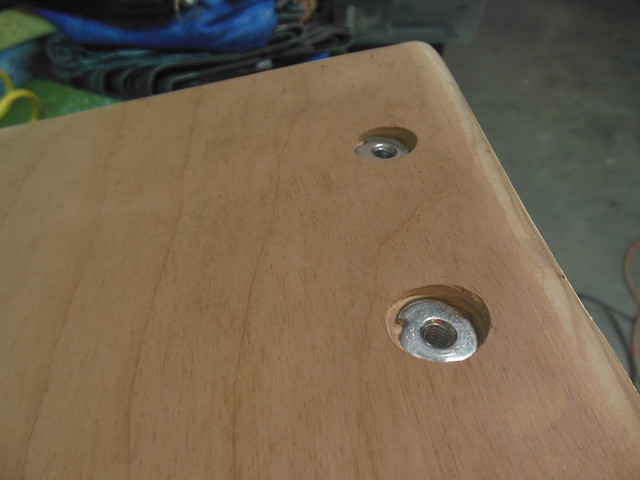
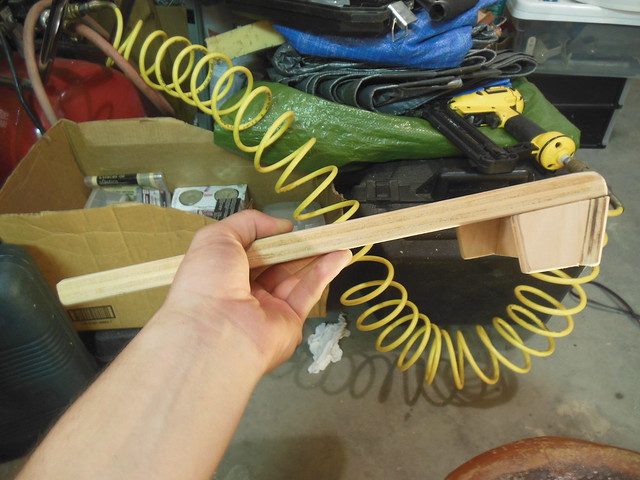
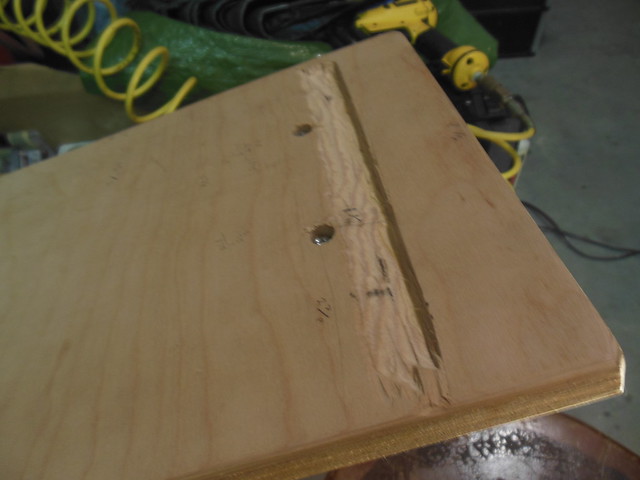
Sticking a dowel through the drilled holes we used a Forstner drill bit to create the sunken surface for the T-nuts.
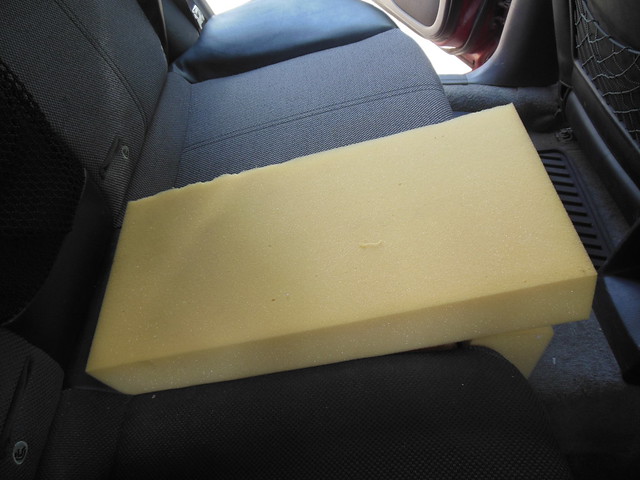
Use the densest foam you can find. I did a little more trimming. If I were to do it again, I would use a single piece and fold it around.
The two secure mounting options are to spot weld nuts from the bottom and sew the material on with a zipper to allow access to the bolts or use the T-nuts and access the bolts from below. The holes were drilled with the largest bit we had and then expanded with a grinder tip on the Dremel. Fits the socket nearly perfectly.

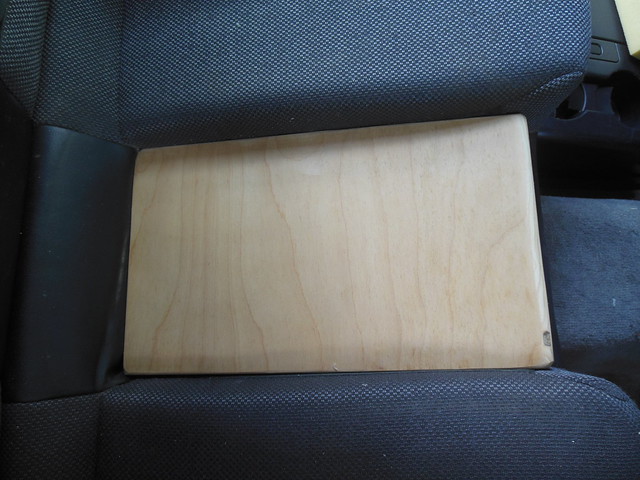
A few steps skipped here. Wrapped the vinyl we bought at JoAnn's, removed the two hinge bolts to flip the bench over, and bolted it on. Walla!
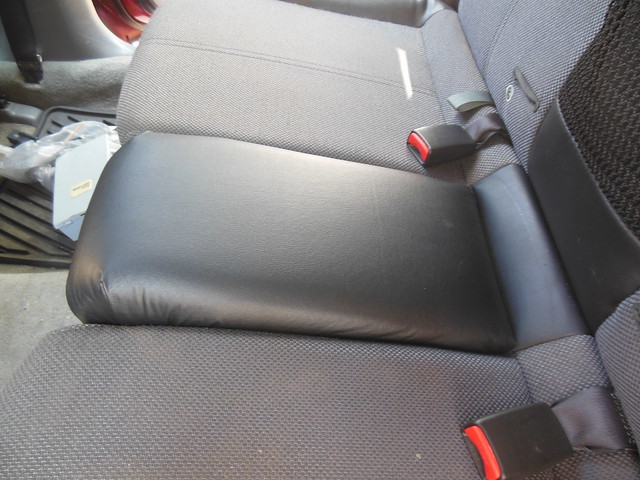
The material is nearly a perfect match. (probably was when the car was new =P )
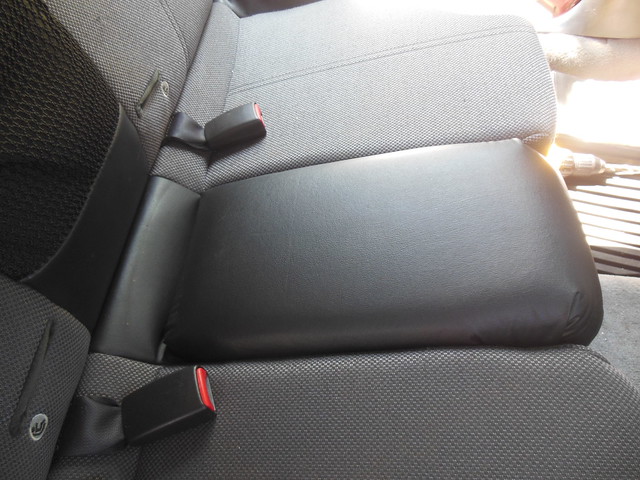
(I did extend it out, redid the material, and got seatbelts. pics to come)
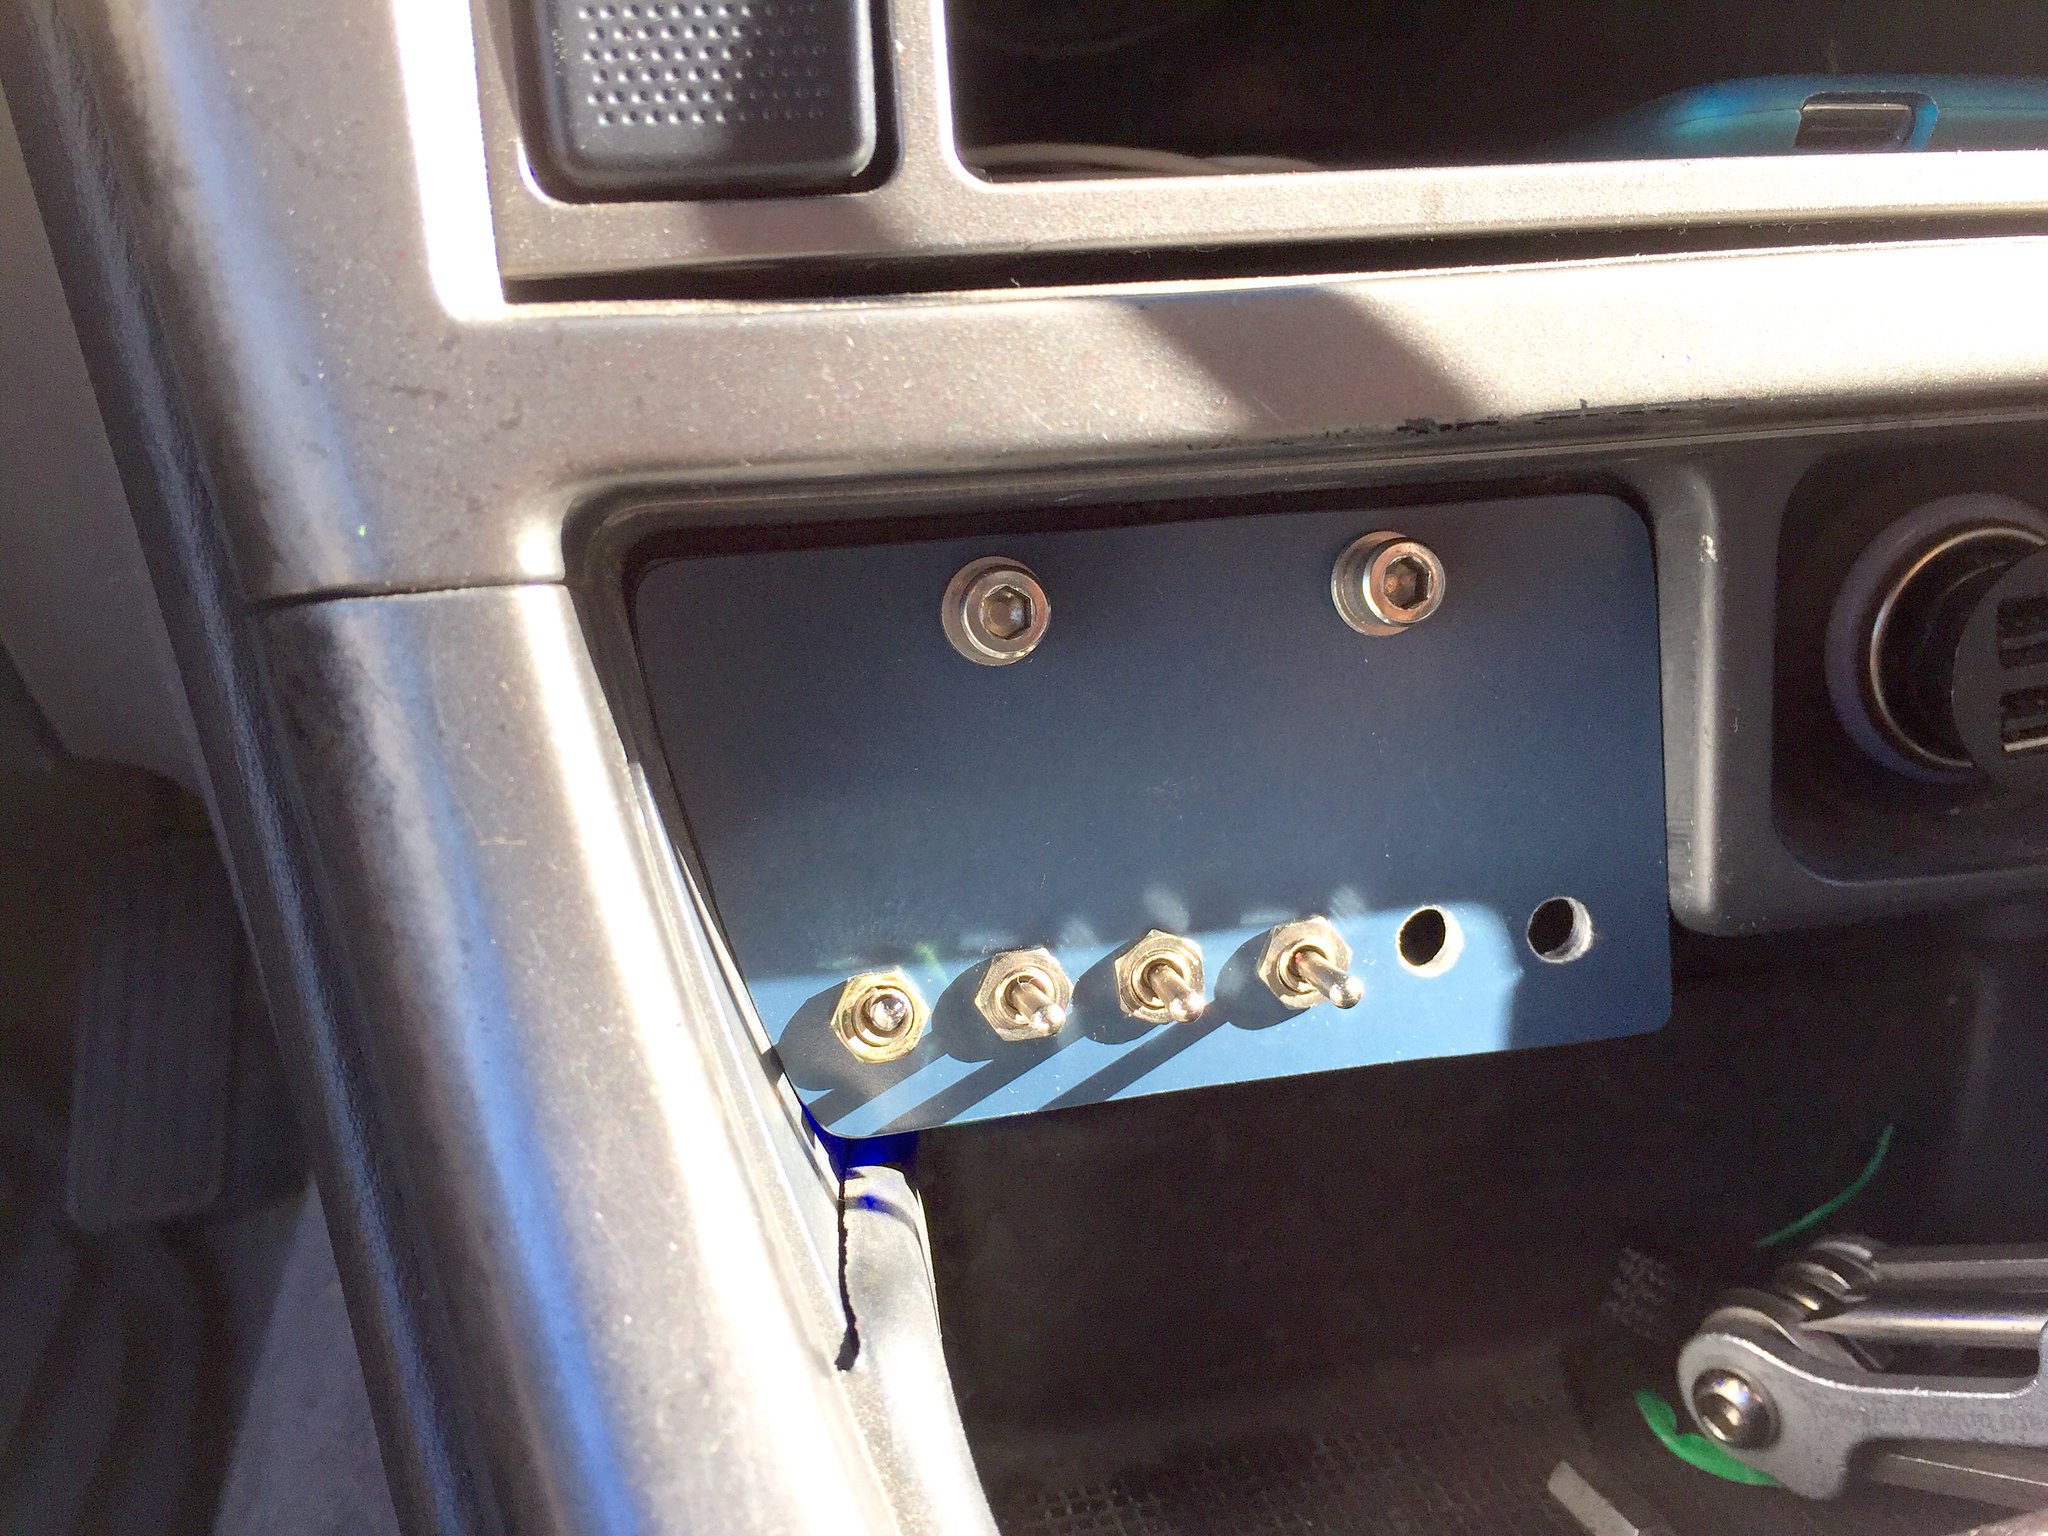
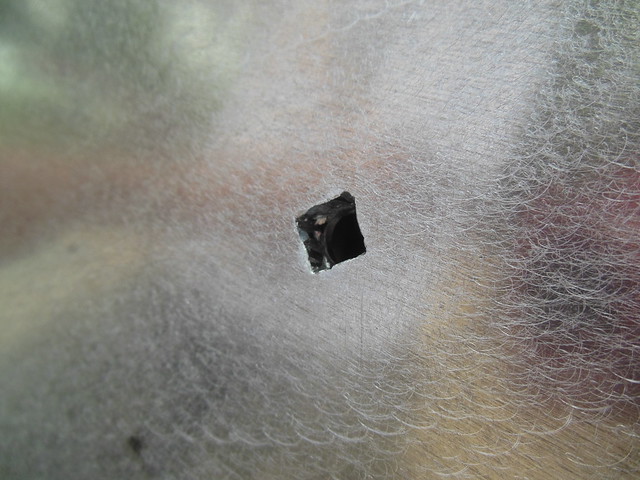
Ash tray delete:
Since I don't smoke and don't plan to ever smoke, I decided the ash tray (Which is pretty much useless for anything other than ashes) should go. I fabricated an aluminum panel out of something (not sure where it came from) and bent and cut it into shape using pliers and a dremel. The toggle is the first of many to come. I need to order a bunch of matching toggles for future projects. The screws are drilled straight into the bracket that holds the ash tray in. The screws are bike frame braze-on screws (just because it's cool) =D I figured it would add a little flair.
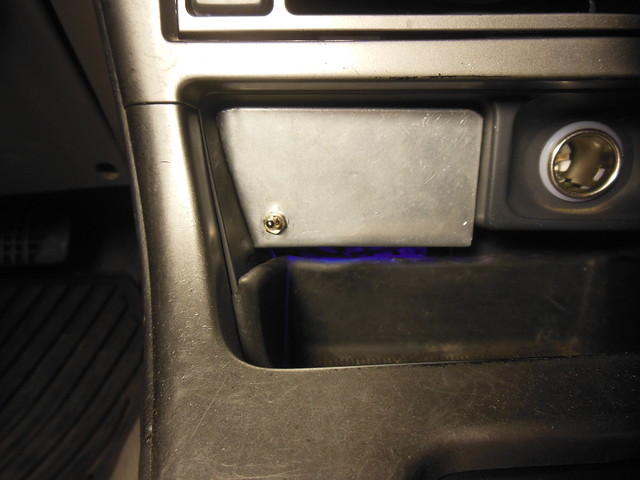
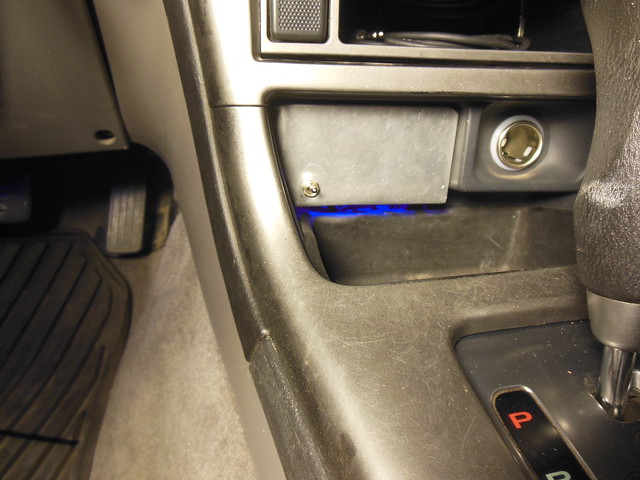

the toggle is for the footwell lights

for now, that's most of what I've done. I'll add stuff as I do more and take better pictures of stuff soon.