For anyone that is interested in knowing how I made this here is a rough write up on how I went about making the cover. There are plenty of other ways to make one of these and Im sure many better ways, this was more of a see if I could do it project and I will probably return to it to try improving on it later, in the mean time it has been nice just to have a bed cover.
Materials list
60" x 48" piece of 1/2" thick ply-wood
Clear plastic sheeting (drop cloth, cost me about $1)
permanent marker
electrical tape
Clear packing tape
screw drive (flat head)
Box of 50 1/4x3/4" screws
box of 50 1" diameter washers with 1/4" hole
2x 3" square door hinges
3x 6" Heavy Strap zinc plated hinges
4x U shaped 1/4" diameter fasteners (I dont remember the actual name sadly)
1x Drawer handle
1 3/4 yards of 52" width black marine vinyl
2x blue camping pad mats
Staple gun
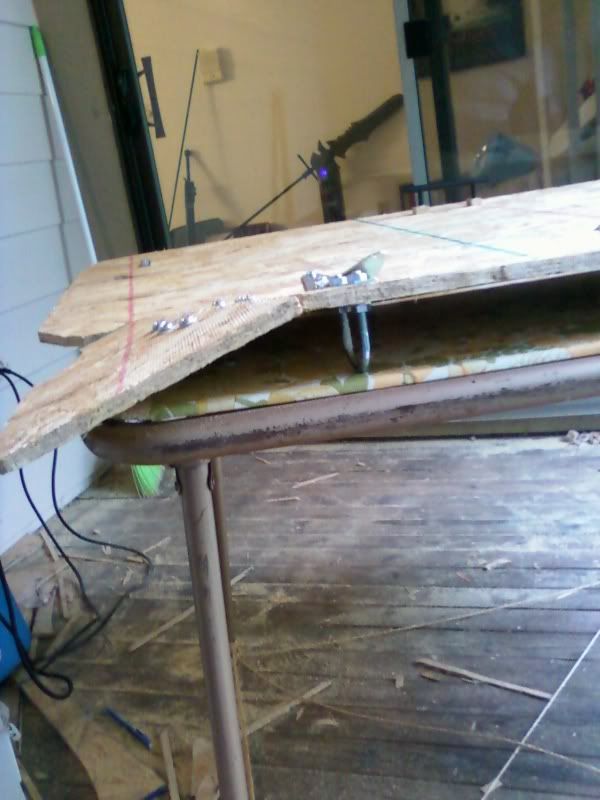
I started the project by taping the plastic sheeting down to the bed of my Baja with electrical tape (to the plastic of the bed liner, not the painted parts). I made sure it was tight, but not stretched so that when I took it off it wouldn't return to shape and distort the pattern. Once the plastic sheeting was securly taped down (Im sorry I dont have a picture of this stage) I traced out the shape of the bed, paying careful attention to make an accurate tracing of the curve of the roll bars. Once this was done I trimmed it up and using clear packing tape taped the pattern down to the plywood (Took a picture of this, but it got deleted). Once I got it all cut out I took the board out to my Baja to try it out...This is when I realized that the form fitting board would not fit around the roll bars in a solid piece. Going back in to my work area I cut the board all the way across at about the halfway point of the roll bars. It went together correctly, but sertain parts didnt line up quite right, so I alternated fitting it into the bed and making adjustments until I got it where I wanted it.
There is about a 1/2" of space between the board and the edges of the bed to allow for the vinyl and padding. Though I had accidentally, cut too much away around the roll bars and there probably up to 2" or more of a gap in some places

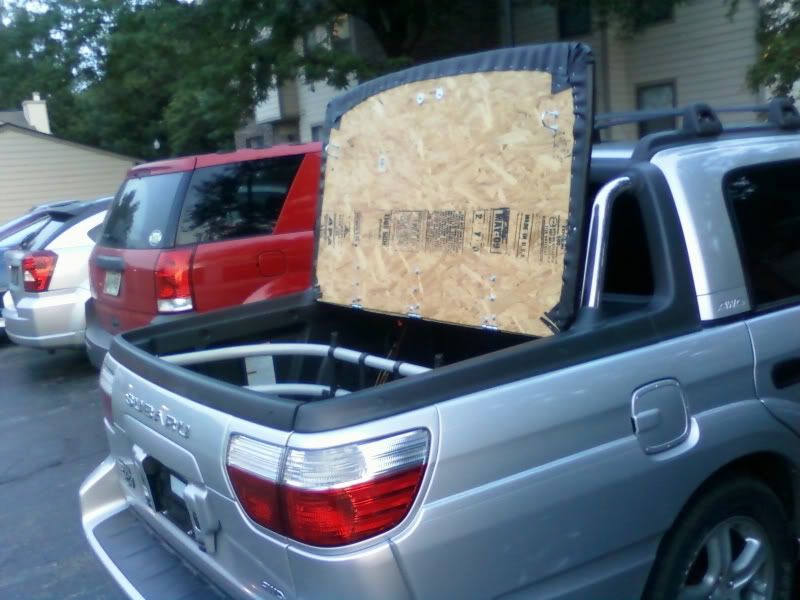
luckily I was able to fix this when I added the foam padding. However at this point I started adding the hinges, staring with the larger door portion. here it is laid out with the door handle sitting on it so I could get an idea of what it would look like.
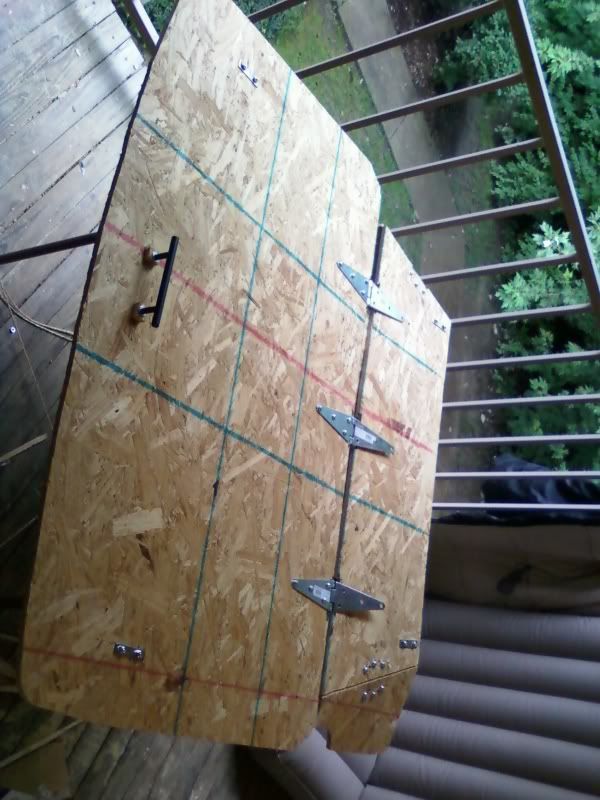
As you can see I mounted the hinges so that the larger protruding part is facing down, this limits how far it can open and prevents scratches and also maintains a smoother surface. I also realized that in order to put the cover on I would need to pe able to slide it past the roll bars and added hinged pieces to the back end using the door hinges. I have also put washers on all the screws to prevent them from punching through the wood at some time down the road.
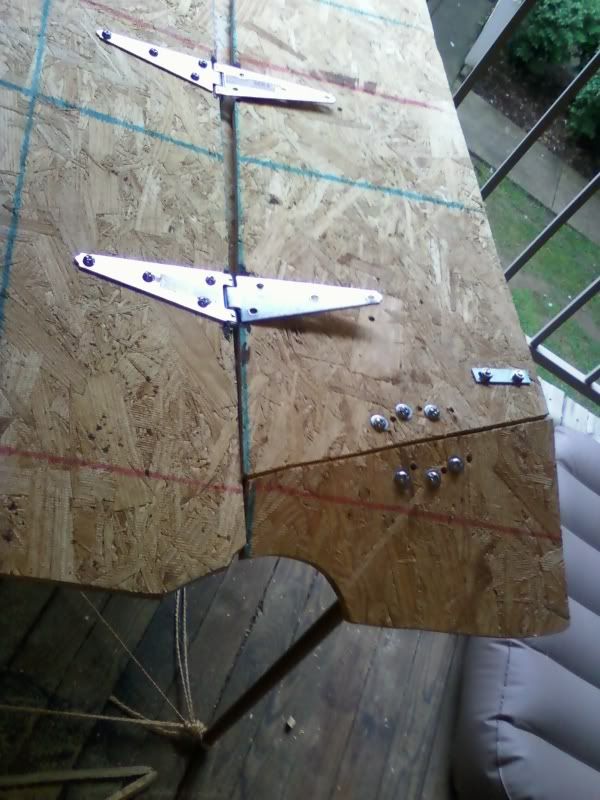
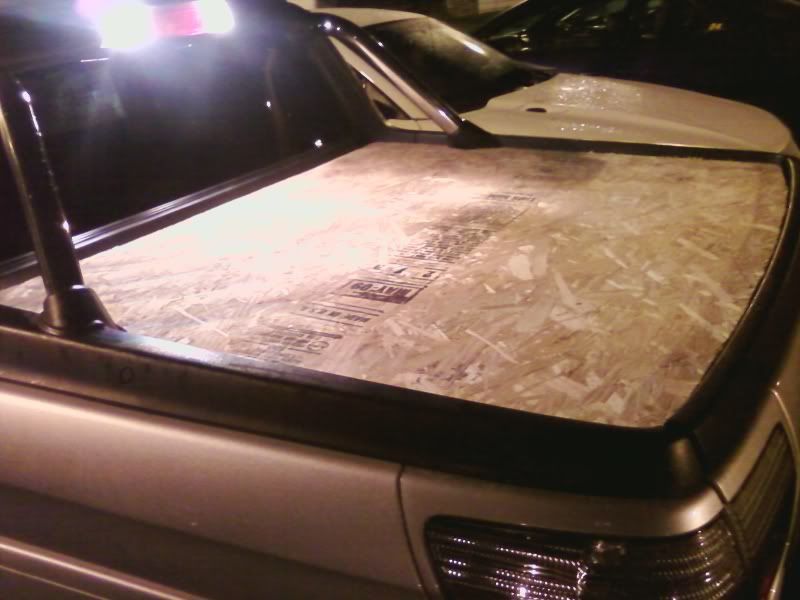
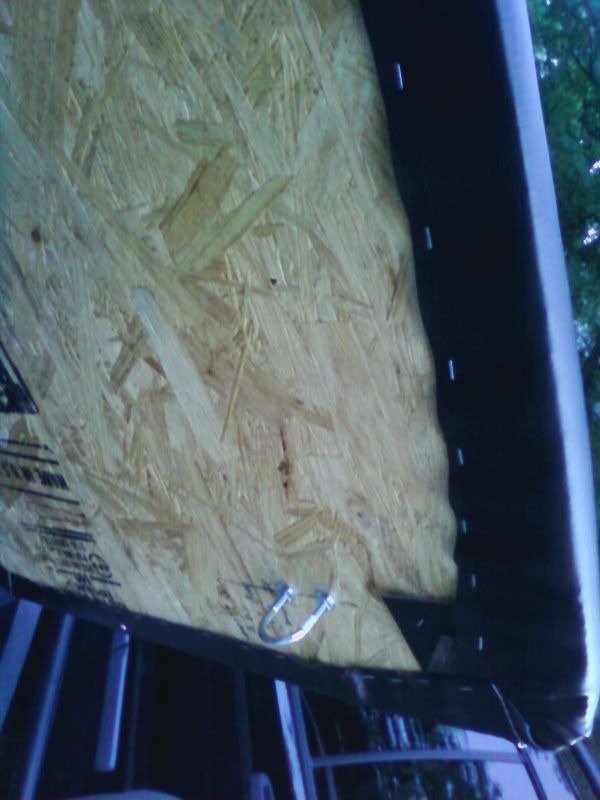
I screwed the hing on pretty tight so that it would only lay flat with tension so it would bow downwards when attached to the bed. I also attached the four U-shaped fasteners (maybe someone knows what they are feel free to let me know) two at the end that will go towards the window, when it is completed I will lash this to the tie downs in the bed to make sure it wont come off.
I also put two on the end that will go towards the tail gate In case I fell like I need to lash that side down. You can see it in this photo even though the cover is done at this point in the photo.
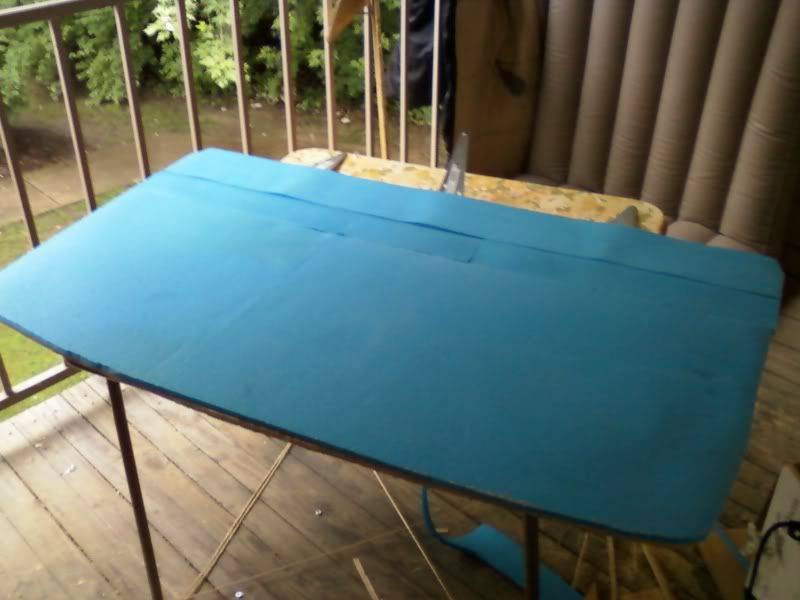
I give it a test fit to make sure everything fits and then I begin to add the padding. This is what I used to pad the cover.
It may not be the best, but it works. It will not absorb water, is easy to cut and most importantly is cheap. It took me two rolls to cover the thing. *note* The foam extends past the wood a bit and with the vinyl cover helps to make a sort of seal with the bed liner. It was also a good way to fill in those gaps around the roll bars.
As a note I tapered the padding along the hinged areas. I did it along the main door hinge so that the mass of foam wouldnt prevent it from opening and along the edge of the folding sections of the window side so that when it folded it would be folding across an edge and therefore would stretch the vinyl less. Afterwords I spent some more time fitting and trimming the cover too the bed. *note* I glued the foam to the board with Loc-tite brand spray adhesive, becouse thats what I had. It worked OK at the time, but has since started to come loose, so an adhesive better suited to gluing wood and foam together would be good.
After getting the foam onto the cover I put some small pieces of wood into the foam so that the handle would have a hard surface that was level with the padding I also put washers on the wood so the handle wouldn't push through or in any way distort the small pieces of wood.
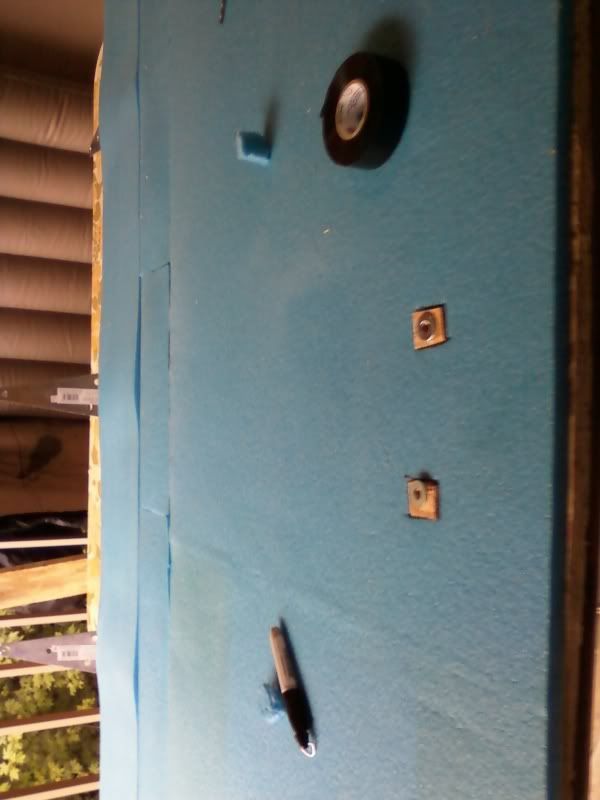
so they wouldn't shift while I was putting the vinyl cover on I taped them down with electrical tape.

Putting on the vinyl cover was by far the easiest part. I just put the cover on top of the vinyl and staple with staple gun. After I got the cover put in I used a sharp knife to poke some holes in it where the screw for the handle would go, screwed the handle on (*note* since I knew it would probably take some pretty good amount of stress I put a 2" diameter washer on the inside of the bed to keep it from punching through), after buying some longer screws for it.
I left the vinyl over the little wings in the back looser to allow them to fold down, but actually left it a little too loose, so I ended ip with some wrinkling near one of the roll bars, but nothing a once over with a stable gun cant fix.
*************Notes on the bed cover after a few days********
Positives:
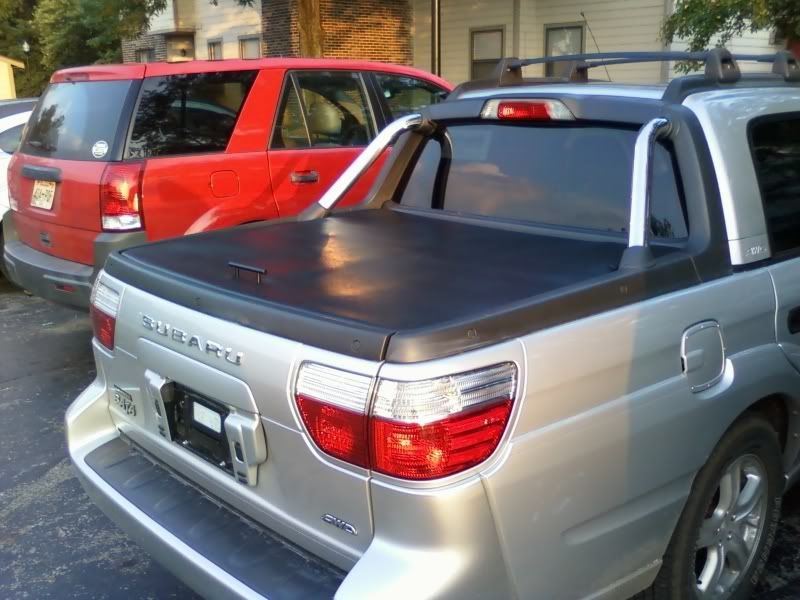
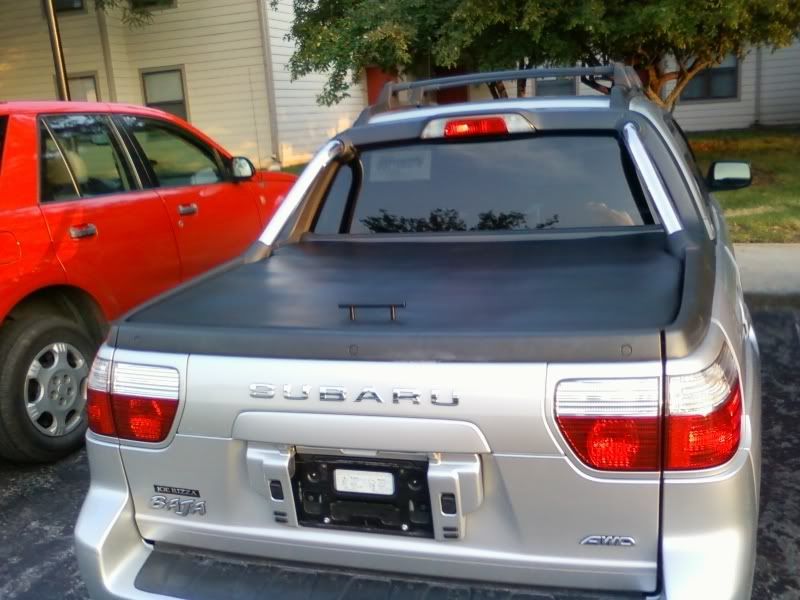
The cover fits nice and snug. I was curious as to how waterproof, if any, this cover would be, but not twodays after I finished it we had a huge rainstorm come through. Once when the bed was empty and the another when it was filled with stuff for a camping trip. There was a small amount of water around the window area (there is a small gap in the corner), but the rest of it was untouched. There were also a couple of times that I left my car unattended with a lot of my stuff in the bed, but as a friend of mine said, it looks far more secure than it actually is and no-one messed with anything. Out of sight out of mind. I have also had no worries about it falling off at highway speeds, the thing doesn't budge.
Negatives:
it doesn't lock, duh. Also the padding underneath it all has started to shift a bit uder the vinyl because of heat, it still doesn't look bad, just a little....lumpy. I just think I need a better glue. The shape of the vehicle seems to create a pocket of negative pressure around the back window, which sucks the vinyl up creating a kind of bulge when going 60+. Mostly this seems to be because I left it too loose along the middle of the cover, but it also seems to have stretched the vinyl a bit. I would like for the bed cover to follow the lines of the bed a little better. As it is the part near the tail gat is flush with the edge, but near the window it is about 1/2" below the lip.
solutions: Havent thought of a way to make it lock just yet, but Im working on it. as for the rest of it, I just going to have to pull the staples out and re-glue everything and tighten the vinyl, I think I will also glue the vinyl to the foam this time around as well. That the cover doesnt follow the lines of th bed doesn't bother me that much, but I do think it would look better if it was. I may just add a spacer to it or something.
Anyway, that's my write-up. Hopefully someone will get something from it. If you have any ideas about improvements on this design I would love to hear them
-Jake
In the meantime however It works pretty darn well and Im glad that I have it.