This post is under construction. If there are not pictures accompanying the instructions there will be. If you find any missing steps or discrepancies, please PM me and let me know so I can correct them. Thanks and enjoy!
REMOVING THE DOORS
This process is the same for all 4 doors.
I am showing this on the rear door but they are pretty much the same. The only difference is if you have the tweeters up front, you will need to pull them off. They just pop off with your hands.
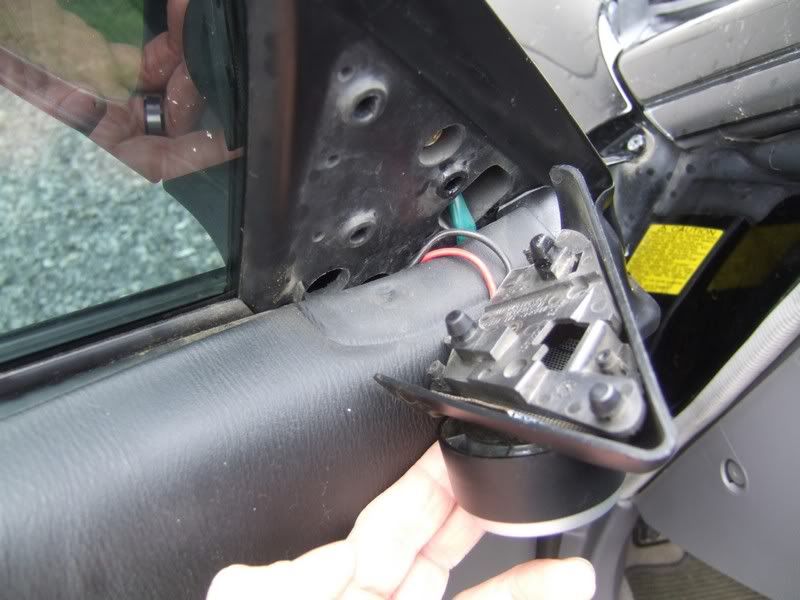
remove the ring around the door latches. You can use a trim removal tool, screwdriver, or just your hands.
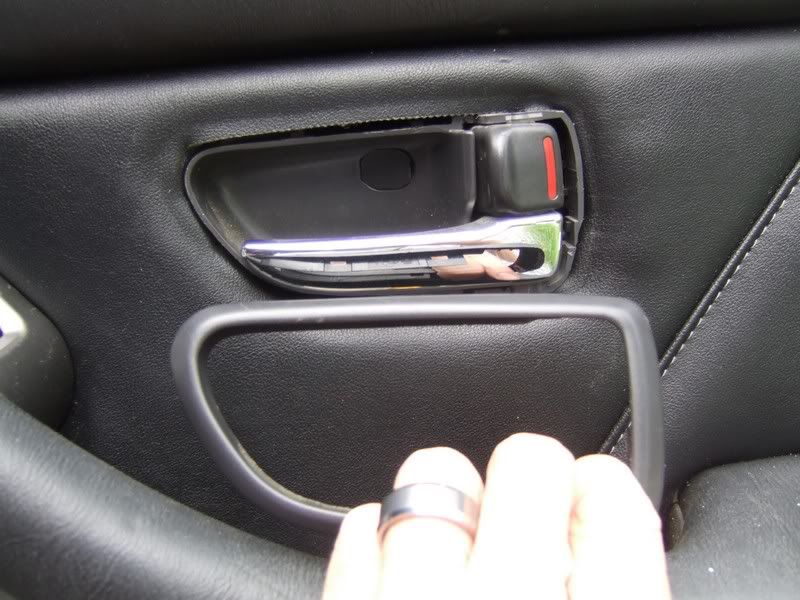
Pop out the control deck insert that holds the window/lock controls. You can use a flat tool or your hand by pulling from the bottom up, it just pops out.
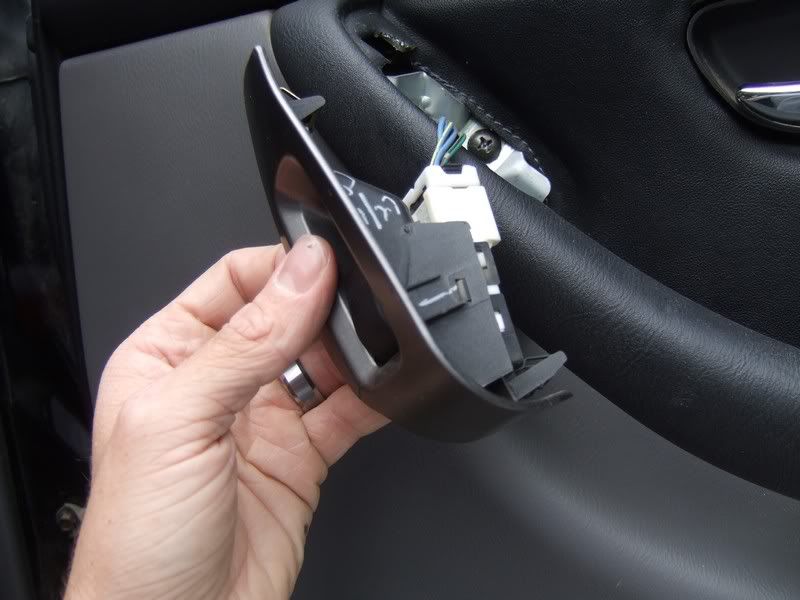
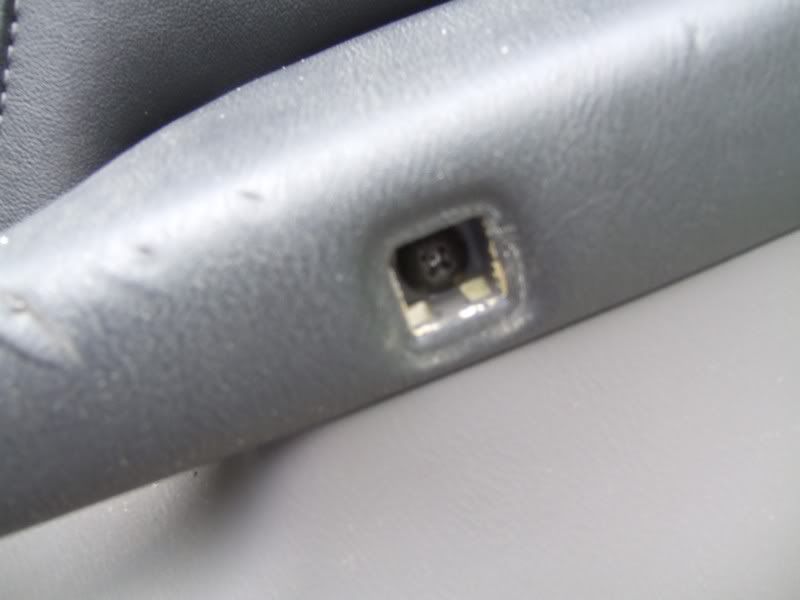
Pop out the small square cover.
Now, remove the screws behind both behind the black plastic square and the window/lock controls.
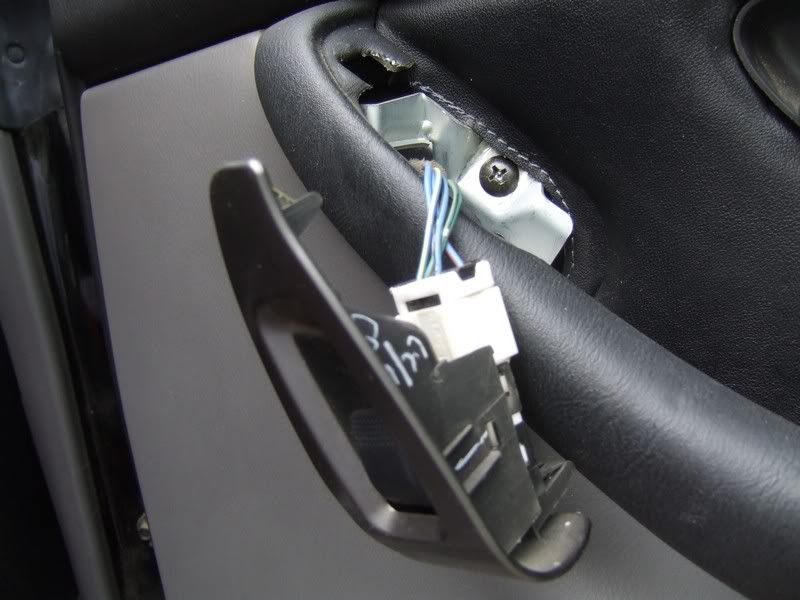
You should now be able to pull the door panel away from the door and then up. it is held on by plastic clips. Remember to disconnect the wire going to the door light.
REMOVING THE FRONT KICK PANELS
Pop out this plastic plug with a screw driver. Careful not to damage it.
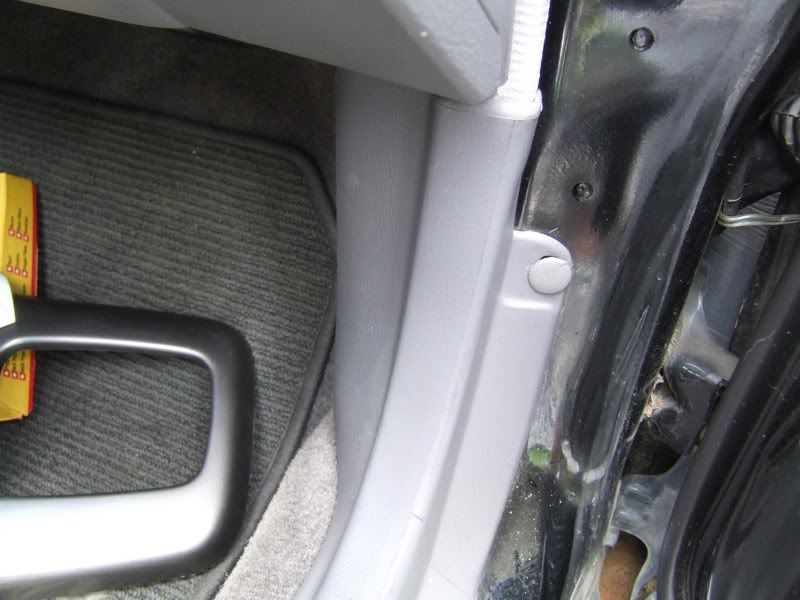
Remove the other plastic plug towards the back under the dash the same way
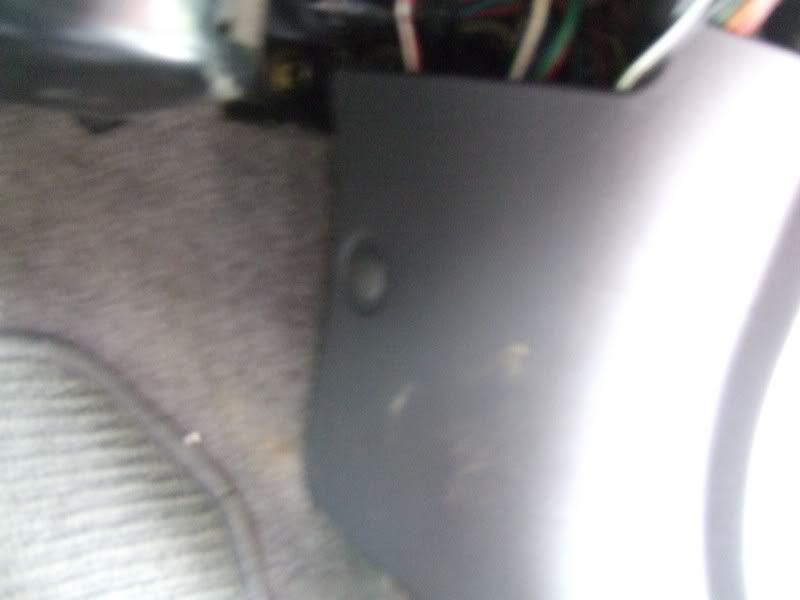
Pull up on the long part of the kick panel. It is held on by plastic clips. WHEN PUTTING THIS PIECE BACK ON, GET LOW AND MAKE SURE THE PLASTIC CLIPS LINE UP WITH THEIR HOLES BEFORE YOU PRESS IT BACK DOWN. YOU CAN EASILY BREAK OFF THE CLIPS IF YOU DON'T PAY ATTENTION!

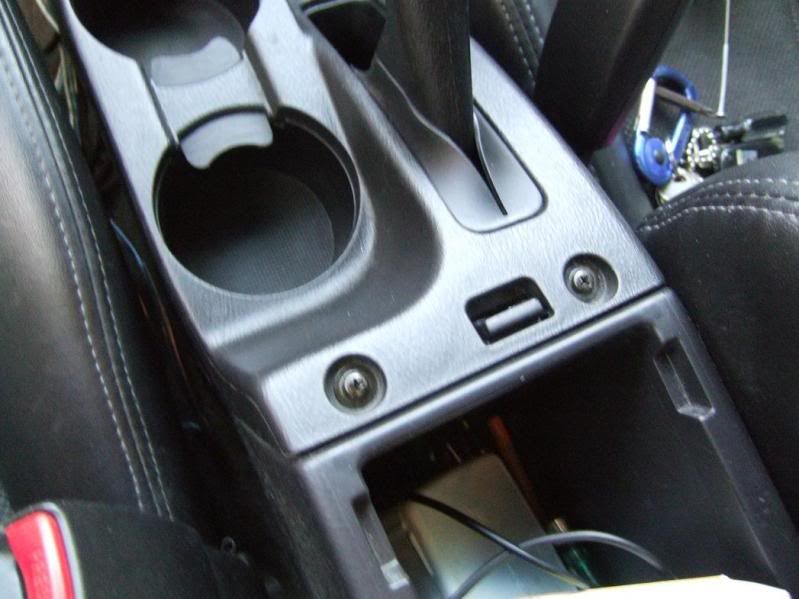
DISASSEMBLING THE CENTER CONSOLE
Pull up on the trim around the gear shifter. It just pops off.

Take the 2 screws out to the small catch-all

Remove the small catch-all and then pull the E-brake up. Open the center console lid and take the 2 screws out in front.
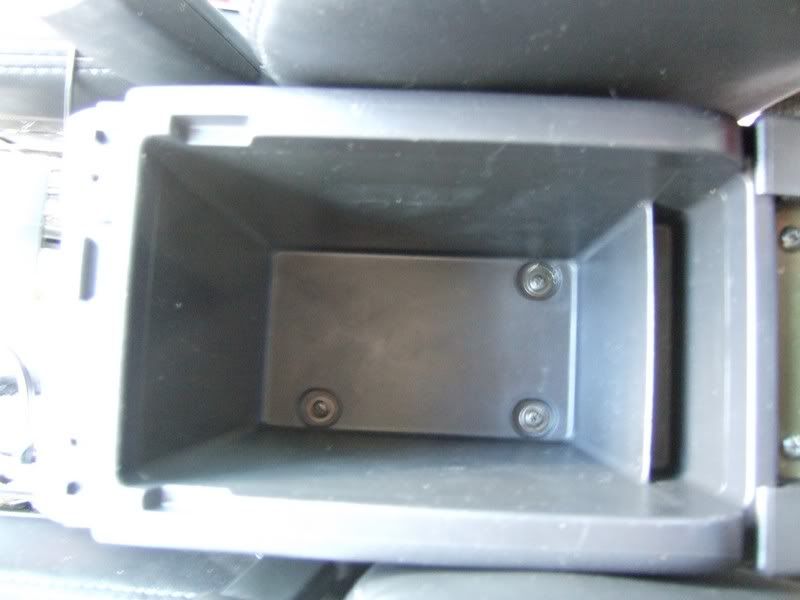
Pull out the first part of the console. Remove the 2 screws now showing just below the gear shifter.

Remove the 3 screws in the bottom of the center console
You can now pull it out. It is only held in by 2 clips at the front now, just push them in and the whole thing comes out.
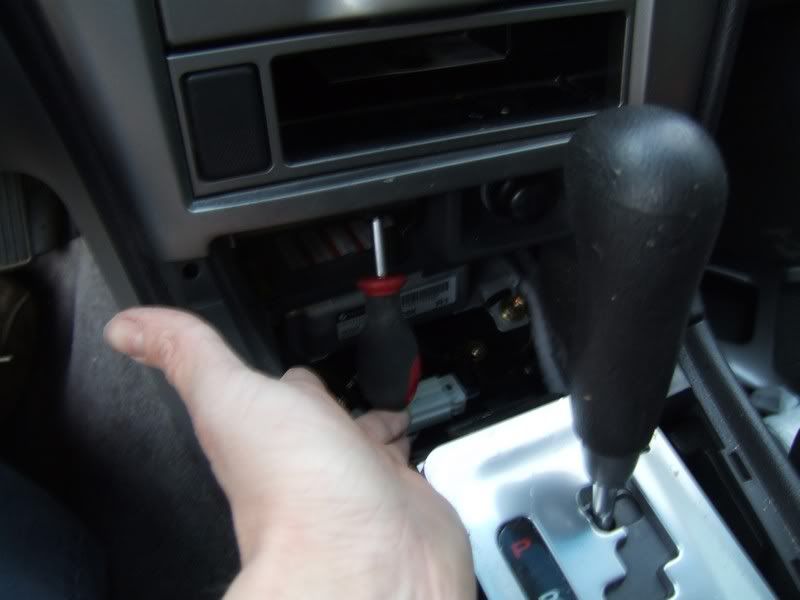
DISASSEMBLING THE DASHBOARD CONTROL/GAUGE AREA
You will need to remove the gear shifter trim and the small catch-all before proceeding.
Pull out the ashtray and using a short philips head screwdriver, remove the 2 screws that are on the roof of where the ashtray was.
Now you can just pull off the large trim piece surrounding the stereo and AC controls. It just pops off.
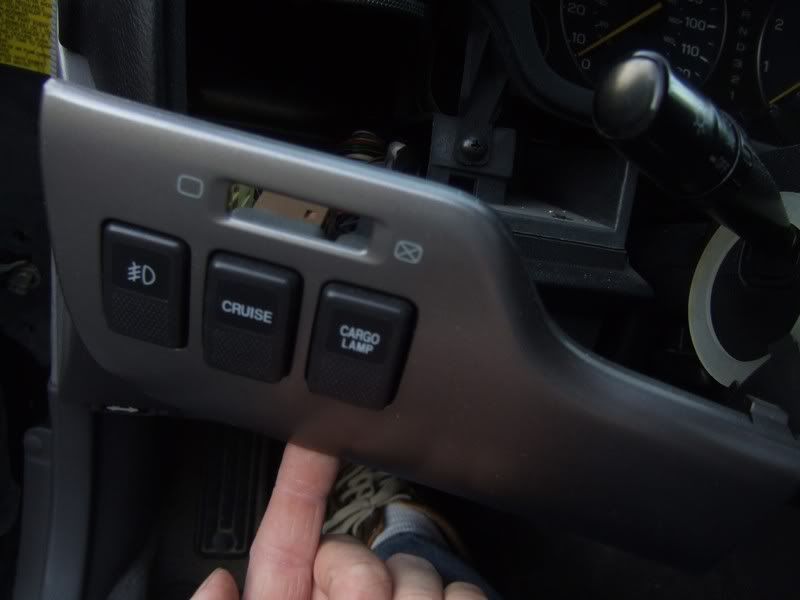
Using a flat tool, pry the small trim piece to the left of the steering wheel off from the left side. Be careful not to scratch it. Screws don't hold it on so it just pops off. Unplug each of the light/cruise switches.
Now, remove the screws on the left and right sides of the steering wheel holding the black piece with the air vents in it. There are also 2 more above the gauges.
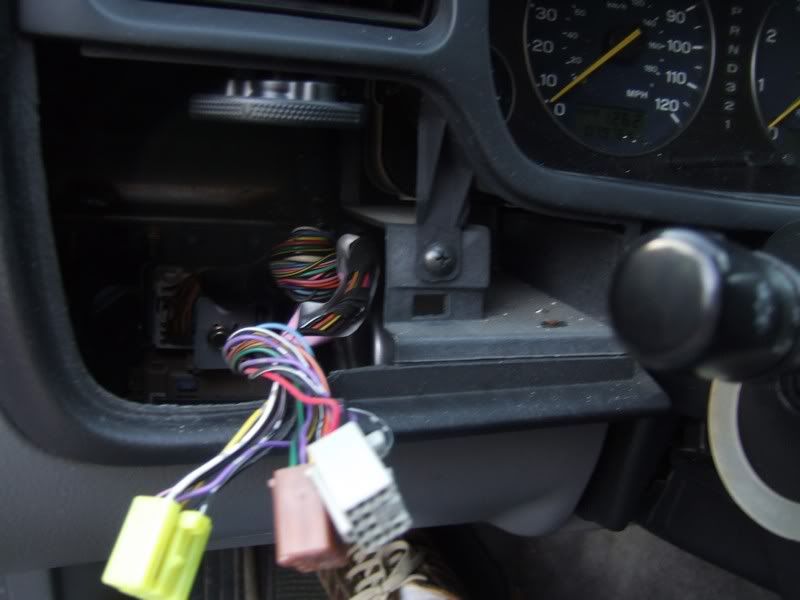
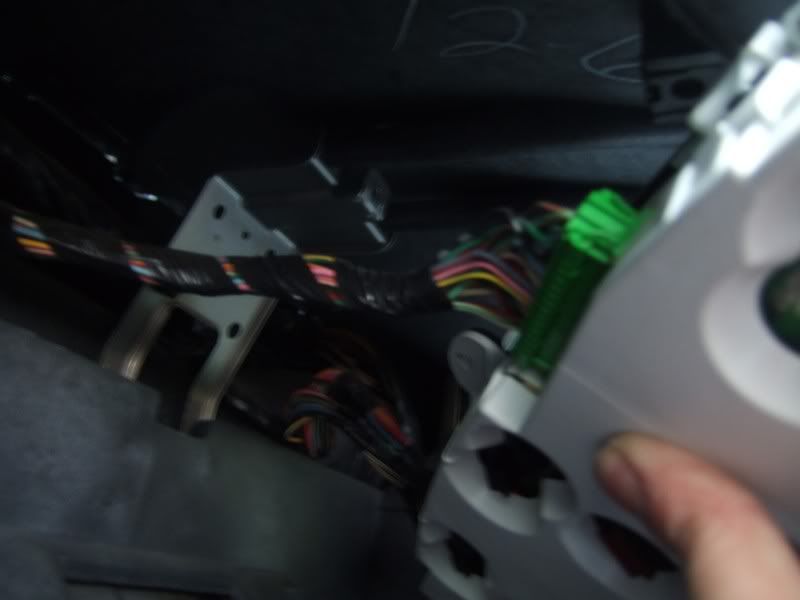
You can now pull off the black piece. However, once you pull it out a little you must disconnect the wiring plug connected to the hazard lights. THEN you can pull it out.

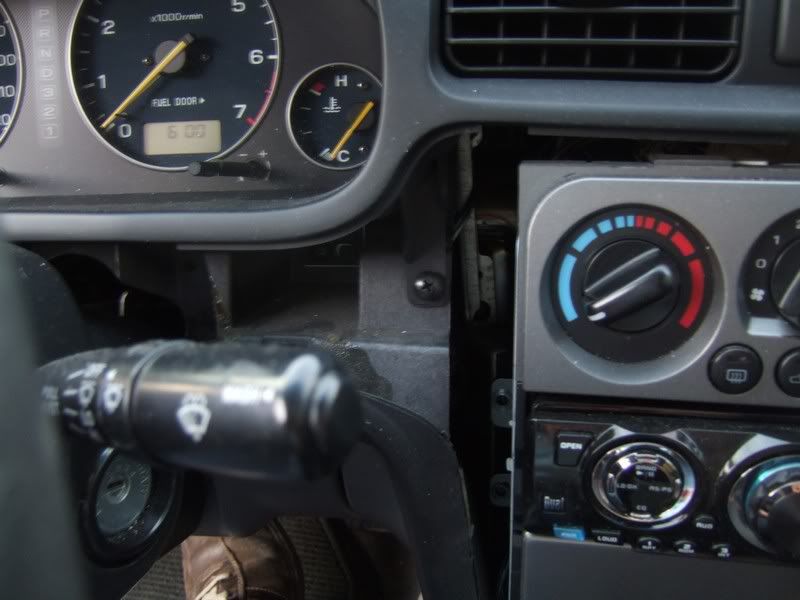
It's a little tough getting out from behind the steering wheel. Make sure the steering wheel is as low as it can be and centered. I highly recommend taking the 2 screws out of the back of this piece holding on the hazard switch and plugging the switch back in if you plan on doing your dash lights. Refer to the dash light tutorial for more on why.
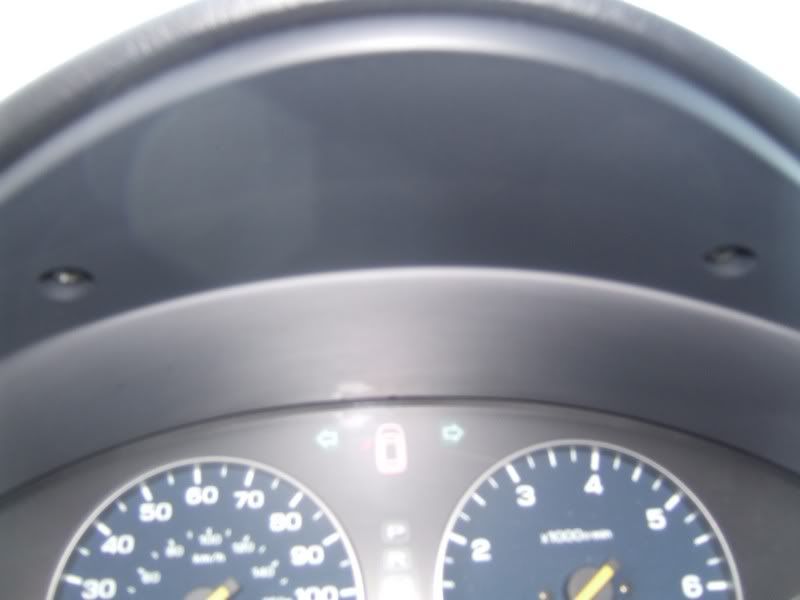
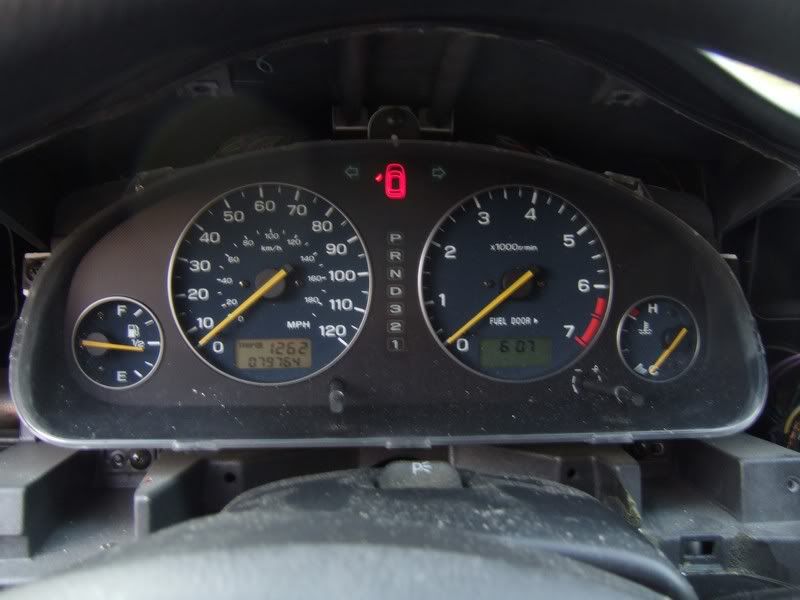
You are now faced with the gauge assembly. To remove it, just take out each of the screws circling the assembly. Once you pull it out there are a few plugs attached to the back if you are wanting to completely remove it. The clear plastic just has 5 tabs to push in to remove it to access the gauges but be careful not to get too much dust in there.
DISASSEMBLING THE GLOVE BOX AREA
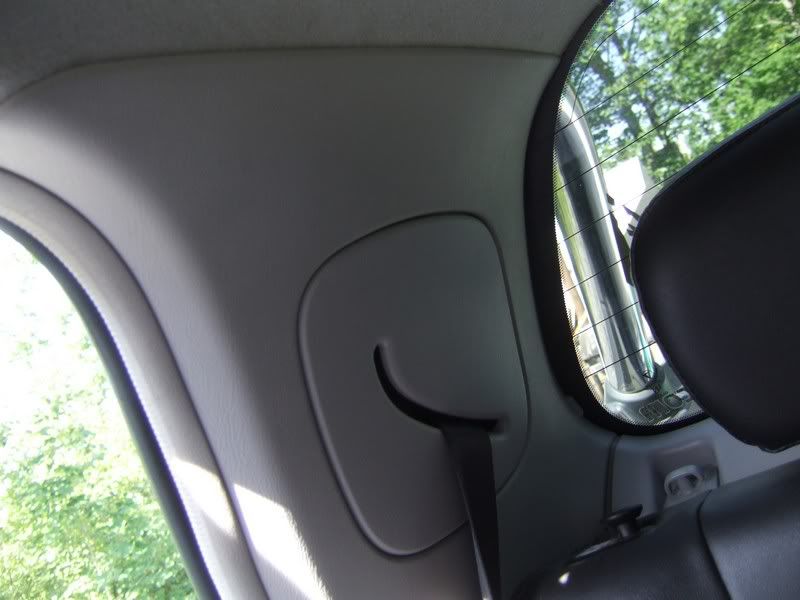
Open the glove box. Take a trim tool/flat screwdriver and pry up the tabs closest to the back. You can then just pop them out.
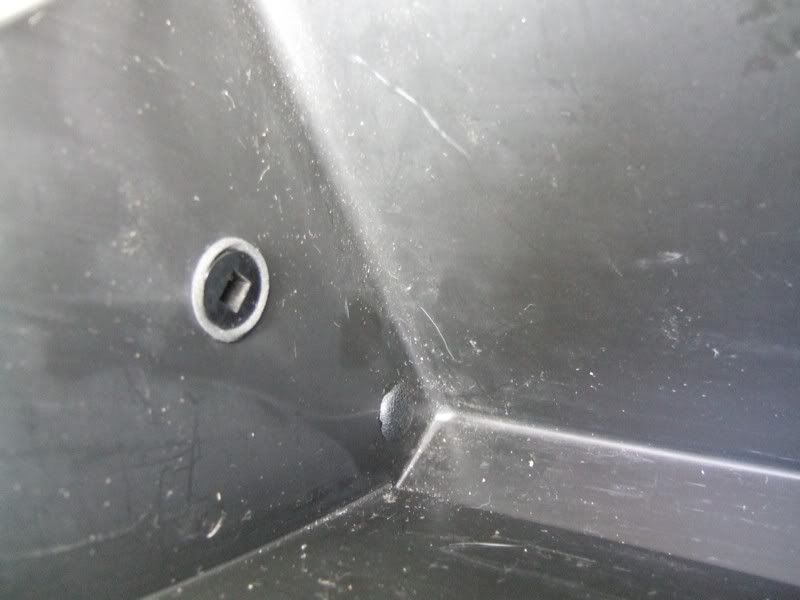
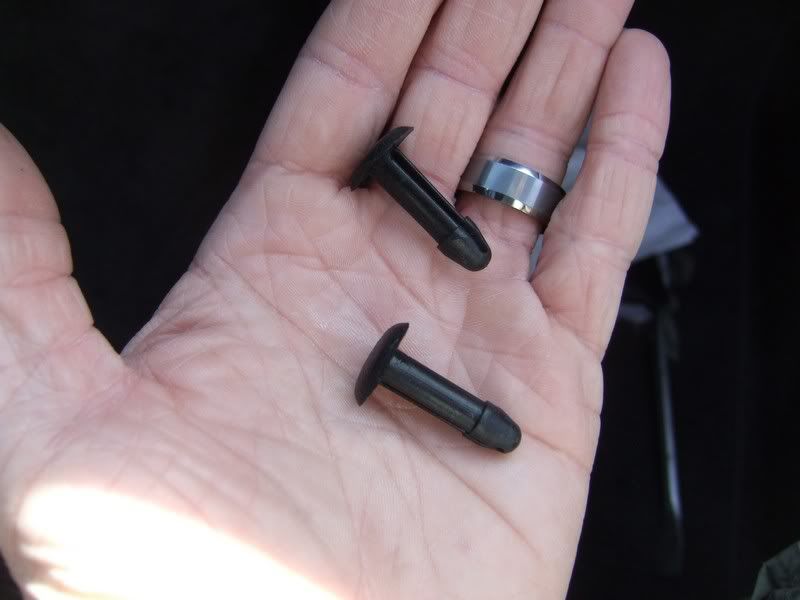
You can then push in the outsides of the glove box to get the other 2 pins holding it in out. Pull out the glove box.
There are multiple screws holding the next plastic part in, all require a philips screw driver. You will also need to pull out on the panel to the left of the glove box on the side of the center dash once you get the 2 left screws out. There is another screw behind it still holding the plastic piece in.
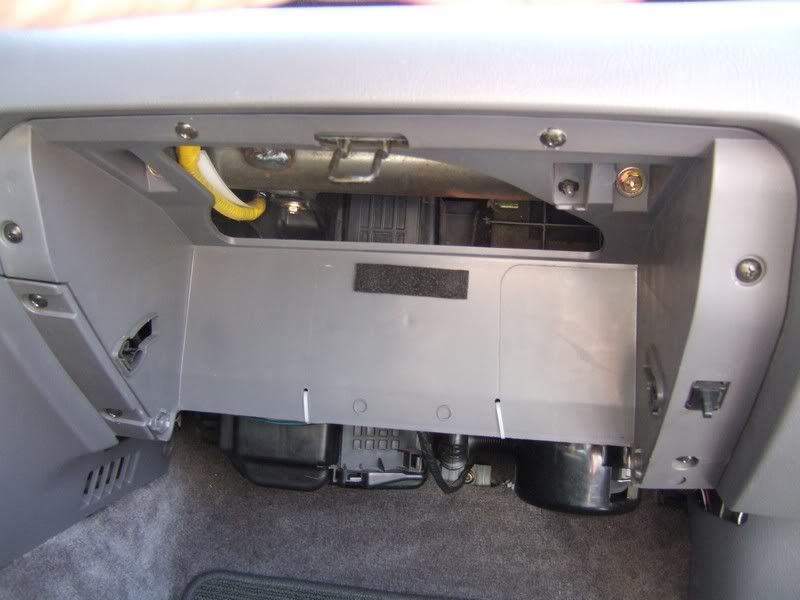
you can see in the picture 2 white zip-ties towards the bottom of the plastic piece. I drilled 2 holes and zip-tied my under dash lights here to hold them in place.
Once you get that out you can access the cabin air filter. Pill post a tutorial on removal and cleaning that later.
REMOVING THE HEADLINER
I have yet to completely remove the headliner. I have only loosened it and let it hang to put sound/vibration dampening in. These are the steps I took to get as far as I got.
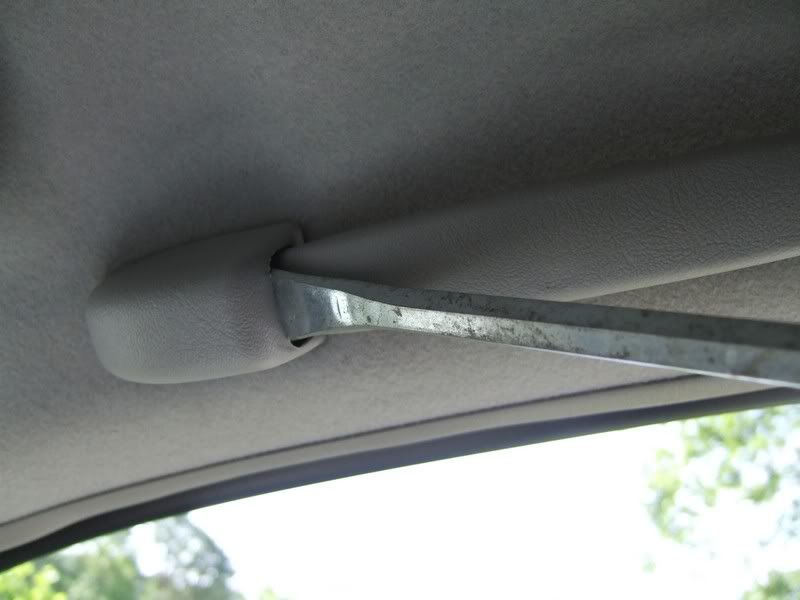
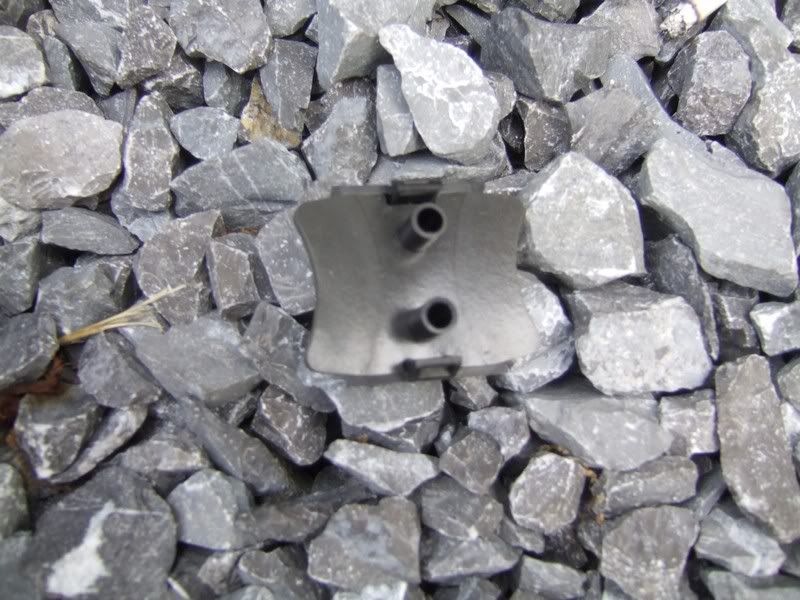
Remove all the "OH SH*T" handles by sticking a flat head screwdriver in and pushing out on each side of the end caps. Slide them forward to access the philips screws.
Remove the rubber trim from around the sunroof. It just pulls right off.
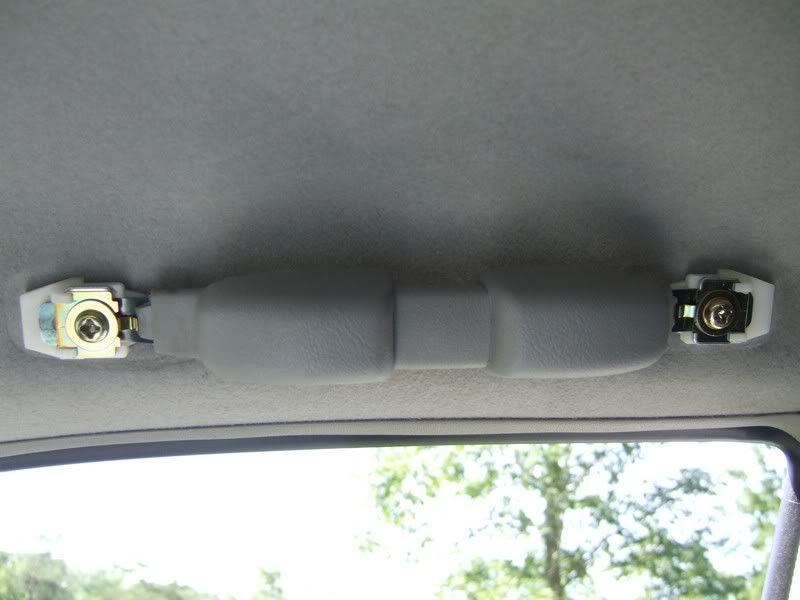
The sun visors are pretty self-explanatory. There is one screw holding the clip and 2 screws holding on the hinge. They are not covered so no problem.
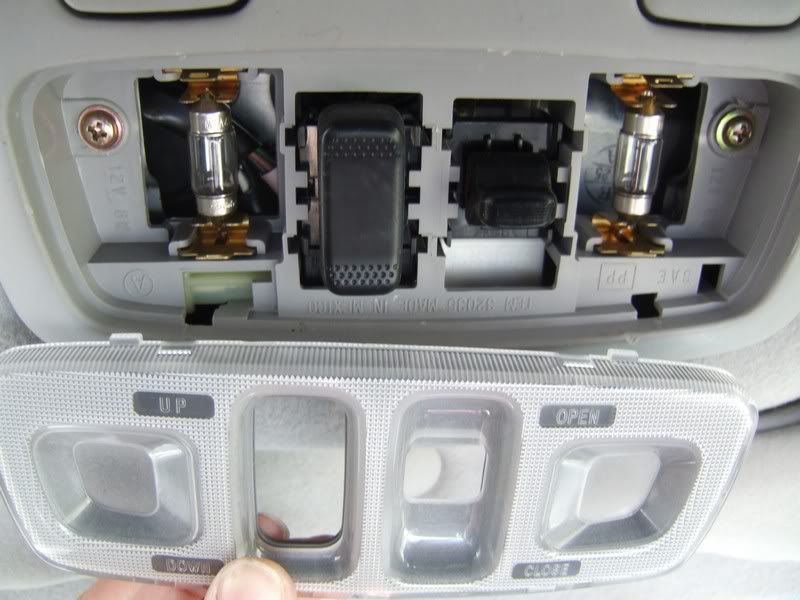
Using a flat tool. pry off the plastic cover over the front and center light decks. It just pops off. There are 2 screws in each light deck behind the clear plastic.
You will need to loosen the side column trim pieces as well. First pop off the covers on the seat belt pulleys with a flat tool. Under that You will find a bolt. Take it out with a 14mm socket/wrench. Once that's out pull off the pulley and then you can pry off the column trim as there are no more screws. Be careful and pay attention to how it's removed and the pieces for the seat belt assembly. Just to warn you I had a hard time putting these back in.
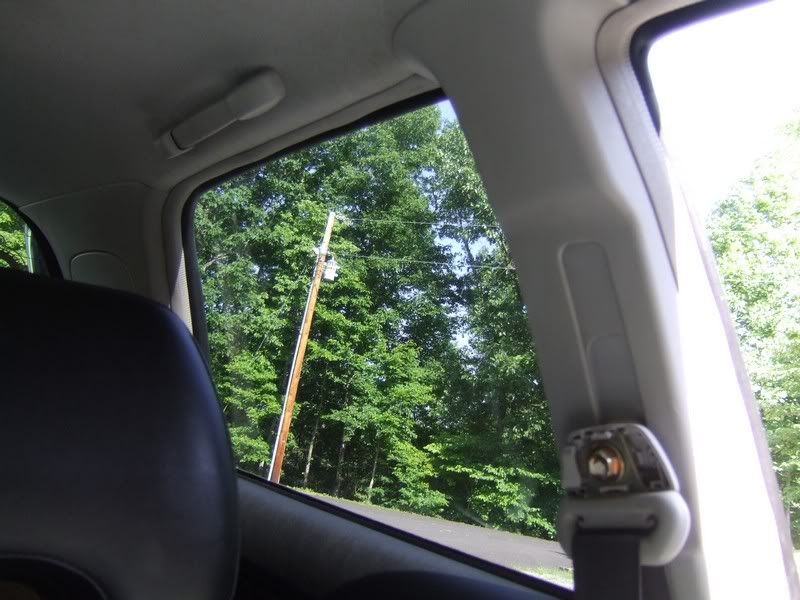
You will also need to loosen the rear column trim pieces as well. Luckily these just pop on and off with plastic clips but keep in mind when putting them back on that it's a bit tricky to align them back up.It is the entire column trim, not just the section surrounding the seat belt.
Pop each of the plastic retaining clips off towards the rear of the cabin, in front of the rear glass. These are hard to get out without destroying so be easy with then. A kitchen fork should do the trick but be careful not to poke holes in your liner.
From here I was able to work the liner out and down enough to put in my sound/vibration dampener. You're on your own from here unless I have to take mine out for some reason. If so then I'll certainly post pics and update this post
REMOVING THE REAR SEAT (bottom part)
Lift up the rear seat using the loop release. On the bottom of the seat you will notice 2 brackets. Both brackets have 2 screws holding the seat on. Just remove those 2 screws.
If you are going to remove the carpet then you will need to remove the brackets as well. There are bolts holding them on.
DISASSEMBLING THE REAR CENTER CONSOLE
First, open up the rear console and you'll notice 4 small plastic circles, one in each cupholder and 2 in the catch-all. These are actually plastic caps covering the screws we need to take out.
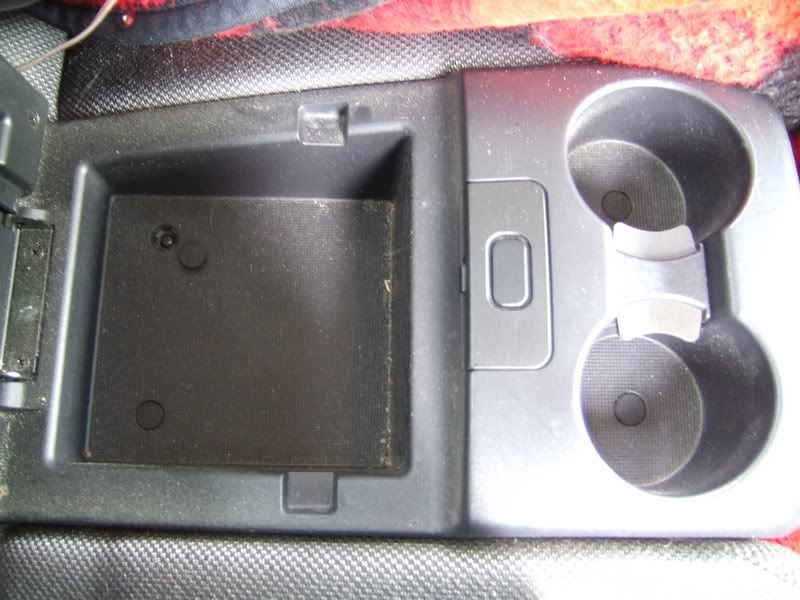
Just to warn you, they are quite the bugger to get out. You need a hard, flat tool to pop them out. Maybe even a thin pick will work. Once you get them out, take the screws out with a phillips screwdriver and just pull the console out. Flip it over and it will look like this:
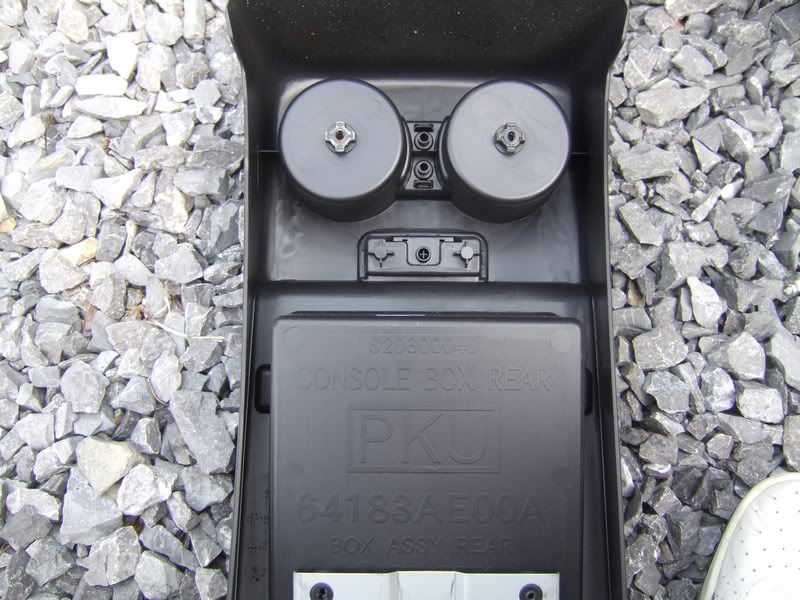
you'll notice 2 tabs in between the cupholders. Squeeze them together and the cupholder center will pop out the other side. It will look like this:
You now have access to the cupholder rubber/foam!
~~~~~~~~~~~~~~~~~~~~~~~~~~~~~~~~~
One day I hope to remove the carpet for cleaning and soundproofing. When I do, I'll post an update on how to do so. Until then I'll update this post with information as I randomly disassemble my Baja for one reason or another